In this tutorial, we will learn how to publish wheel odometry information over ROS. We will assume a two-wheeled differential drive robot.
In robotics, odometry is about using data from sensors (e.g. wheel encoders) to estimate the change in the robot’s position and orientation over time relative to some world-fixed point (e.g. x=0,y=0,z=0). We use trigonometry at each timestep along with the data from the wheel encoders to generate estimates of where the robot is in the world and how it is oriented.
Real-World Applications
This project has a number of real-world applications:
- Indoor Delivery Robots
- Room Service Robots
- Mapping of Underground Mines, Caves, and Hard-to-Reach Environments
- Robot Vacuums
- Order Fulfillment
- Factories
Prerequisites
- You have already set up your NVIDIA Jetson Nano (4GB, B01) with ROS. You can also use an Ubuntu-enabled Raspberry Pi that has ROS installed.
- You have completed this tutorial in which you learn how to create an initial pose and goal publisher using ROS and RViz.
- You have a node that publishes the tick counts (using Arduino) for the wheels of your robot.
- We will continue from the launch file I worked on in this post.
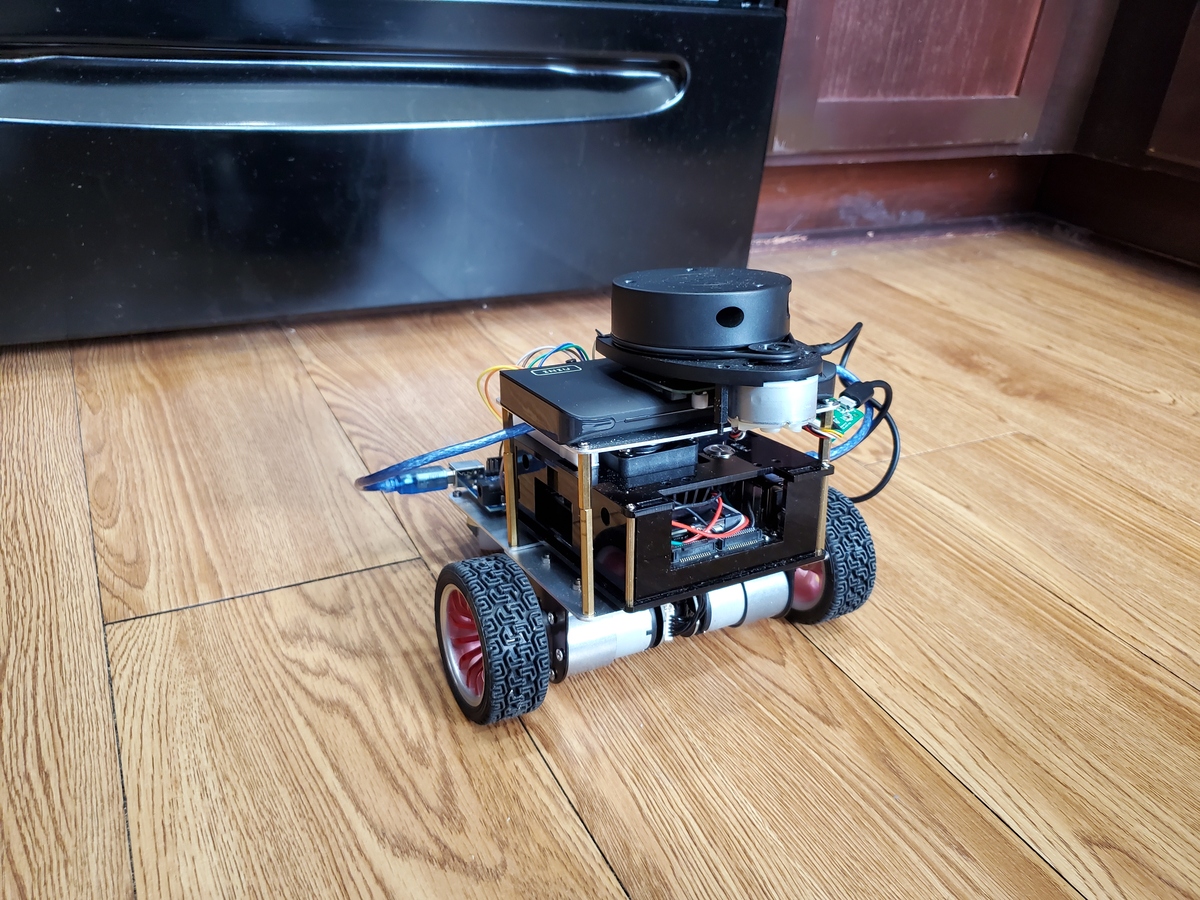
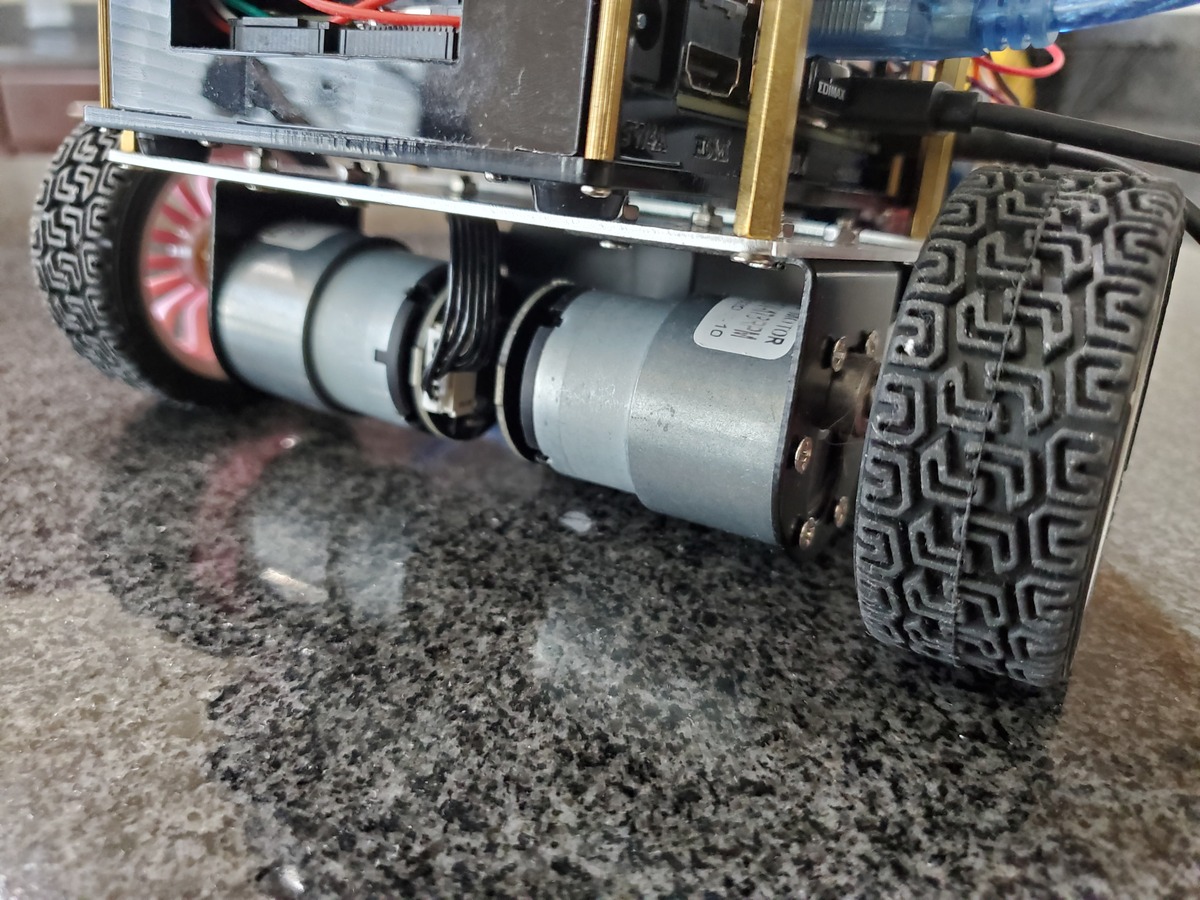
- You have a robot. I will continue with my two-wheeled differential drive robot.
Getting Started
Let’s create an odometry publisher that is based on wheel encoder data (no IMU inputs). This node will subscribe to the following topics (ROS message types are in parentheses):
- /right_ticks : Tick counts from the right motor encoder (std_msgs/Int16)
- /left_ticks : Tick counts from the left motor encoder (std_msgs/Int16)
- /initial_2d : The initial position and orientation of the robot.(geometry_msgs/PoseStamped)
The publisher will publish odometry data to the following topics:
- /odom_data_euler : Position and velocity estimate. The orientation.z variable is an Euler angle representing the yaw angle. (nav_msgs/Odometry)
- /odom_data_quat : Position and velocity estimate. The orientation is in quaternion format. (nav_msgs/Odometry)
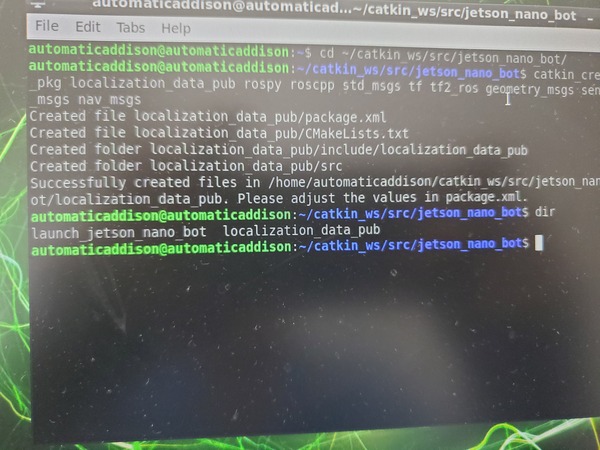
Open a new terminal window.
Move to the src folder of the localization package.
cd ~/catkin_ws/src/jetson_nano_bot/localization_data_pub/src
Open a new C++ file called ekf_odom_pub.cpp.
gedit ekf_odom_pub.cpp
Write the following code inside the file, then save and close it. I won’t go into the code in detail, but I added a lot of comments so you can understand what is going on at each step. All you need to change at the values of the variables to fit your robot. Leave everything else as-is.
/*
 * Automatic Addison
 * Date: May 20, 2021
 * ROS Version: ROS 1 - Melodic
 * Website: https://automaticaddison.com
 * Publishes odometry information for use with robot_pose_ekf package.
 *   This odometry information is based on wheel encoder tick counts.
 * Subscribe: ROS node that subscribes to the following topics:
 *  right_ticks : Tick counts from the right motor encoder (std_msgs/Int16)
 *
 *  left_ticks : Tick counts from the left motor encoder  (std_msgs/Int16)
 *
 *  initial_2d : The initial position and orientation of the robot.
 *               (geometry_msgs/PoseStamped)
 *
 * Publish: This node will publish to the following topics:
 *  odom_data_euler : Position and velocity estimate. The orientation.z
 *                    variable is an Euler angle representing the yaw angle.
 *                    (nav_msgs/Odometry)
 *  odom_data_quat : Position and velocity estimate. The orientation is
 *                   in quaternion format.
 *                   (nav_msgs/Odometry)
 * Modified from Practical Robotics in C++ book (ISBN-10 : 9389423465)
 *   by Lloyd Brombach
 */

// Include various libraries
#include "ros/ros.h"
#include "std_msgs/Int16.h"
#include <nav_msgs/Odometry.h>
#include <geometry_msgs/PoseStamped.h>
#include <tf2/LinearMath/Quaternion.h>
#include <tf2_ros/transform_broadcaster.h>
#include <cmath>

// Create odometry data publishers
ros::Publisher odom_data_pub;
ros::Publisher odom_data_pub_quat;
nav_msgs::Odometry odomNew;
nav_msgs::Odometry odomOld;

// Initial pose
const double initialX = 0.0;
const double initialY = 0.0;
const double initialTheta = 0.00000000001;
const double PI = 3.141592;

// Robot physical constants
const double TICKS_PER_REVOLUTION = 620; // For reference purposes.
const double WHEEL_RADIUS = 0.033; // Wheel radius in meters
const double WHEEL_BASE = 0.17; // Center of left tire to center of right tire
const double TICKS_PER_METER = 3100; // Original was 2800

// Distance both wheels have traveled
double distanceLeft = 0;
double distanceRight = 0;

// Flag to see if initial pose has been received
bool initialPoseRecieved = false;

using namespace std;

// Get initial_2d message from either Rviz clicks or a manual pose publisher
void set_initial_2d(const geometry_msgs::PoseStamped &rvizClick) {

  odomOld.pose.pose.position.x = rvizClick.pose.position.x;
  odomOld.pose.pose.position.y = rvizClick.pose.position.y;
  odomOld.pose.pose.orientation.z = rvizClick.pose.orientation.z;
  initialPoseRecieved = true;
}

// Calculate the distance the left wheel has traveled since the last cycle
void Calc_Left(const std_msgs::Int16& leftCount) {

  static int lastCountL = 0;
  if(leftCount.data != 0 && lastCountL != 0) {

    int leftTicks = (leftCount.data - lastCountL);

    if (leftTicks > 10000) {
      leftTicks = 0 - (65535 - leftTicks);
    }
    else if (leftTicks < -10000) {
      leftTicks = 65535-leftTicks;
    }
    else{}
    distanceLeft = leftTicks/TICKS_PER_METER;
  }
  lastCountL = leftCount.data;
}

// Calculate the distance the right wheel has traveled since the last cycle
void Calc_Right(const std_msgs::Int16& rightCount) {

  static int lastCountR = 0;
  if(rightCount.data != 0 && lastCountR != 0) {

    int rightTicks = rightCount.data - lastCountR;

    if (rightTicks > 10000) {
      distanceRight = (0 - (65535 - distanceRight))/TICKS_PER_METER;
    }
    else if (rightTicks < -10000) {
      rightTicks = 65535 - rightTicks;
    }
    else{}
    distanceRight = rightTicks/TICKS_PER_METER;
  }
  lastCountR = rightCount.data;
}

// Publish a nav_msgs::Odometry message in quaternion format
void publish_quat() {

  tf2::Quaternion q;

  q.setRPY(0, 0, odomNew.pose.pose.orientation.z);

  nav_msgs::Odometry quatOdom;
  quatOdom.header.stamp = odomNew.header.stamp;
  quatOdom.header.frame_id = "odom";
  quatOdom.child_frame_id = "base_link";
  quatOdom.pose.pose.position.x = odomNew.pose.pose.position.x;
  quatOdom.pose.pose.position.y = odomNew.pose.pose.position.y;
  quatOdom.pose.pose.position.z = odomNew.pose.pose.position.z;
  quatOdom.pose.pose.orientation.x = q.x();
  quatOdom.pose.pose.orientation.y = q.y();
  quatOdom.pose.pose.orientation.z = q.z();
  quatOdom.pose.pose.orientation.w = q.w();
  quatOdom.twist.twist.linear.x = odomNew.twist.twist.linear.x;
  quatOdom.twist.twist.linear.y = odomNew.twist.twist.linear.y;
  quatOdom.twist.twist.linear.z = odomNew.twist.twist.linear.z;
  quatOdom.twist.twist.angular.x = odomNew.twist.twist.angular.x;
  quatOdom.twist.twist.angular.y = odomNew.twist.twist.angular.y;
  quatOdom.twist.twist.angular.z = odomNew.twist.twist.angular.z;

  for(int i = 0; i<36; i++) {
    if(i == 0 || i == 7 || i == 14) {
      quatOdom.pose.covariance[i] = .01;
     }
     else if (i == 21 || i == 28 || i== 35) {
       quatOdom.pose.covariance[i] += 0.1;
     }
     else {
       quatOdom.pose.covariance[i] = 0;
     }
  }

  odom_data_pub_quat.publish(quatOdom);
}

// Update odometry information
void update_odom() {

  // Calculate the average distance
  double cycleDistance = (distanceRight + distanceLeft) / 2;

  // Calculate the number of radians the robot has turned since the last cycle
  double cycleAngle = asin((distanceRight-distanceLeft)/WHEEL_BASE);

  // Average angle during the last cycle
  double avgAngle = cycleAngle/2 + odomOld.pose.pose.orientation.z;

  if (avgAngle > PI) {
    avgAngle -= 2*PI;
  }
  else if (avgAngle < -PI) {
    avgAngle += 2*PI;
  }
  else{}

  // Calculate the new pose (x, y, and theta)
  odomNew.pose.pose.position.x = odomOld.pose.pose.position.x + cos(avgAngle)*cycleDistance;
  odomNew.pose.pose.position.y = odomOld.pose.pose.position.y + sin(avgAngle)*cycleDistance;
  odomNew.pose.pose.orientation.z = cycleAngle + odomOld.pose.pose.orientation.z;

  // Prevent lockup from a single bad cycle
  if (isnan(odomNew.pose.pose.position.x) || isnan(odomNew.pose.pose.position.y)
     || isnan(odomNew.pose.pose.position.z)) {
    odomNew.pose.pose.position.x = odomOld.pose.pose.position.x;
    odomNew.pose.pose.position.y = odomOld.pose.pose.position.y;
    odomNew.pose.pose.orientation.z = odomOld.pose.pose.orientation.z;
  }

  // Make sure theta stays in the correct range
  if (odomNew.pose.pose.orientation.z > PI) {
    odomNew.pose.pose.orientation.z -= 2 * PI;
  }
  else if (odomNew.pose.pose.orientation.z < -PI) {
    odomNew.pose.pose.orientation.z += 2 * PI;
  }
  else{}

  // Compute the velocity
  odomNew.header.stamp = ros::Time::now();
  odomNew.twist.twist.linear.x = cycleDistance/(odomNew.header.stamp.toSec() - odomOld.header.stamp.toSec());
  odomNew.twist.twist.angular.z = cycleAngle/(odomNew.header.stamp.toSec() - odomOld.header.stamp.toSec());

  // Save the pose data for the next cycle
  odomOld.pose.pose.position.x = odomNew.pose.pose.position.x;
  odomOld.pose.pose.position.y = odomNew.pose.pose.position.y;
  odomOld.pose.pose.orientation.z = odomNew.pose.pose.orientation.z;
  odomOld.header.stamp = odomNew.header.stamp;

  // Publish the odometry message
  odom_data_pub.publish(odomNew);
}

int main(int argc, char **argv) {

  // Set the data fields of the odometry message
  odomNew.header.frame_id = "odom";
  odomNew.pose.pose.position.z = 0;
  odomNew.pose.pose.orientation.x = 0;
  odomNew.pose.pose.orientation.y = 0;
  odomNew.twist.twist.linear.x = 0;
  odomNew.twist.twist.linear.y = 0;
  odomNew.twist.twist.linear.z = 0;
  odomNew.twist.twist.angular.x = 0;
  odomNew.twist.twist.angular.y = 0;
  odomNew.twist.twist.angular.z = 0;
  odomOld.pose.pose.position.x = initialX;
  odomOld.pose.pose.position.y = initialY;
  odomOld.pose.pose.orientation.z = initialTheta;

  // Launch ROS and create a node
  ros::init(argc, argv, "ekf_odom_pub");
  ros::NodeHandle node;

  // Subscribe to ROS topics
  ros::Subscriber subForRightCounts = node.subscribe("right_ticks", 100, Calc_Right, ros::TransportHints().tcpNoDelay());
  ros::Subscriber subForLeftCounts = node.subscribe("left_ticks", 100, Calc_Left, ros::TransportHints().tcpNoDelay());
  ros::Subscriber subInitialPose = node.subscribe("initial_2d", 1, set_initial_2d);

  // Publisher of simple odom message where orientation.z is an euler angle
  odom_data_pub = node.advertise<nav_msgs::Odometry>("odom_data_euler", 100);

  // Publisher of full odom message where orientation is quaternion
  odom_data_pub_quat = node.advertise<nav_msgs::Odometry>("odom_data_quat", 100);

  ros::Rate loop_rate(30);

  while(ros::ok()) {

    if(initialPoseRecieved) {
      update_odom();
      publish_quat();
    }
    ros::spinOnce();
    loop_rate.sleep();
  }

  return 0;
}
Now we need to add the C++ program we just wrote to the CMakeLists.txt file.
cd ~/catkin_ws/src/jetson_nano_bot/localization_data_pub/
gedit CMakeLists.txt
Go to the bottom of the file.
Add the following lines.
add_executable(ekf_odom_pub src/ekf_odom_pub.cpp)
target_link_libraries(ekf_odom_pub ${catkin_LIBRARIES})
Save the file, and close it.
Go to the root of the workspace.
cd ~/catkin_ws
Compile the code.
catkin_make --only-pkg-with-deps localization_data_pub
Now let’s run the ROS node to test it.
Open a new terminal window.
Start ROS.
roscore
Open another terminal window, and launch the node.
rosrun localization_data_pub ekf_odom_pub
Start the tick count publisher.
rosrun rosserial_python serial_node.py _port:=/dev/ttyACM0 _baud:=115200
Open another terminal window, and launch the initial pose and goal publisher.
rosrun localization_data_pub rviz_click_to_2d
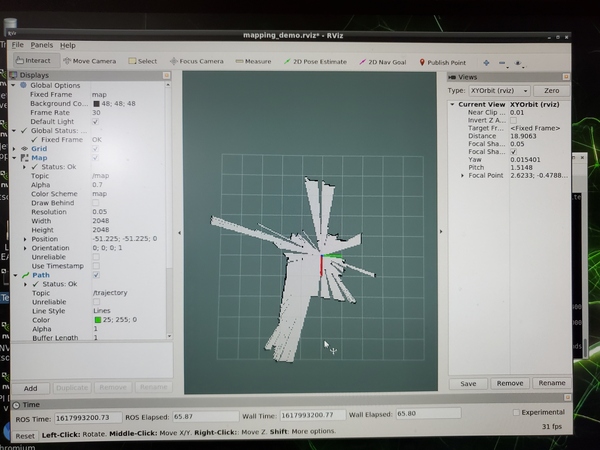
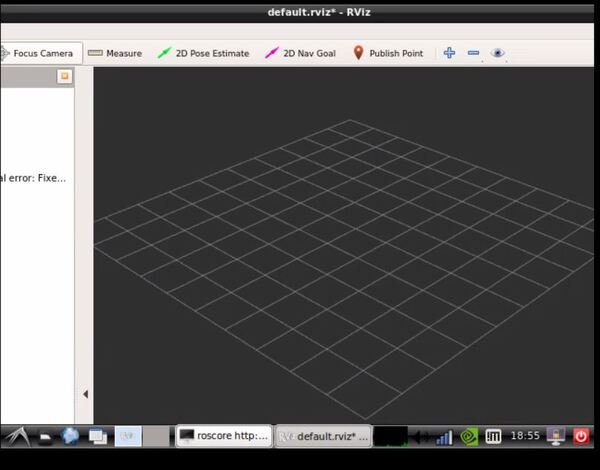
rviz
Set the initial pose of the robot using the button at the top of RViz.
Set the goal destination using the button at the top of RViz.
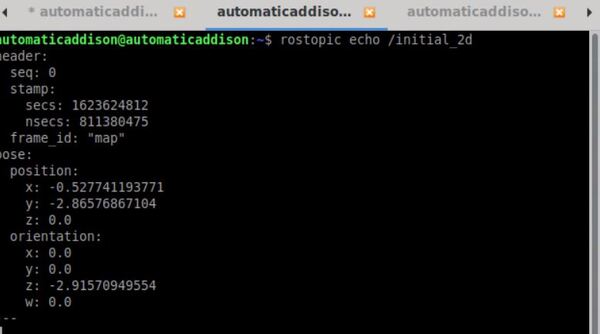
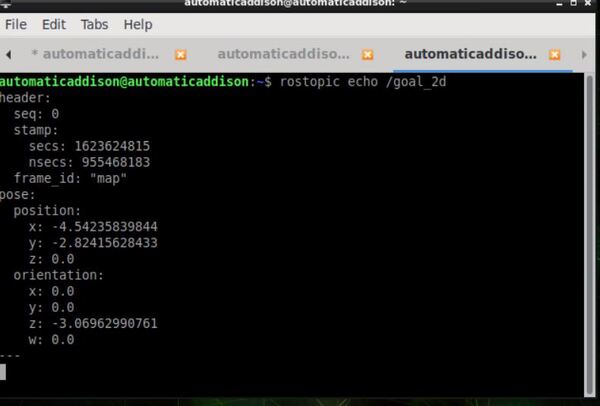
If everything is working properly, you should see output when you type the following in a new terminal window.
rostopic echo /odom_data_quat
Add the Wheel Odometry Publisher to a Launch File
To add the wheel odometry publisher above to a ROS launch file, you will add the following lines:
  <!-- Wheel Odometry Publisher -->
  <!-- Subscribe: /right_ticks, /left_ticks, /initial_2d -->
  <!-- Publish: /odom_data_euler, /odom_data_quat -->
  <node pkg="localization_data_pub" type="ekf_odom_pub" name="ekf_odom_pub">
  </node>
That’s it! Keep building!