In this post, I will show you how to load a URDF file into Gazebo. Universal Robot Description Format (URDF) is the standard ROS format for robot modeling.
If you would like to learn more about URDF files, check out this page.
Prerequisites
- ROS 2 Foxy Fitzroy installed on Ubuntu Linux 20.04 or newer. I am using ROS 2 Galactic, which is the latest version of ROS 2 as of the date of this post.
- You have already created a ROS 2 workspace. The name of our workspace is “dev_ws”, which stands for “development workspace.”
- (Optional) You have a package named two_wheeled_robot inside your ~/dev_ws/src folder, which I set up in this post. If you have another package, that is fine.
- (Optional) You know how to load a world file into Gazebo using ROS 2.
You can find the files for this post here on my Google Drive.
Create the URDF File
I am going to open up a terminal window, and type the following command to go to the directory where my URDF file will be located.
cd ~/dev_ws/src/two_wheeled_robot/urdf
Add your URDF file to this folder. For example, you can add a URDF file like this:
<?xml version="1.0"?>
<robot name="two_wheeled_robot" xmlns:xacro="http://ros.org/wiki/xacro">

  <!-- ****************** ROBOT CONSTANTS *******************************  -->
  <!-- Define the size of the robot's main chassis in meters -->
  <xacro:property name="base_width" value="0.39"/>
  <xacro:property name="base_length" value="0.70"/>
  <xacro:property name="base_height" value="0.20"/>

  <!-- Define the shape of the robot's two back wheels in meters -->
  <xacro:property name="wheel_radius" value="0.14"/>
  <xacro:property name="wheel_width" value="0.06"/>

  <!-- x-axis points forward, y-axis points to left, z-axis points upwards -->
  <!-- Define the gap between the wheel and chassis along y-axis in meters -->
  <xacro:property name="wheel_ygap" value="0.035"/>

  <!-- Position the wheels along the z-axis -->
  <xacro:property name="wheel_zoff" value="0.05"/>

  <!-- Position the wheels along the x-axis -->
  <xacro:property name="wheel_xoff" value="0.221"/>

  <!-- Position the caster wheel along the x-axis -->
  <xacro:property name="caster_xoff" value="0.217"/>

  <!-- Define intertial property macros  -->
  <xacro:macro name="box_inertia" params="m w h d">
    <inertial>
      <origin xyz="0 0 0" rpy="${pi/2} 0 ${pi/2}"/>
      <mass value="${m}"/>
      <inertia ixx="${(m/12) * (h*h + d*d)}" ixy="0.0" ixz="0.0" iyy="${(m/12) * (w*w + d*d)}" iyz="0.0" izz="${(m/12) * (w*w + h*h)}"/>
    </inertial>
  </xacro:macro>

  <xacro:macro name="cylinder_inertia" params="m r h">
    <inertial>
      <origin xyz="0 0 0" rpy="${pi/2} 0 0" />
      <mass value="${m}"/>
      <inertia ixx="${(m/12) * (3*r*r + h*h)}" ixy = "0" ixz = "0" iyy="${(m/12) * (3*r*r + h*h)}" iyz = "0" izz="${(m/2) * (r*r)}"/>
    </inertial>
  </xacro:macro>

  <xacro:macro name="sphere_inertia" params="m r">
    <inertial>
      <mass value="${m}"/>
      <inertia ixx="${(2/5) * m * (r*r)}" ixy="0.0" ixz="0.0" iyy="${(2/5) * m * (r*r)}" iyz="0.0" izz="${(2/5) * m * (r*r)}"/>
    </inertial>
  </xacro:macro>

  <!-- ********************** ROBOT BASE *********************************  -->
  <link name="base_link">
    <visual>
      <origin xyz="0 0 -0.05" rpy="1.5707963267949 0 3.141592654"/>
      <geometry>
        <mesh filename="file://$(find two_wheeled_robot)/meshes/robot_base.stl" />
      </geometry>
      <material name="Red">
        <color rgba="1.0 0.0 0.0 1.0"/>
      </material>
    </visual>

    <collision>
      <geometry>
        <box size="${base_length} ${base_width} ${base_height}"/>
      </geometry>
    </collision>

    <xacro:box_inertia m="15.0" w="${base_width}" d="${base_length}" h="${base_height}"/>
  </link>

  <gazebo reference="base_link">
    <material>Gazebo/Red</material>
  </gazebo>


  <!-- ****************** ROBOT BASE FOOTPRINT ***************************  -->
  <!-- Define the center of the main robot chassis projected on the ground -->
  <link name="base_footprint">
  	<xacro:box_inertia m="0" w="0" d="0" h="0"/>
  </link>

  <!-- The base footprint of the robot is located underneath the chassis -->
  <joint name="base_joint" type="fixed">
    <parent link="base_link"/>
    <child link="base_footprint"/>
    <origin xyz="0.0 0.0 ${-(wheel_radius+wheel_zoff)}" rpy="0 0 0"/>
  </joint>

  <!-- *********************** DRIVE WHEELS ******************************  -->
  <xacro:macro name="wheel" params="prefix x_reflect y_reflect">
    <link name="${prefix}_link">
      <visual>
        <origin xyz="0 0 0" rpy="${pi/2} 0 0"/>
        <geometry>
            <cylinder radius="${wheel_radius}" length="${wheel_width}"/>
        </geometry>
        <material name="Gray">
          <color rgba="0.5 0.5 0.5 1.0"/>
        </material>
      </visual>

      <collision>
        <origin xyz="0 0 0" rpy="${pi/2} 0 0"/>
        <geometry>
          <cylinder radius="${wheel_radius}" length="${wheel_width}"/>
        </geometry>
      </collision>

      <xacro:cylinder_inertia m="0.5" r="${wheel_radius}" h="${wheel_width}"/>
    </link>

    <!-- Connect the wheels to the base_link at the appropriate location, and
         define a continuous joint to allow the wheels to freely rotate about
         an axis -->
    <joint name="${prefix}_joint" type="continuous">
      <parent link="base_link"/>
      <child link="${prefix}_link"/>
      <origin xyz="${x_reflect*wheel_xoff} ${y_reflect*(base_width/2+wheel_ygap)} ${-wheel_zoff}" rpy="0 0 0"/>
      <axis xyz="0 1 0"/>
    </joint>
  </xacro:macro>

  <!-- Instantiate two wheels using the macro we just made through the
       xacro:wheel tags. We also define the parameters to have one wheel
       on both sides at the back of our robot (i.e. x_reflect=-1). -->
  <xacro:wheel prefix="drivewhl_l" x_reflect="-1" y_reflect="1" />
  <xacro:wheel prefix="drivewhl_r" x_reflect="-1" y_reflect="-1" />

  <!-- *********************** CASTER WHEEL ******************************  -->
  <!-- We add a caster wheel. It will be modeled as sphere.
       We define the wheel’s geometry, material and the joint to connect it to
       base_link at the appropriate location. -->
  <link name="front_caster">
    <visual>
      <geometry>
        <sphere radius="${(wheel_radius+wheel_zoff-(base_height/2))}"/>
      </geometry>
      <material name="Cyan">
        <color rgba="0 1.0 1.0 1.0"/>
      </material>
    </visual>

    <collision>
      <origin xyz="0 0 0" rpy="0 0 0"/>
      <geometry>
        <sphere radius="${(wheel_radius+wheel_zoff-(base_height/2))}"/>
      </geometry>
    </collision>

    <xacro:sphere_inertia m="0.5" r="${(wheel_radius+wheel_zoff-(base_height/2))}"/>
  </link>

  <gazebo reference="front_caster">
    <mu1>0.01</mu1>
    <mu2>0.01</mu2>
    <material>Gazebo/White</material>
  </gazebo>

  <joint name="caster_joint" type="fixed">
    <parent link="base_link"/>
    <child link="front_caster"/>
    <origin xyz="${caster_xoff} 0.0 ${-(base_height/2)}" rpy="0 0 0"/>
  </joint>

  <!-- *********************** IMU SETUP *********************************  -->
  <!-- Each sensor must be attached to a link.                              -->
  <link name="imu_link">
    <visual>
      <geometry>
        <box size="0.1 0.1 0.1"/>
      </geometry>
    </visual>

    <collision>
      <geometry>
        <box size="0.1 0.1 0.1"/>
      </geometry>
    </collision>

    <xacro:box_inertia m="0.1" w="0.1" d="0.1" h="0.1"/>
  </link>

  <joint name="imu_joint" type="fixed">
    <parent link="base_link"/>
    <child link="imu_link"/>
    <origin xyz="0 0 0.01"/>
  </joint>

  <gazebo reference="imu_link">
    <gravity>true</gravity>
    <sensor name="twr_imu" type="imu">
      <always_on>true</always_on>
      <update_rate>100</update_rate>
      <visualize>true</visualize>
      <imu>
        <orientation>
          <x>
            <noise type="gaussian">
              <mean>0.0</mean>
              <stddev>2e-3</stddev>
            </noise>
          </x>
          <y>
            <noise type="gaussian">
              <mean>0.0</mean>
              <stddev>2e-3</stddev>
            </noise>
          </y>
          <z>
            <noise type="gaussian">
              <mean>0.0</mean>
              <stddev>2e-3</stddev>
            </noise>
          </z>
        </orientation>
        <angular_velocity>
          <x>
            <noise type="gaussian">
              <mean>0.0</mean>
              <stddev>2e-4</stddev>
            </noise>
          </x>
          <y>
            <noise type="gaussian">
              <mean>0.0</mean>
              <stddev>2e-4</stddev>
            </noise>
          </y>
          <z>
            <noise type="gaussian">
              <mean>0.0</mean>
              <stddev>2e-4</stddev>
            </noise>
          </z>
        </angular_velocity>
        <linear_acceleration>
          <x>
            <noise type="gaussian">
              <mean>0.0</mean>
              <stddev>1.7e-2</stddev>
            </noise>
          </x>
          <y>
            <noise type="gaussian">
              <mean>0.0</mean>
              <stddev>1.7e-2</stddev>
            </noise>
          </y>
          <z>
            <noise type="gaussian">
              <mean>0.0</mean>
              <stddev>1.7e-2</stddev>
            </noise>
          </z>
        </linear_acceleration>
      </imu>
      <plugin name="two_wheeled_robot_imu" filename="libgazebo_ros_imu_sensor.so">
        <initial_orientation_as_reference>false</initial_orientation_as_reference>
        <frame_name>imu_link</frame_name>
        <ros>
          <namespace>/imu</namespace>
          <remapping>~/out:=data</remapping>
        </ros>
      </plugin>
    </sensor>
</gazebo>

  <!-- *********************** LIDAR SETUP **********************************  -->
 <link name="lidar_link">
    <inertial>
      <origin xyz="0 0 0" rpy="0 0 0"/>
      <mass value="0.125"/>
      <inertia ixx="0.001"  ixy="0"  ixz="0" iyy="0.001" iyz="0" izz="0.001" />
    </inertial>

    <collision>
      <origin xyz="0 0 0" rpy="0 0 0"/>
      <geometry>
         <cylinder radius="0.0508" length="0.75"/>
      </geometry>
    </collision>

    <visual>
      <origin xyz="0 0 0" rpy="0 0 0"/>
      <geometry>
         <cylinder radius="0.0508" length="0.75"/>
      </geometry>
    </visual>
  </link>

  <joint name="lidar_joint" type="fixed">
    <parent link="base_link"/>
    <child link="lidar_link"/>
    <origin xyz="0.215 0.0 0.30" rpy="0 0 0"/>
  </joint>

  <gazebo reference="lidar_link">
    <sensor name="lidar" type="ray">
      <always_on>true</always_on>
      <visualize>true</visualize>
      <update_rate>5</update_rate>
      <ray>
        <scan>
          <horizontal>
            <samples>120</samples>
            <resolution>1.000000</resolution>
            <min_angle>-3.14159</min_angle>
            <max_angle>3.14159</max_angle>
          </horizontal>
        </scan>
        <range>
          <min>0.3</min>
          <max>15.0</max>
          <resolution>0.015</resolution>
        </range>
        <noise>
          <type>gaussian</type>
          <mean>0.0</mean>
          <stddev>0.01</stddev>
        </noise>
      </ray>
      <plugin name="scan" filename="libgazebo_ros_ray_sensor.so">
        <ros>
          <remapping>~/out:=scan</remapping>
        </ros>
        <output_type>sensor_msgs/LaserScan</output_type>
        <frame_name>lidar_link</frame_name>
      </plugin>
    </sensor>
  </gazebo>
  <gazebo reference="lidar_link">
    <mu1>0.01</mu1>
    <mu2>0.01</mu2>
    <material>Gazebo/Black</material>
  </gazebo>


 <!-- *********************** WHEEL ODOMETRY ***************************    -->
  <gazebo>
    <plugin name="two_wheeled_robot_diff_drive" filename="libgazebo_ros_diff_drive.so">

      <update_rate>30</update_rate>

      <!-- wheels -->
      <left_joint>drivewhl_l_joint</left_joint>
      <right_joint>drivewhl_r_joint</right_joint>

      <!-- kinematics -->
      <wheel_separation>0.52</wheel_separation>
      <wheel_diameter>0.28</wheel_diameter>

      <!-- limits -->
      <max_wheel_torque>20</max_wheel_torque>
      <max_wheel_acceleration>1.0</max_wheel_acceleration>

      <!-- Receive velocity commands on this ROS topic -->
      <command_topic>cmd_vel</command_topic>

      <!-- output -->
      <!-- When false, publish no wheel odometry data to a ROS topic -->
      <publish_odom>true</publish_odom>

      <!-- When true, publish coordinate transform from odom to base_footprint -->
      <!-- I usually use the robot_localization package to publish this transform -->
      <publish_odom_tf>false</publish_odom_tf>

      <!-- When true, publish coordinate transform from base_link to the wheels -->
      <!-- The robot_state_publisher package is often used to publish this transform -->
      <publish_wheel_tf>true</publish_wheel_tf>

      <odometry_topic>odom</odometry_topic>
      <odometry_frame>odom</odometry_frame>
      <robot_base_frame>base_link</robot_base_frame>

      <odometry_source>1</odometry_source>
      <ros>
        <remapping>odom:=wheel/odometry</remapping>
      </ros>
    </plugin>
  </gazebo>
</robot>
Create the Launch File
Now we want to create a launch file.
I am going to go to my launch folder and create the file. Here is the command I will type in my terminal window.
cd ~/dev_ws/src/two_wheeled_robot/launch
gedit launch_urdf_into_gazebo.launch.py
Type the following code inside the file.
# Author: Addison Sears-Collins
# Date: September 23, 2021
# Description: Load a URDF and world file into Gazebo.
# https://automaticaddison.com
import os
from launch import LaunchDescription
from launch.actions import DeclareLaunchArgument, ExecuteProcess, IncludeLaunchDescription
from launch.conditions import IfCondition, UnlessCondition
from launch.launch_description_sources import PythonLaunchDescriptionSource
from launch.substitutions import Command, LaunchConfiguration, PythonExpression
from launch_ros.actions import Node
from launch_ros.substitutions import FindPackageShare
def generate_launch_description():
# Constants for paths to different files and folders
gazebo_models_path = 'models'
package_name = 'two_wheeled_robot'
robot_name_in_model = 'two_wheeled_robot'
rviz_config_file_path = 'rviz/urdf_gazebo_config.rviz'
urdf_file_path = 'urdf/two_wheeled_robot_nav2.urdf'
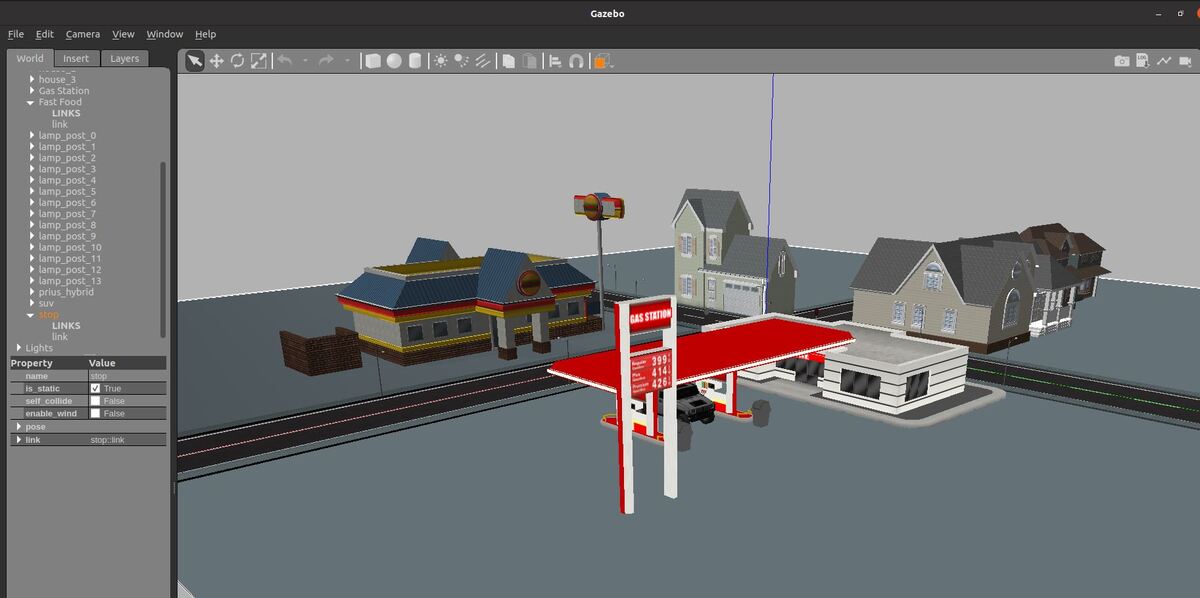
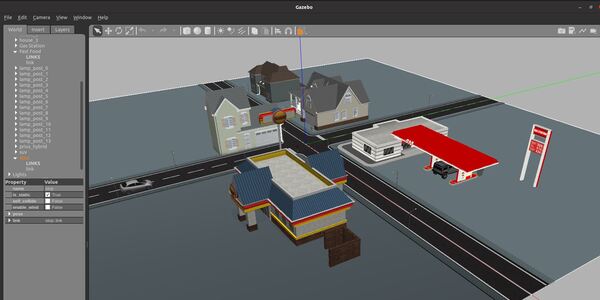
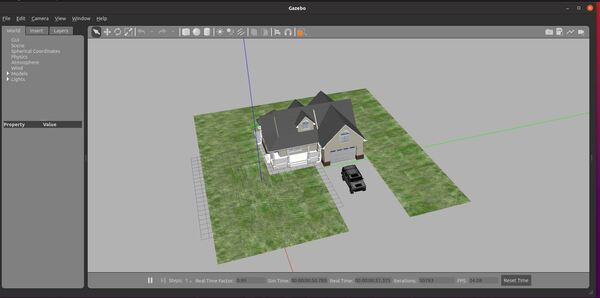
world_file_path = 'worlds/neighborhood.world'
# Pose where we want to spawn the robot
spawn_x_val = '0.0'
spawn_y_val = '0.0'
spawn_z_val = '0.0'
spawn_yaw_val = '0.00'
############ You do not need to change anything below this line #############
# Set the path to different files and folders.
pkg_gazebo_ros = FindPackageShare(package='gazebo_ros').find('gazebo_ros')
pkg_share = FindPackageShare(package=package_name).find(package_name)
default_urdf_model_path = os.path.join(pkg_share, urdf_file_path)
default_rviz_config_path = os.path.join(pkg_share, rviz_config_file_path)
world_path = os.path.join(pkg_share, world_file_path)
gazebo_models_path = os.path.join(pkg_share, gazebo_models_path)
os.environ["GAZEBO_MODEL_PATH"] = gazebo_models_path
# Launch configuration variables specific to simulation
gui = LaunchConfiguration('gui')
headless = LaunchConfiguration('headless')
namespace = LaunchConfiguration('namespace')
rviz_config_file = LaunchConfiguration('rviz_config_file')
urdf_model = LaunchConfiguration('urdf_model')
use_namespace = LaunchConfiguration('use_namespace')
use_robot_state_pub = LaunchConfiguration('use_robot_state_pub')
use_rviz = LaunchConfiguration('use_rviz')
use_sim_time = LaunchConfiguration('use_sim_time')
use_simulator = LaunchConfiguration('use_simulator')
world = LaunchConfiguration('world')
# Declare the launch arguments
declare_use_joint_state_publisher_cmd = DeclareLaunchArgument(
name='gui',
default_value='True',
description='Flag to enable joint_state_publisher_gui')
declare_namespace_cmd = DeclareLaunchArgument(
name='namespace',
default_value='',
description='Top-level namespace')
declare_use_namespace_cmd = DeclareLaunchArgument(
name='use_namespace',
default_value='false',
description='Whether to apply a namespace to the navigation stack')
declare_rviz_config_file_cmd = DeclareLaunchArgument(
name='rviz_config_file',
default_value=default_rviz_config_path,
description='Full path to the RVIZ config file to use')
declare_simulator_cmd = DeclareLaunchArgument(
name='headless',
default_value='False',
description='Whether to execute gzclient')
declare_urdf_model_path_cmd = DeclareLaunchArgument(
name='urdf_model',
default_value=default_urdf_model_path,
description='Absolute path to robot urdf file')
declare_use_robot_state_pub_cmd = DeclareLaunchArgument(
name='use_robot_state_pub',
default_value='True',
description='Whether to start the robot state publisher')
declare_use_rviz_cmd = DeclareLaunchArgument(
name='use_rviz',
default_value='True',
description='Whether to start RVIZ')
declare_use_sim_time_cmd = DeclareLaunchArgument(
name='use_sim_time',
default_value='true',
description='Use simulation (Gazebo) clock if true')
declare_use_simulator_cmd = DeclareLaunchArgument(
name='use_simulator',
default_value='True',
description='Whether to start the simulator')
declare_world_cmd = DeclareLaunchArgument(
name='world',
default_value=world_path,
description='Full path to the world model file to load')
# Subscribe to the joint states of the robot, and publish the 3D pose of each link.
start_robot_state_publisher_cmd = Node(
package='robot_state_publisher',
executable='robot_state_publisher',
parameters=[{'robot_description': Command(['xacro ', urdf_model])}])
# Publish the joint states of the robot
start_joint_state_publisher_cmd = Node(
package='joint_state_publisher',
executable='joint_state_publisher',
name='joint_state_publisher',
condition=UnlessCondition(gui))
# Launch RViz
start_rviz_cmd = Node(
package='rviz2',
executable='rviz2',
name='rviz2',
output='screen',
arguments=['-d', rviz_config_file])
# Start Gazebo server
start_gazebo_server_cmd = IncludeLaunchDescription(
PythonLaunchDescriptionSource(os.path.join(pkg_gazebo_ros, 'launch', 'gzserver.launch.py')),
condition=IfCondition(use_simulator),
launch_arguments={'world': world}.items())
# Start Gazebo client
start_gazebo_client_cmd = IncludeLaunchDescription(
PythonLaunchDescriptionSource(os.path.join(pkg_gazebo_ros, 'launch', 'gzclient.launch.py')),
condition=IfCondition(PythonExpression([use_simulator, ' and not ', headless])))
# Launch the robot
spawn_entity_cmd = Node(
package='gazebo_ros',
executable='spawn_entity.py',
arguments=['-entity', robot_name_in_model,
'-topic', 'robot_description',
'-x', spawn_x_val,
'-y', spawn_y_val,
'-z', spawn_z_val,
'-Y', spawn_yaw_val],
output='screen')
# Create the launch description and populate
ld = LaunchDescription()
# Declare the launch options
ld.add_action(declare_use_joint_state_publisher_cmd)
ld.add_action(declare_namespace_cmd)
ld.add_action(declare_use_namespace_cmd)
ld.add_action(declare_rviz_config_file_cmd)
ld.add_action(declare_simulator_cmd)
ld.add_action(declare_urdf_model_path_cmd)
ld.add_action(declare_use_robot_state_pub_cmd)
ld.add_action(declare_use_rviz_cmd)
ld.add_action(declare_use_sim_time_cmd)
ld.add_action(declare_use_simulator_cmd)
ld.add_action(declare_world_cmd)
# Add any actions
ld.add_action(start_gazebo_server_cmd)
ld.add_action(start_gazebo_client_cmd)
ld.add_action(spawn_entity_cmd)
ld.add_action(start_robot_state_publisher_cmd)
ld.add_action(start_joint_state_publisher_cmd)
ld.add_action(start_rviz_cmd)
return ld
Save the file and close it.
Build the Package
Go to the root folder.
cd ~/dev_ws/
Build the package.
colcon build
Launch the Launch File
Now let’s launch the launch file.
cd ~/dev_ws/
ros2 launch two_wheeled_robot launch_urdf_into_gazebo.launch.py
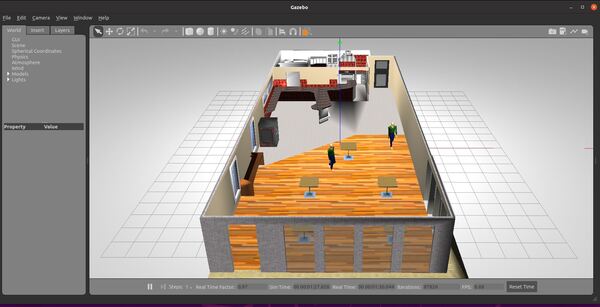
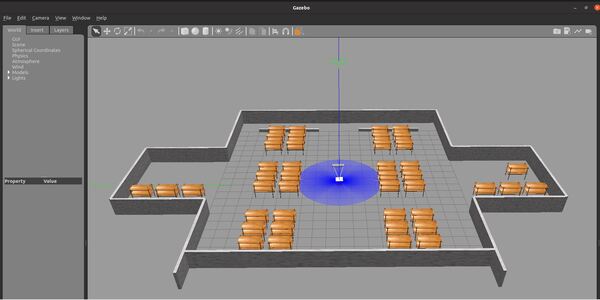
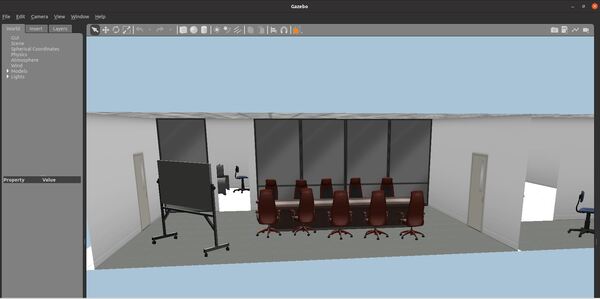
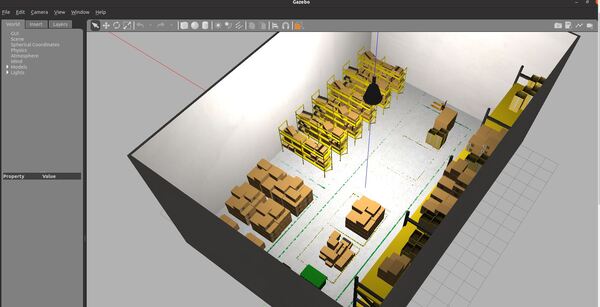
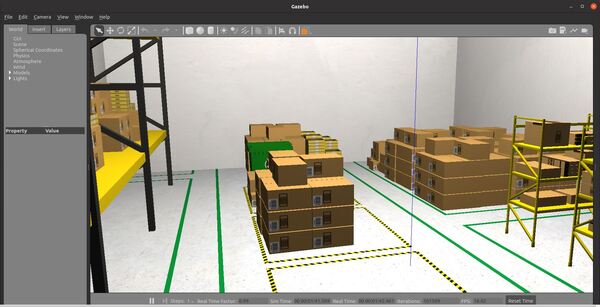
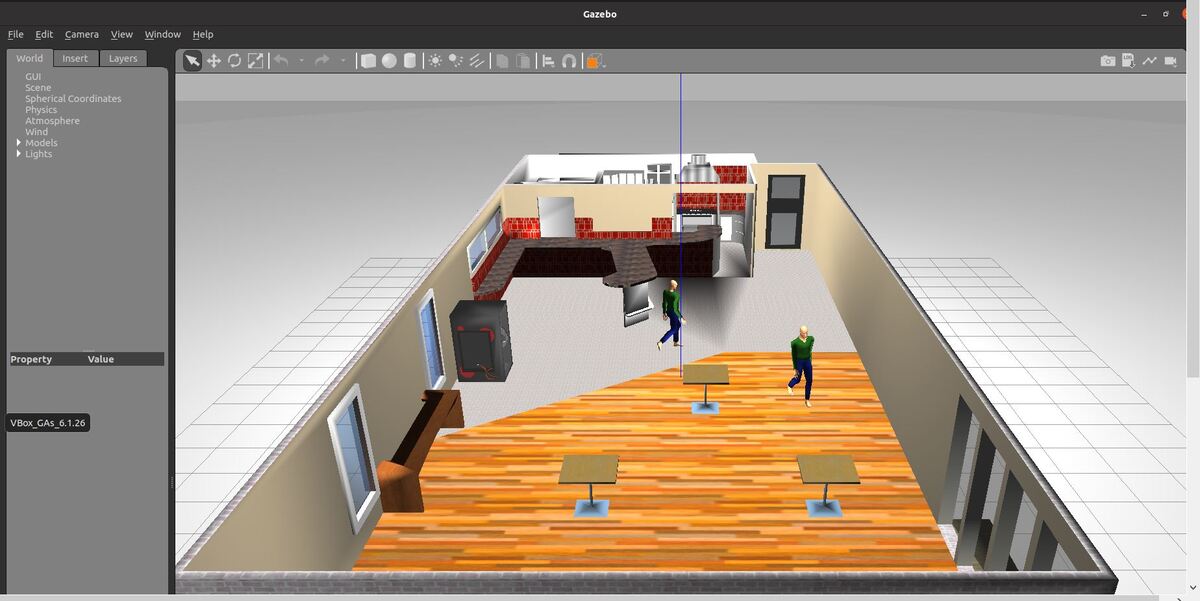
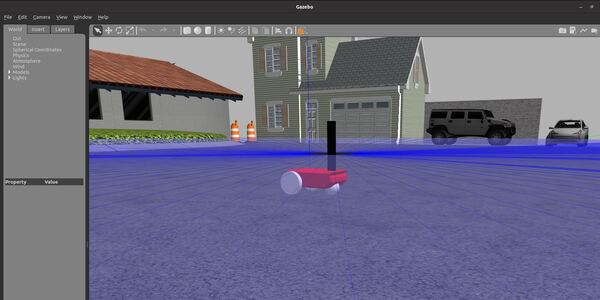
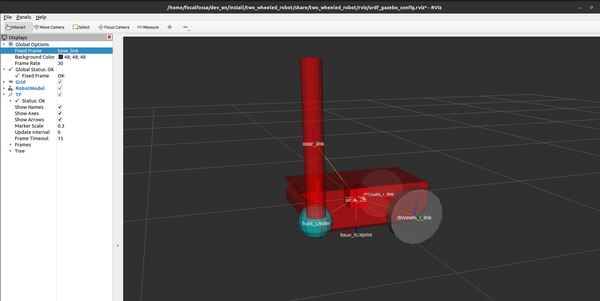
Here is the output:
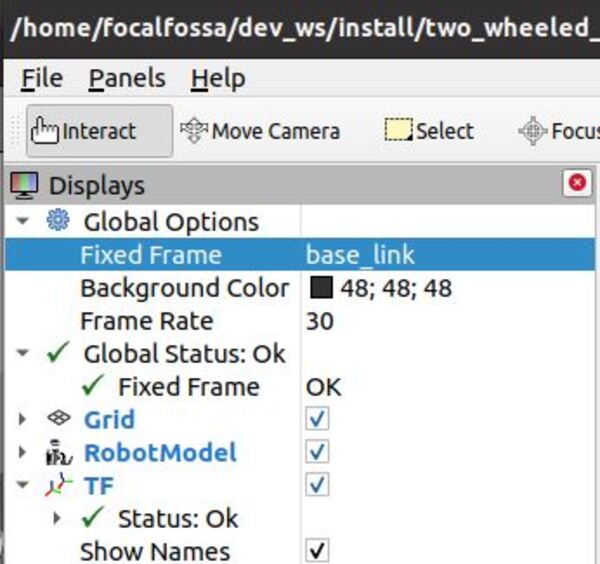
You will also see that an Rviz window pops up. You can change the Fixed Frame to base_link so the robot appears.
That’s it. Keep building!