

In this post, we will learn how to create a package in ROS 2 Foxy Fitzroy.
Software in ROS 2 is organized into packages. Each package might contain a mixture of code (e.g. ROS 2 nodes), data, libraries, images, documentation, etc. Every program you write in ROS 2 will need to be inside a package.
ROS 2 packages promote software reuse. The goal of a ROS 2 package is to be large enough to provide a specific useful functionality, but not so large and complicated that nobody wants to reuse it for their own project.
The official tutorial is located in the ROS 2 Foxy documentation, but we’ll run through the entire process step-by-step below.
You Will Need
In order to complete this tutorial, you will need:
Prerequisites
You have already created a workspace.
Create a Package
Open a new terminal window, and navigate to the src directory of your workspace:
cd ~/dev_ws/src
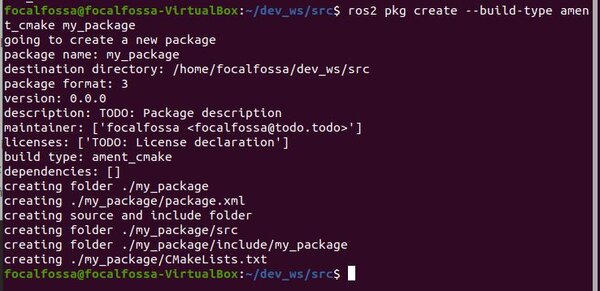
Now let’s create a package named my_package.
Type this command to create a C++ package:
ros2 pkg create --build-type ament_cmake my_package
Type this command to create a Python package:
ros2 pkg create --build-type ament_python my_package
Your package named my_package has now been created.
We also could have added dependencies (i.e. other software packages our code might depend on) when we created our package:
ros2 pkg create --build-type ament_python my_package --dependencies rclpy image_transport cv_bridge sensor_msgs std_msgs opencv2
Build a Package
Return to the root of your workspace:
cd ~/dev_ws/
Build all packages in the workspace.
colcon build

If you only want to build my_package and no other package in the workspace, you can type:
colcon build --packages-select my_package
That’s it! In the next tutorial, we will look at how to create publisher and subscriber nodes in ROS 2.