
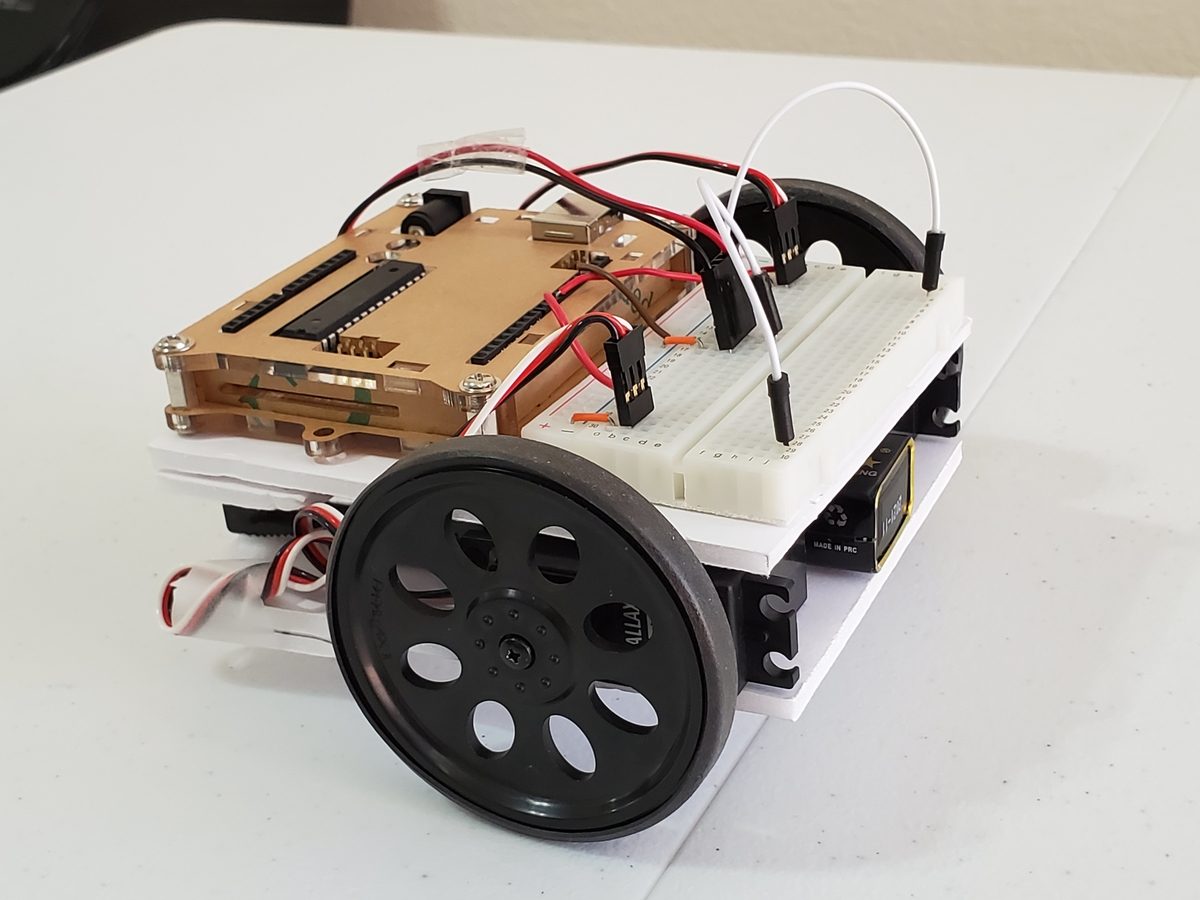
In this post, I’ll show you how to make a basic autonomous wheeled robot move forwards, backwards, to the right, and to the left using Arduino.
Shout out to the late Gordon McComb for this project idea. He is the author of an excellent book that I recommend buying if you’re getting started with robotics: How to Make a Robot.
Requirements
Here are the requirements:
- Make an autonomous wheeled robot move forwards, backwards, to the right, and to the left using Arduino.
You Will Need
The following components are used in this project. You will need:
Directions
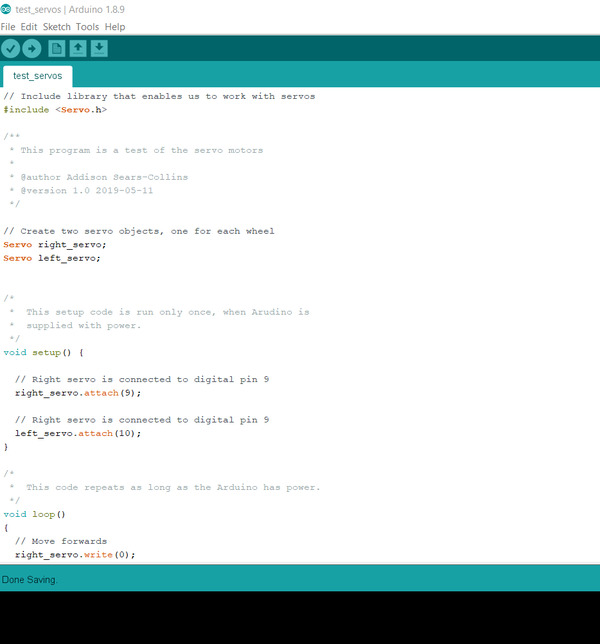
First, we need to test the servos to see if they are working. Code up the sketch below into the Arduino Integrated Development Environment (IDE).
Give it a descriptive name like test_servos.ino.
// Include library that enables us to work with servos
#include <Servo.h>

/**
 * This program is a test of the servo motors
 *
 * @author Addison Sears-Collins
 * @version 1.0 2019-05-11
 */

// Create two servo objects, one for each wheel
Servo right_servo;
Servo left_servo;

/*
 *  This setup code is run only once, when Arudino is
 *  supplied with power.
 */
void setup() {

  // Right servo is connected to digital pin 9
  right_servo.attach(9);

  // Right servo is connected to digital pin 9
  left_servo.attach(10);
}

/*
 *  This code repeats as long as the Arduino has power.
 */
void loop() {

  // On the continuous rotation servo, the write()
  // method sets the speed of the servo.
  // 0 is full speed in one direction.
  // 180 is full speed in the other direction.
  // ~90 is no movement (You will have to tweak to
  //   get no movement).

  // Move forwards
  right_servo.write(0);
  left_servo.write(180);

  // Wait 2 seconds
  delay(2000);

  // Move backwards (reverse)
  right_servo.write(180);
  left_servo.write(0);

  // Wait 2 seconds
  delay(2000);
/*
  // Turn right
  right_servo.write(180);
  left_servo.write(180);

  // Wait 2 seconds
  delay(2000);

  // Turn left
  right_servo.write(0);
  left_servo.write(0);

  // Wait 2 seconds
  delay(2000);
  */
}
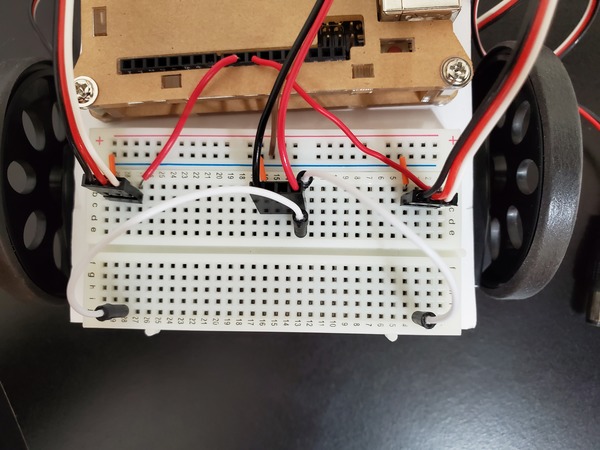
Make sure the right and left servos are OFF:
- a13 to j2 = left servo OFF
- e13 to j28 = right servo OFF
Compile the sketch in the IDE by clicking the checkmark in the upper left corner of the IDE.
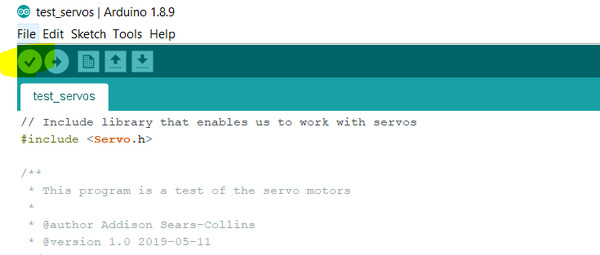
Upload the sketch to the Arduino board by connecting the USB to your computer. Then click the right arrow (Upload) button on the IDE. The LED on your Arduino should be illuminated.
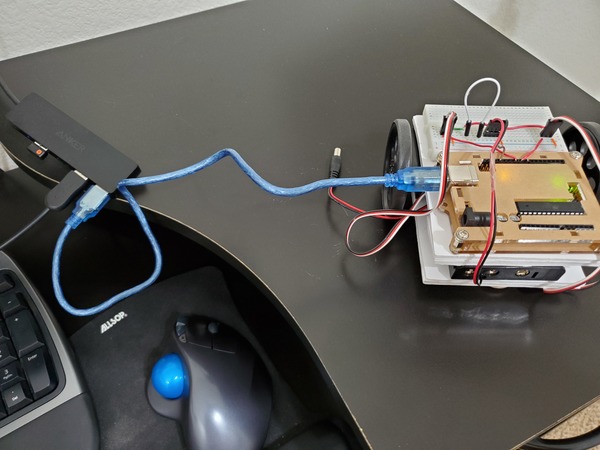
Remove the USB cord from the Arduino.
Turn ON both servos:
- a13 to e3 = left servo ON
- e13 to e28 = right servo ON

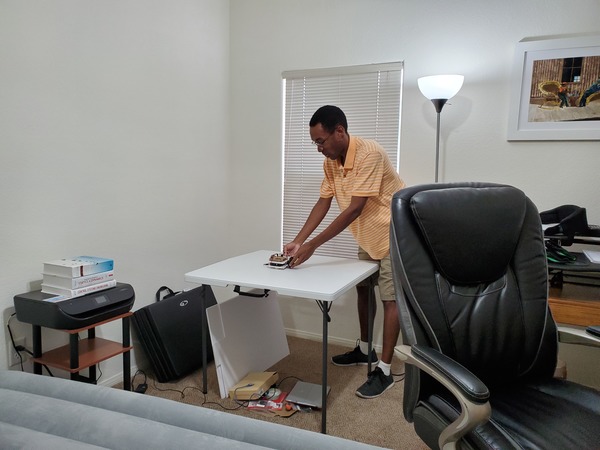
Hold the robot in your hand or place the robot on the floor.
Power up the Arduino by plugging in the 9V jack.
Observe the robot move.

When you are done watching it move, pull the 9V jack out of the Arduino and turn the servos OFF. Remember:
- a13 to j2 = left servo OFF
- e13 to j28 = right servo OFF
Here is another sketch (named basic_wheeled_bot.ino) that you can upload to the Arduino that adds some different movements to your robot and breaks up the movements we had in the test code into separate methods. Feel free to play around with this and create your own movement sequence:
// Include library that enables us to work with servos
#include <Servo.h>

/**
 * This program makes a basic wheeled robot
 * do different movements.
 *
 * @author Addison Sears-Collins
 * @version 1.0 2019-05-11
 */

// Create two servo objects, one for each wheel
Servo right_servo;
Servo left_servo;

/*
 *  This setup code is run only once, when Arudino is
 *  supplied with power.
 */
void setup() {

  // Right servo is connected to digital pin 9
  right_servo.attach(9);

  // Right servo is connected to digital pin 9
  left_servo.attach(10);
}

/*
 *  This code repeats as long as the Arduino has power.
 */
void loop() {

  // On the continuous rotation servo, the write()
  // method sets the speed of the servo.
  // 0 is full speed in one direction.
  // 180 is full speed in the other direction.
  // ~90 is no movement (You will have to tweak to
  //   get no movement).

  go_forward();

  // Pause 2 seconds
  delay(2000);

  go_backwards();

  // Pause 2 seconds
  delay(2000);

  go_right();

  // Pause 2 seconds
  delay(2000);

  go_left();

  // Pause 2 seconds
  delay(2000);

  stop_all();

  // Pause 2 seconds
  delay (2000);
}

/*
 *  Forwards, backwards, right, left, stop.
 */
void go_forward() {
  right_servo.write(0);
  left_servo.write(180);
}
void go_backwards() {
  right_servo.write(180);
  left_servo.write(0);
}
void go_right() {
  right_servo.write(180);
  left_servo.write(180);
}
void go_left() {
  right_servo.write(0);
  left_servo.write(0);
}
void stop_all() {
  right_servo.write(90); // Tweak the 90
  left_servo.write(90);  // Tweak the 90
}