In this post, I’ll show you how to do build a motorized base for a basic wheeled robot.
Shout out to the late Gordon McComb for this project idea. He is the author of an excellent book that I recommend buying if you’re getting started with robotics: How to Make a Robot.
Requirements
Here are the requirements:
- Build a motorized wheeled-robot base
You Will Need
The following components are used in this project. You will need:
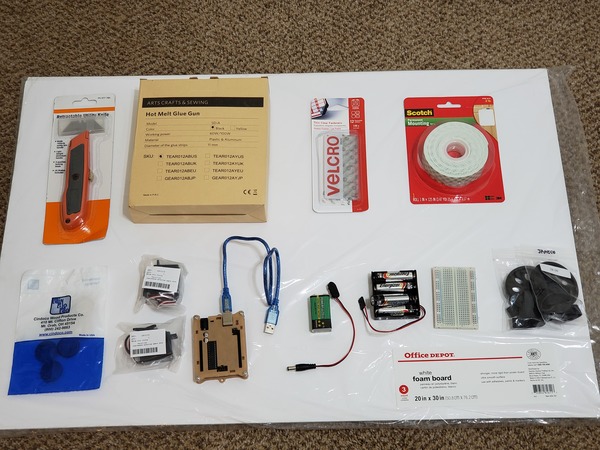
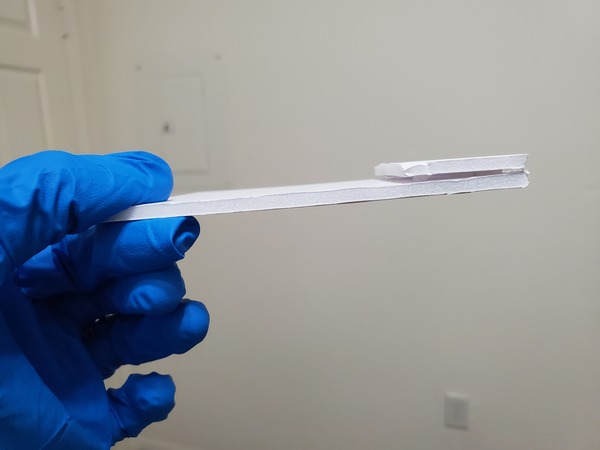
- Office Depot White 1/4 Inch Thick Foam Board, 20 inches by 30 inches
- Utility Knife
- Hot Glue Gun
- Velcro Thin Clear Fasteners
- Scotch Permanent Mounting Tape
- Wooden Button Top Screw Hole Plugs 1 Inch
- Continuous Rotation Servo Motor (Jameco Part: 283039)
- Arduino/Elegoo Uno (Mine is in a protective case, which is optional)
- 9V Battery
- 9V Barrel Jack Connector
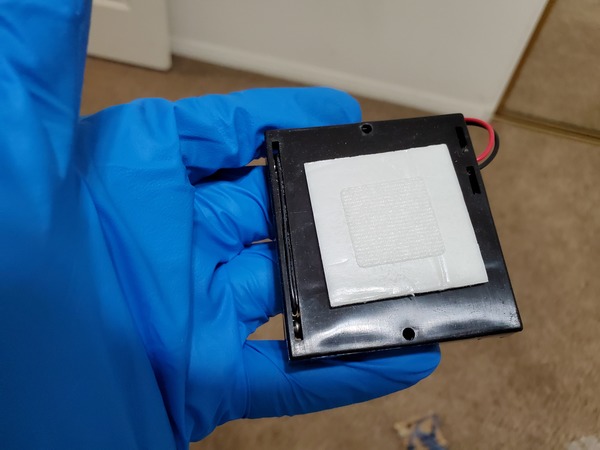
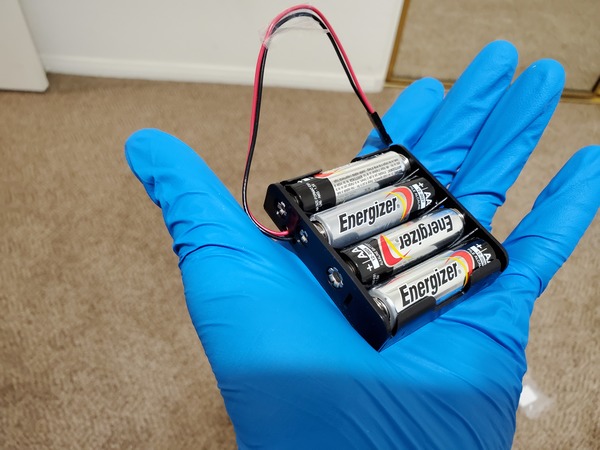
- 4xAA Battery Holder
- 4 AA Batteries
- Solderless Breadboard (400 Point)
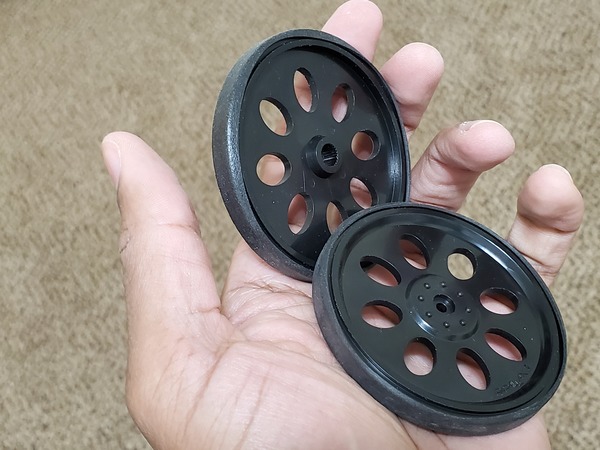
- Tire Set (Jameco Part: 2109624)
Directions
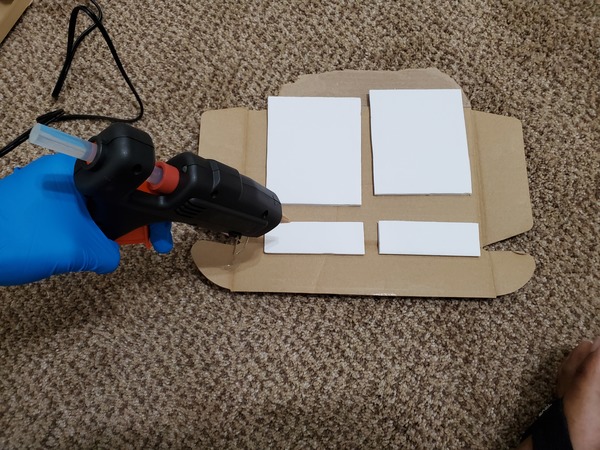
First, grab the white foam board and cut it as follows:
- Two pieces that are 4.5 inches by 3.75 inches in dimensions
- Two pieces that are 3.75 inches by 1.25 inches in dimensions

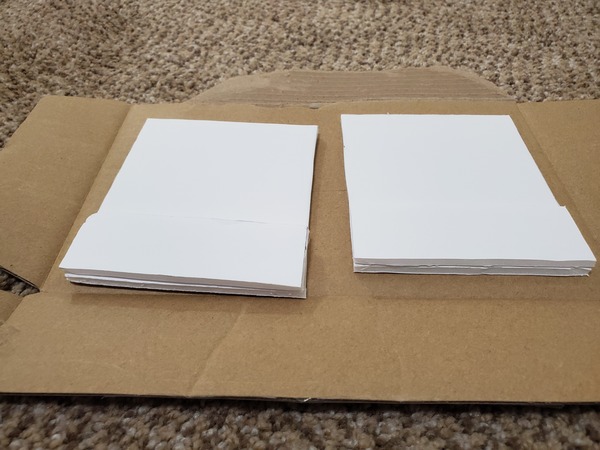
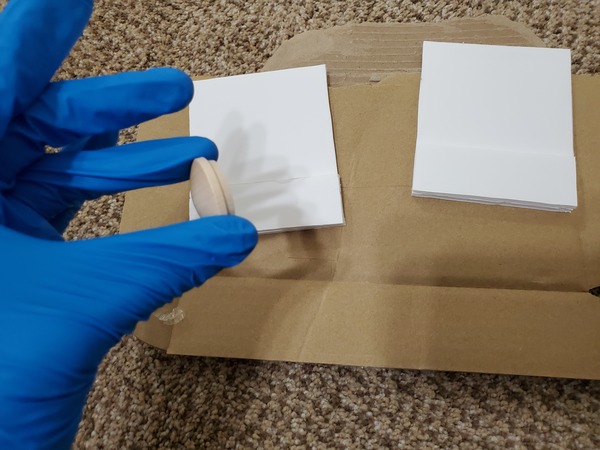
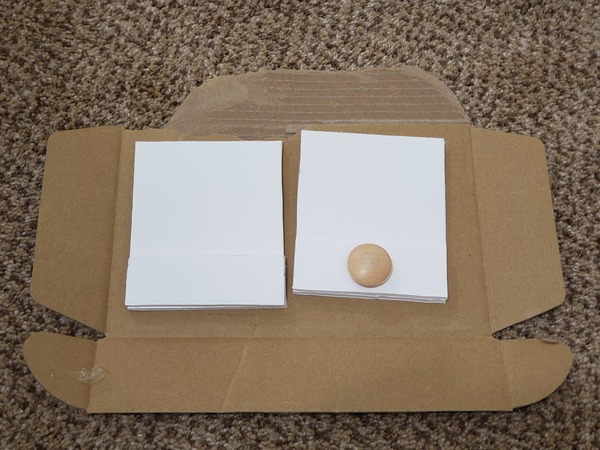
Heat up the glue gun (I used the 100 Watt setting) and add a line of glue to one of the smaller boards. Then quickly (before the glue dries) attach one smaller board to the end of one of the larger boards so that the edges are lined up.
Do this again for the other smaller board/larger board set.
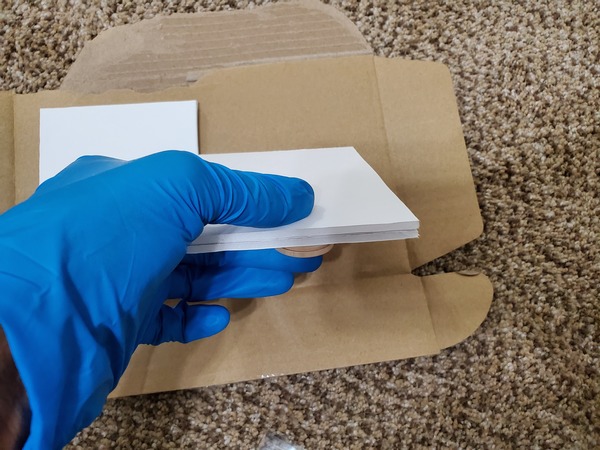
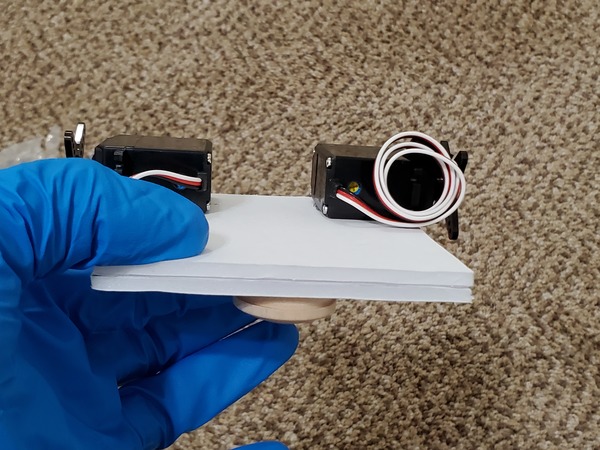
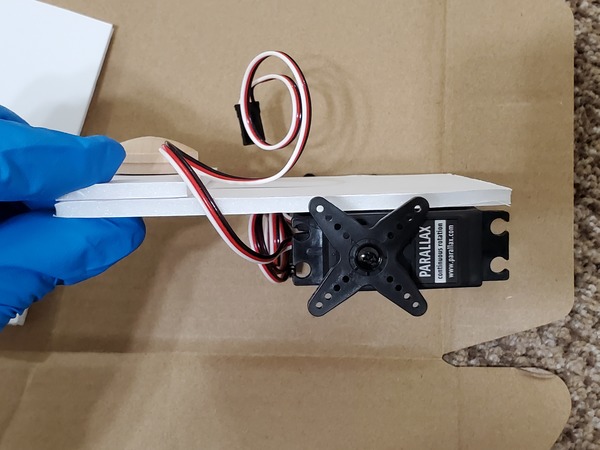
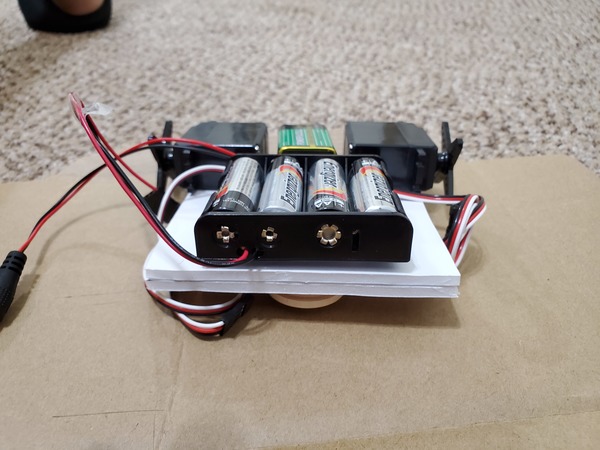
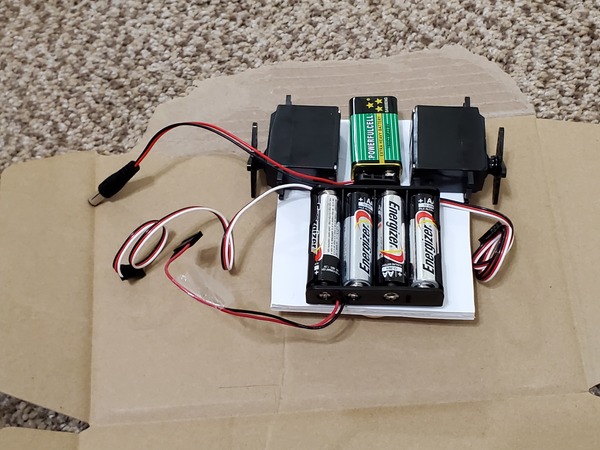
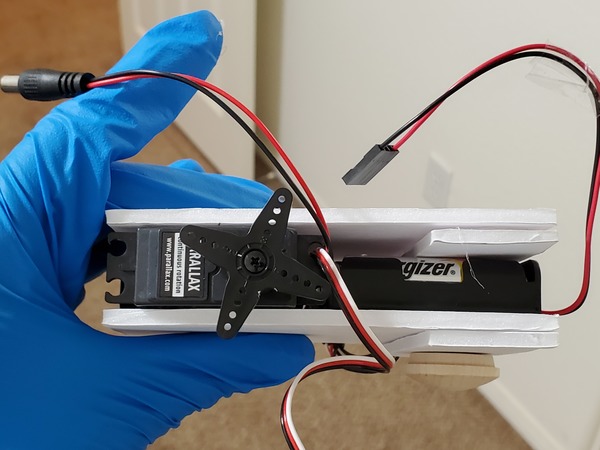
Now, glue a wooden hole plug to the middle of the top of one of the small boards using the hot glue gun. This board set is the lower base of the robot. The wooden plug will be in the rear on the underside of the lower base.
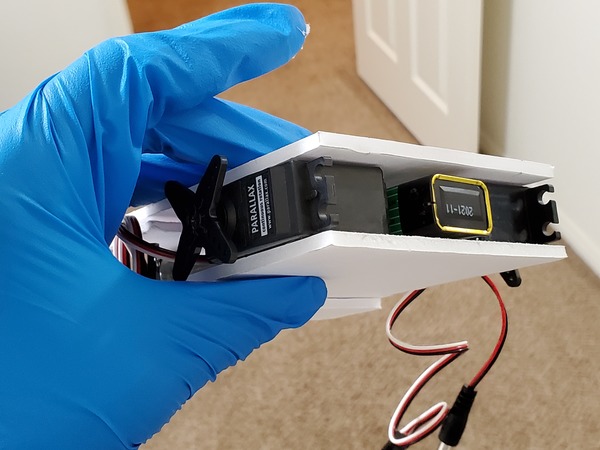
On the side opposite of the one with the wooden plug, glue two servo motors on either side. The two handles on either side of the servos need to be aligned with the sides and front of the base.
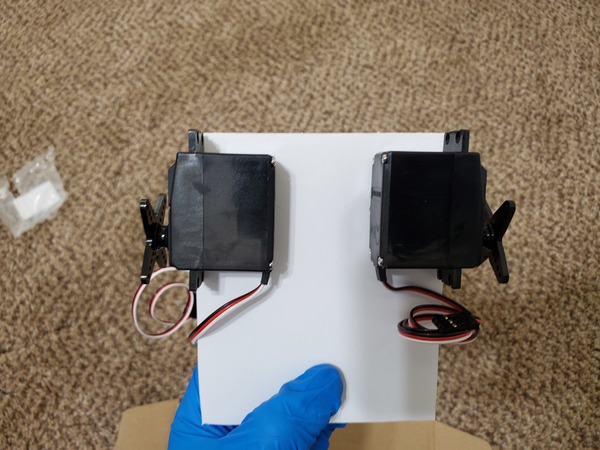
The shaft of the servo needs to be closest to the end of the base with the wooden plug.
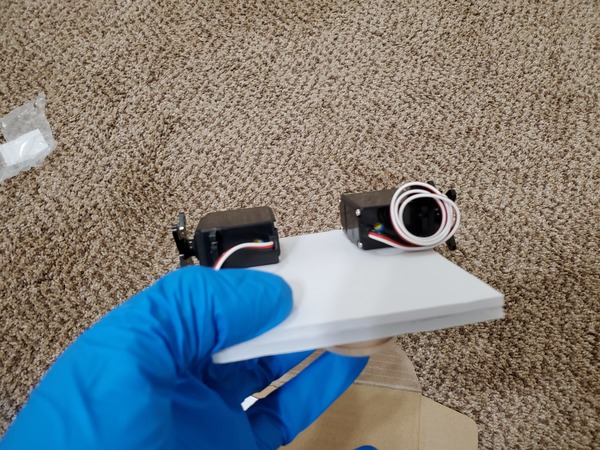
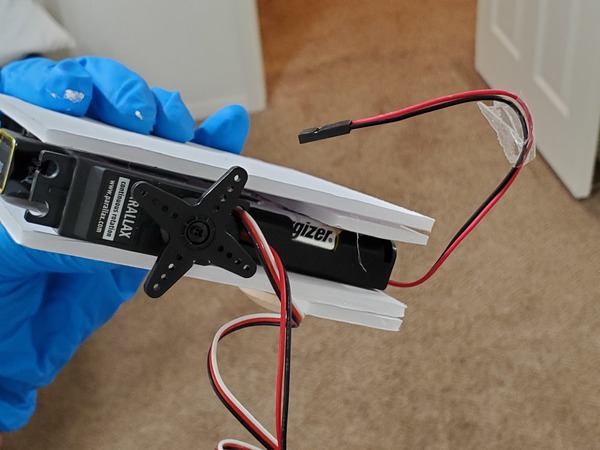
Grab a 9V battery with barrel jack connector and place it between the two servos using a stick of Velcro. The bottom of the battery should NOT hang over the edge of the board. This 9V battery will eventually be used to power the Arduino.

Get another piece of Velcro and place it on the underside of the 4xAA battery holder. Attach a piece of Velcro to the middle of the board on the opposite end of the servos/9V battery.
Using Velcro, place the 4xAA battery holder in the rear (the end with the wooden plugs underneath) of the lower base behind the servos/9v battery. The edge of the battery holder should be even with the board, and the wires should hang out the back of the board.
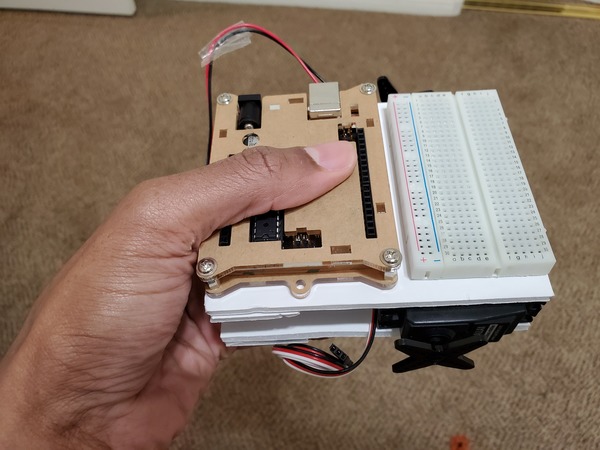
Now, we need to attach the upper base (the white board set that has nothing attached to it) to the top of the servos. Get two pieces of Velcro and place them on top of the servos. Then lower the upper base down over the servos so that the boards are aligned.
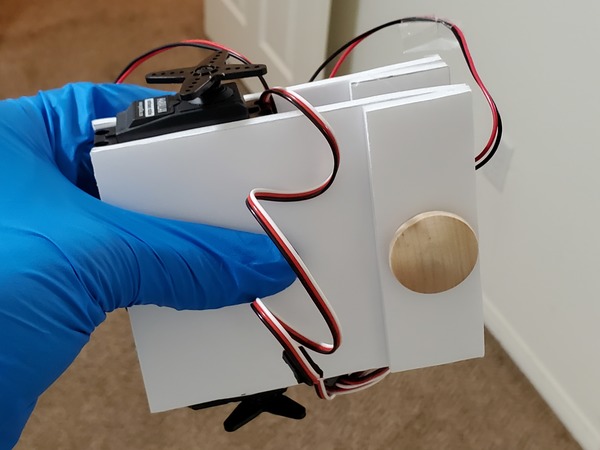
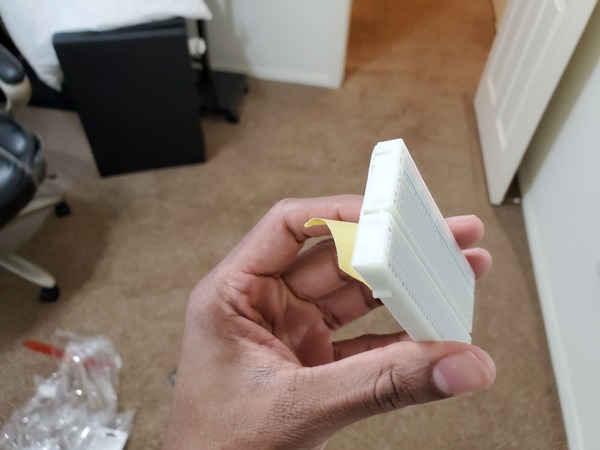
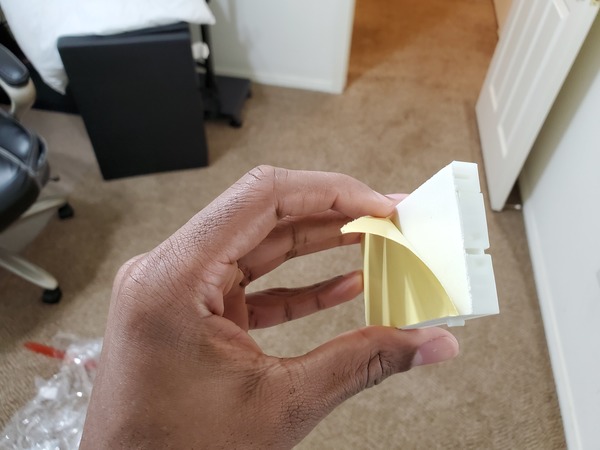
Grab the solderless breadboard and remove one of the two power rails. You can use scissors to cut the adhesive that keeps the power rail stuck to the breadboard.

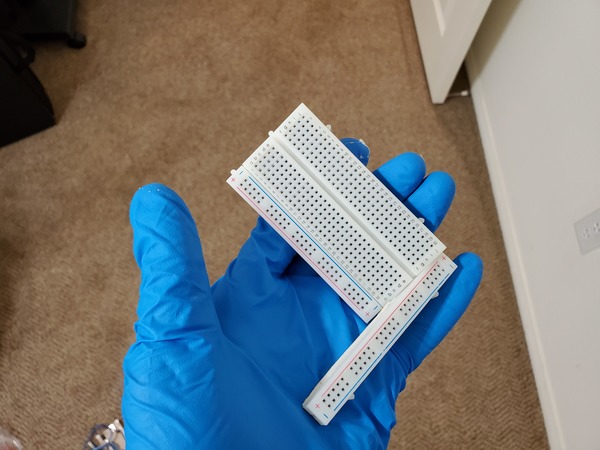
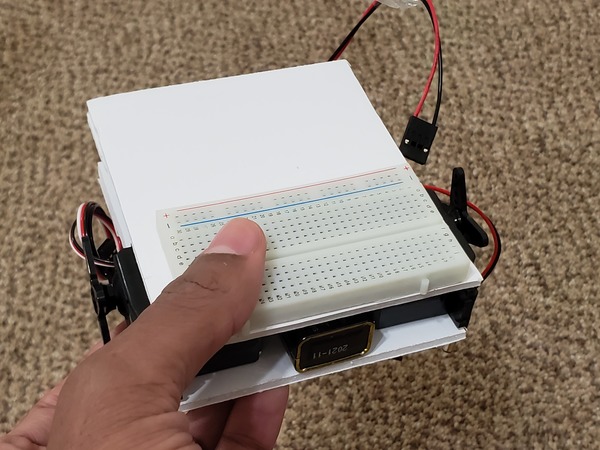
Peel off the backing on the underside of the solderless breadboard, and attach the breadboard to the top of the robot above the servos so that it is aligned with the edge of the white board. The power rail should be in the middle of the board.
Now Velcro the Arduino to the board, behind the solderless breadboard. Give about 1/8 inch of space between the Arduino and breadboard.
Place the rubber tires over each wheel. You will have to stretch the rubber a bit to get it over the wheel, but rest assured they will fit snugly.
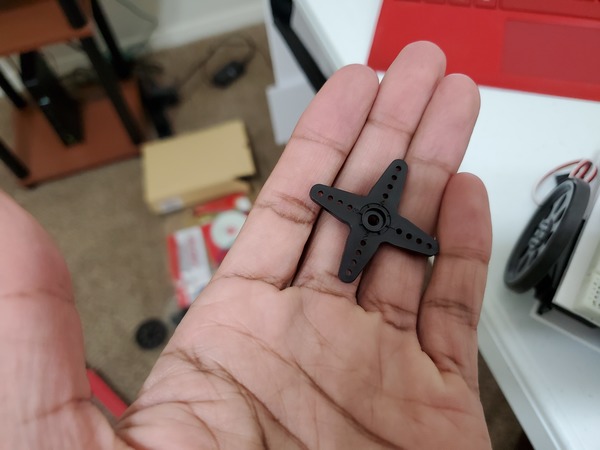
Unscrew the screw in the middle of the servos, and then screw the wheels in to the axle of the servos. If you have one of the four-pronged stubs, just remove it. It pops right off if you give it enough of a tug.
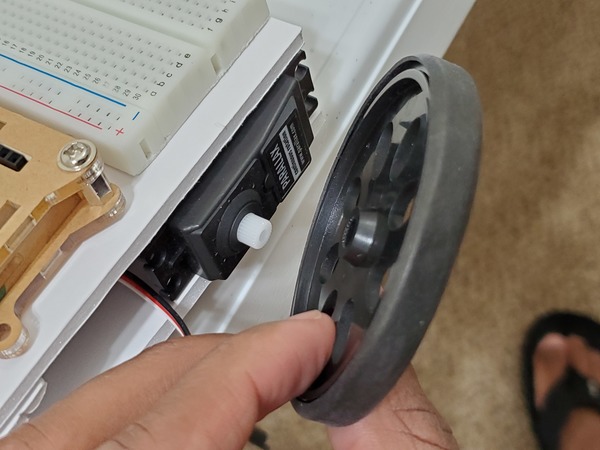
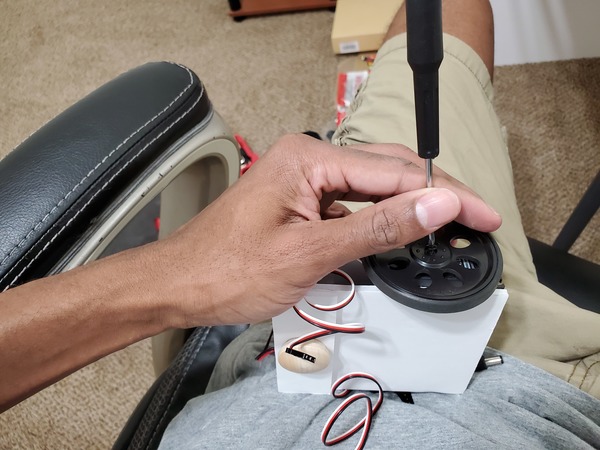
Don’t screw the wheels in too tightly, just snugly.

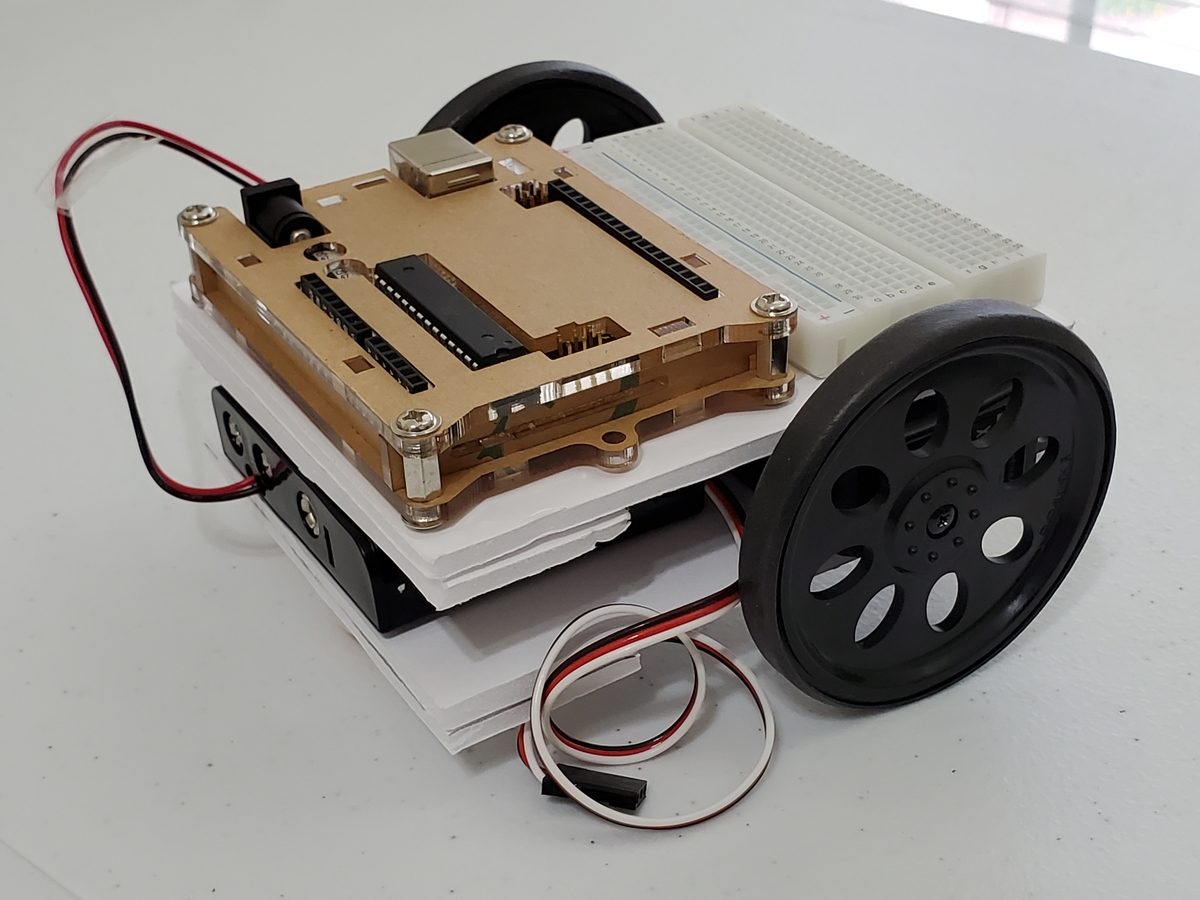
That’s it! You now have assembled the body of the wheeled robot base. Now we need to connect all those dangling wires to something. We’ll do that in the next post (“How to Wire the Batteries and Motors of a Basic Wheeled Robot“).