
You all might remember the line-following robot I built using Arduino. Well today, we are going to do the same thing, but with a Raspberry Pi.
Special shout out to Matt Timmons-Brown for this project idea. He is the author of a really good book on Raspberry Pi robotics: (Learn Robotics with Raspberry Pi). Go check it out!
Video
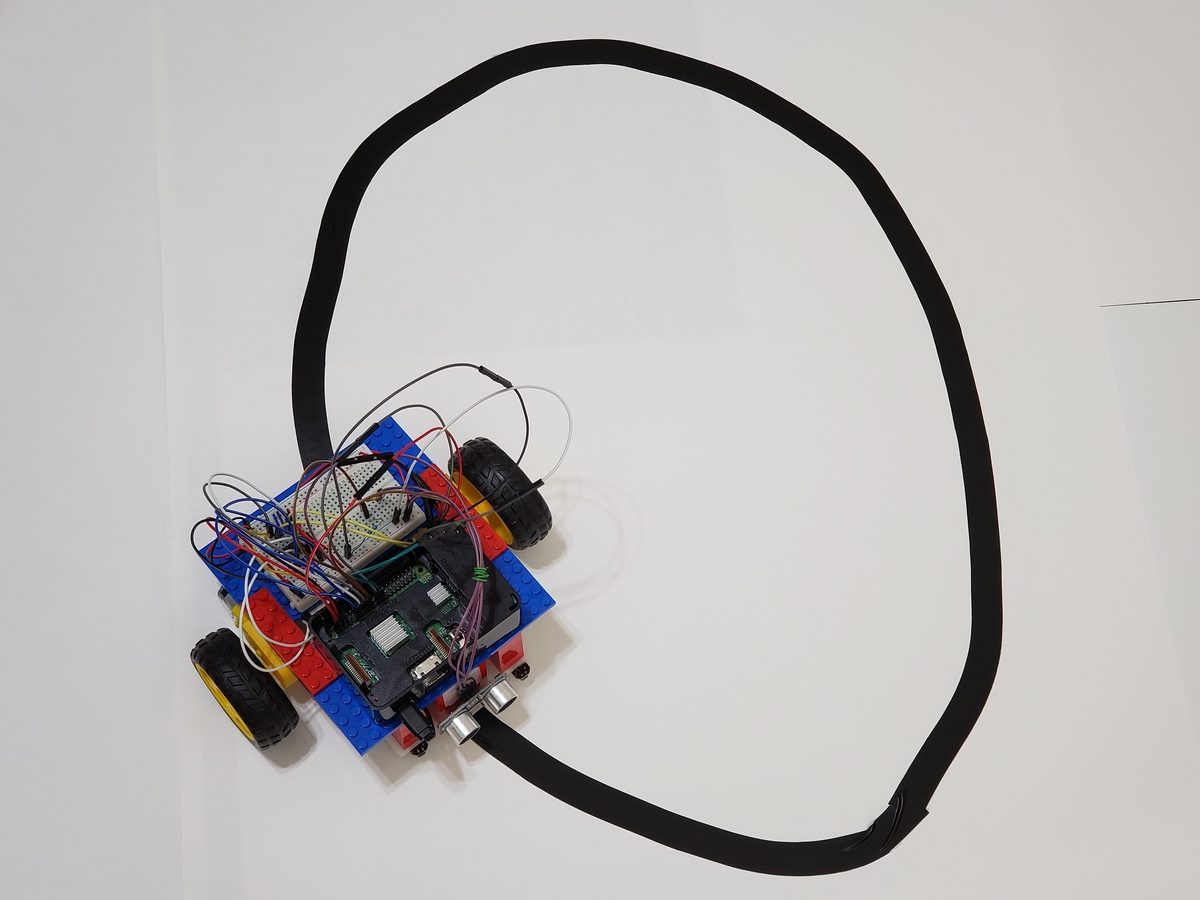
Here is a video of what we will build in this tutorial.
Requirements
Here are the requirements:
- Build a line-following robot using Raspberry Pi.
You Will Need
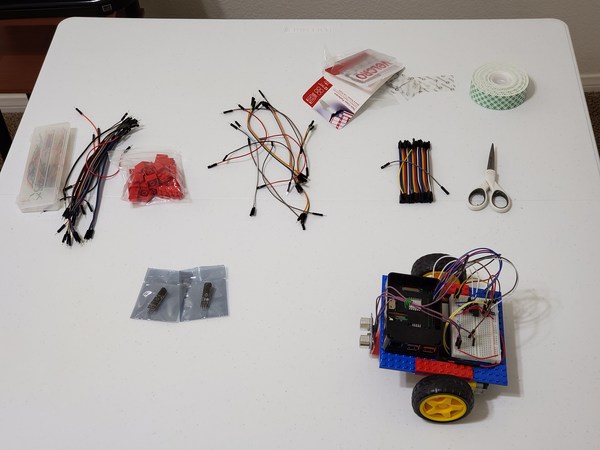
The following components are used in this project. You will need:
- Wheeled Robot with Raspberry Pi
- Black Electrical Tape 3/4 Inch
- White Poster Board 22 inch by 28 inch
- Two 5V Infrared Line Track Follower Sensor TCRT5000 (available from eBay)
- These sensors have an infrared (IR) receiver and transmitter.
- Black things (e.g. black electrical tape) absorb IR light; white things (e.g. white poster board) reflect IR light.
- The receiver will not be able to detect IR light emitted by the transmitter when the robot is over the black electrical tape. Output (OUT pin) of the sensor will be LOW.
- The receiver will detect IR light emitted (and then reflected) by the transmitter when the robot is on top of the white poster board because the white poster board will reflect the IR light (black will absorb the IR light). The output (OUT pin) of the sensor will go HIGH.
- The robot will use the information provided by this sensor to steer itself and follow the black electrical tape line.
- 2 x 2 Lego Blocks (available from eBay)
- Female-to-female Jumper Wires
- VELCRO Brand – Thin Clear Fasteners 7/8 in Squares
- Male-to-male Jumper Wires
- Female-to-male Jumper Wires
Directions
Connecting the Infrared Line Sensor
Make sure the Raspberry Pi is turned OFF.
Connect the VCC pin of the IR line sensor to pin 1 of the Raspberry Pi.
Connect the GND pin of the line sensor to the blue (negative) ground rail of the solderless breadboard.
Connect the OUT pin of the line sensor to pin 21 (GPIO 9) of the solderless breadboard.
Testing the Infrared Line Sensor
Power up your Raspberry Pi, and open IDLE.
Create a new program called test_line_following.py.
Save it in to your robot directory.
Here is the code:
import gpiozero
import time
# Description: Code for testing the
# TCRT5000 IR Line Track Follower Sensor
# Author: Addison Sears-Collins
# Date: 05/29/2019


# Initialize line sensor to GPIO9
line_sensor = gpiozero.DigitalInputDevice(9)

while True:
  if line_sensor.is_active == False:
    print("Line detected")
  else:
    print("Line not detected")

  time.sleep(0.2) # wait for 0.2 seconds
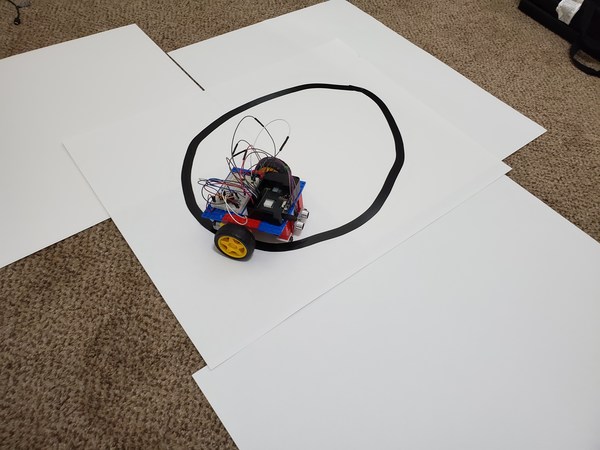
Create a line-following course using your black electrical tape and your poster board. It should look something like this.
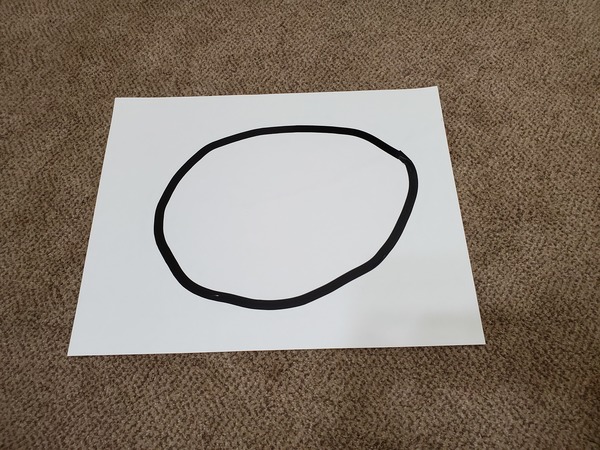
I recommend leaving a 3-inch margin between the side of the poster board and the course. Don’t make curves that are too sharp.

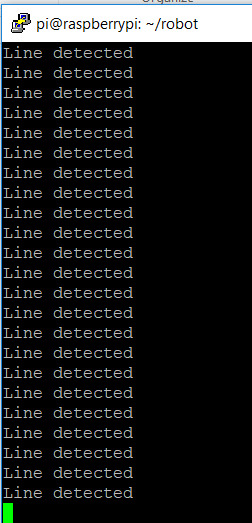
Run your test program from a terminal window.
cd robot
python3 test_line_following.py
Move your track in front of the sensor to see if the terminal prints out “Line detected. “
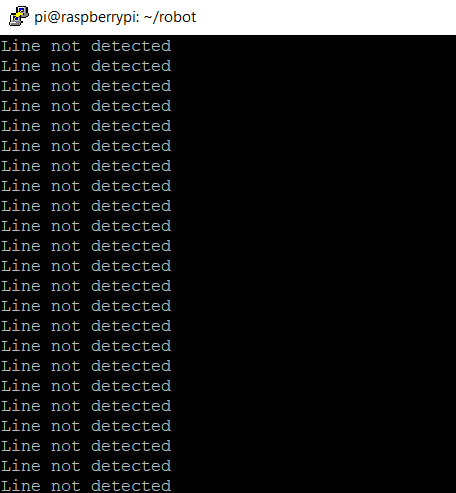
If you are running into issues, use a screwdriver to adjust the sensitivity of the sensor.
That white and blue potentiometer is what you should tweak.
Connect the other IR line sensor.
Connect the VCC pin of the IR line sensor to pin 17 of the Raspberry Pi using a female-to-female jumper wire.
Connect the GND pin of the IR line sensor to the blue (negative) ground rail of the solderless breadboard.
Connect the OUT pin of the IR line sensor to pin 23 (GPIO 11) of the Raspberry Pi.
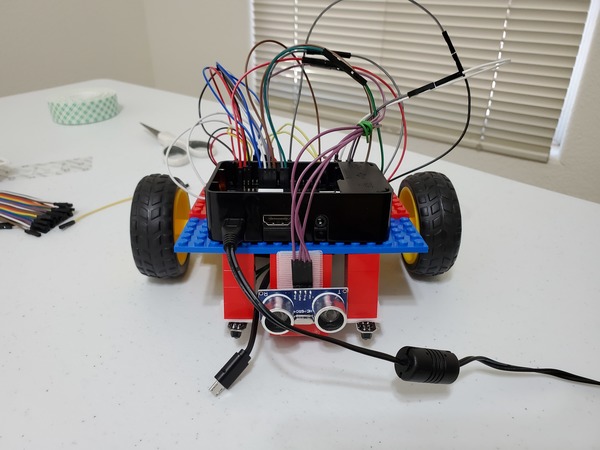
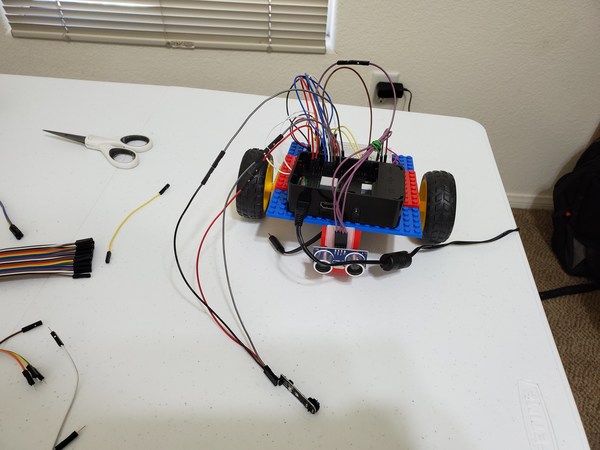
Attaching the Sensors
Attach the first IR line sensor you wired up to the front, left side of the robot.
Attach the second IR line sensor to the right side of the robot.
Both sensors need to be just off the ground and can be mounted using 2×2 Lego blocks that extend downward from the body of the robot.
A piece of VELCRO is sufficient to attach both sensors.
Run the wires connected to the IR line sensors down through the gap in the robot body.
Create the Line-Following Program in Python
Open IDLE on your Raspberry Pi.
Create a new file inside your robot directory named
line_following_robot.py
Here is the code:
import gpiozero

# File name: line_following_robot.py
# Code source (Matt-Timmons Brown): https://github.com/the-raspberry-pi-guy/raspirobots
# Date created: 5/29/2019
# Python version: 3.5.3
# Description: Follow a line using a TCRT5000 IR
# Line Following Sensor

robot = gpiozero.Robot(left=(22,27), right=(17,18))

left = gpiozero.DigitalInputDevice(9)
right = gpiozero.DigitalInputDevice(11)

while True:
  if (left.is_active == True) and (right.is_active == True):
    robot.forward()
  elif (left.is_active == False) and (right.is_active == True):
    robot.right()
  elif (left.is_active == True) and (right.is_active == False):
    robot.left()
  else:
    robot.stop()
Deploying Your Line-Following Robot
Place your robot on your track. Make sure the line-following sensors are directly above the black line.
Verify that your Raspberry Pi is connected to battery power, and your 4xAA battery pack is turned on.
Run your program from inside the robot directory.
cd robot
python3 line_following_robot.py
Watch your robot follow the line! Press CTRL-C anytime to stop the program.