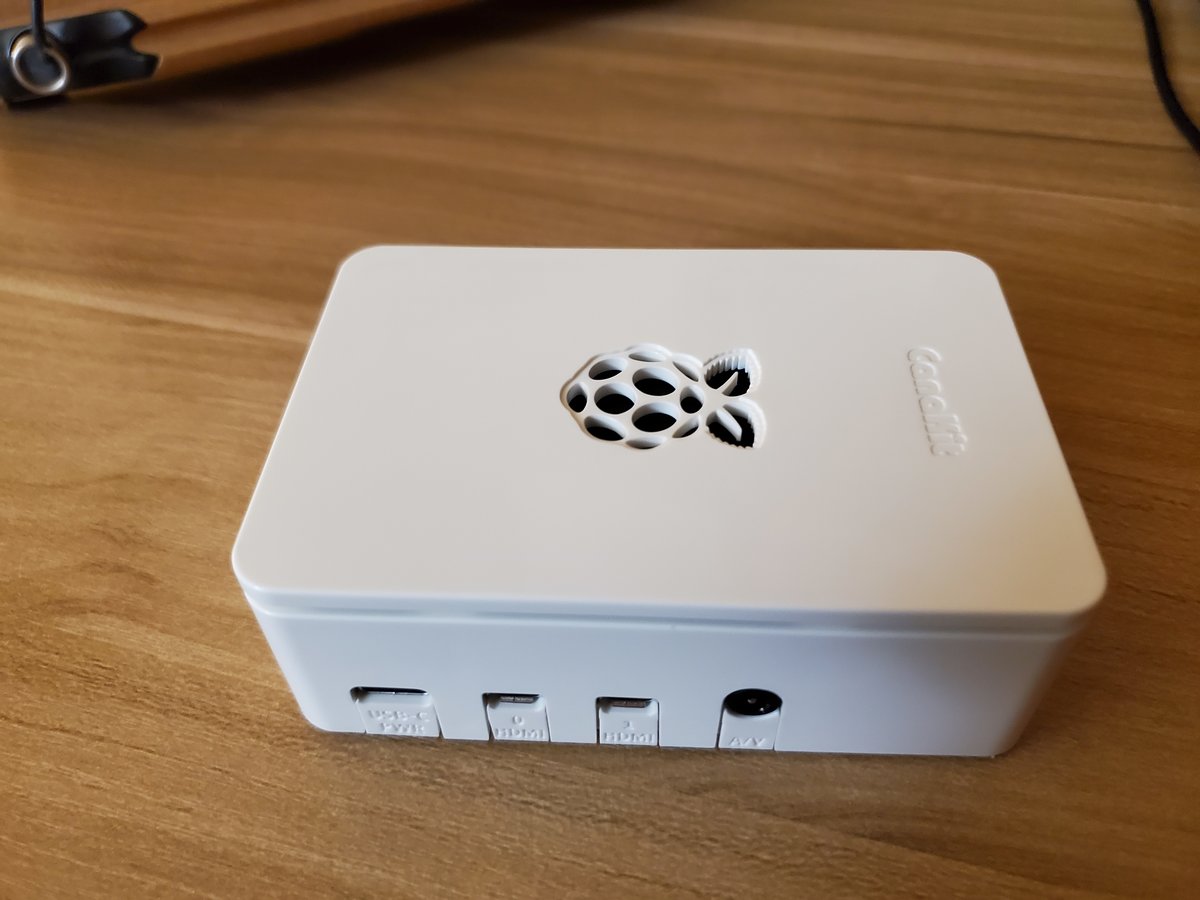
In this tutorial, we will set up a Raspberry Pi 4 with both the Ubuntu 20.04 and Raspbian operating systems.
You Will Need
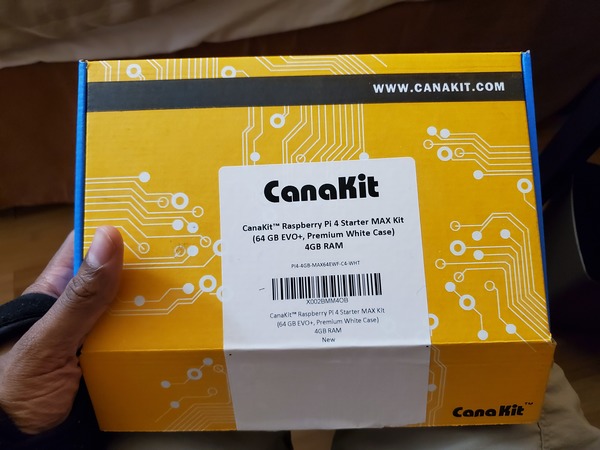
This section is the complete list of components you will need for this project.
- 1 x CanaKit Raspberry Pi 4 4GB Starter MAX Kit – 64GB Edition
- A Wi-Fi network or an ethernet cable with an internet connection
- A monitor with an HDMI interface
- A USB keyboard
- 64 GB microSD Card (I’m using Samsung microSDXC UHS-I Card Evo Plus)
Install Ubuntu
Prepare the SD Card
Grab the USB MicroSD Card Reader.
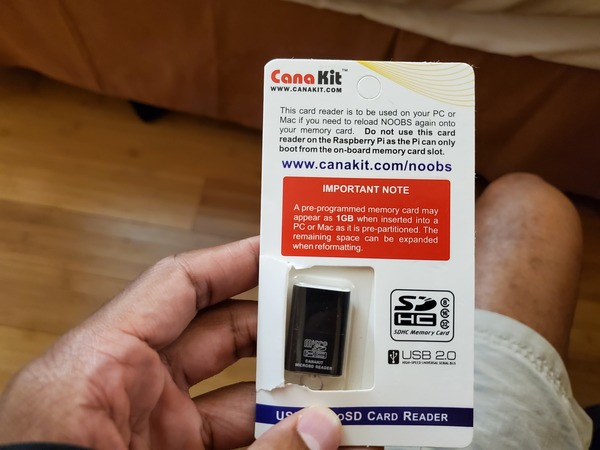
Take off the cap of the USB MicroSD Card Reader.
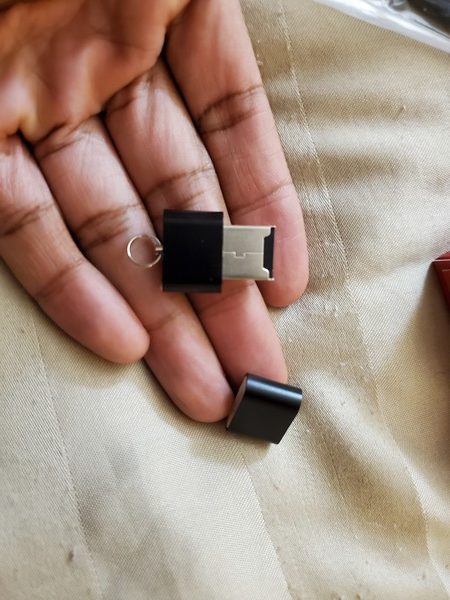
Stick the MicroSD card inside the Card Reader.
Stick the Card Reader into the USB drive on your computer.
Download the Raspberry Pi Imager for your operating system. I’m using Windows, so I will download Raspberry Pi Imager for Windows.
Open the Raspberry Pi Imager. Follow the instructions to install it on your computer.
When the installation is complete, click Finish.
Open the CHOOSE OS menu.
Scroll down, and click “Ubuntu”.
Select the Ubuntu 20.04 download (32-bit server).
Click CHOOSE SD.
Select the microSD card you inserted.
Click WRITE, and wait for the operating system to write to the card. It will take a while so be patient.
While you’re waiting, grab your Raspberry Pi 4 and the bag of heat sinks.
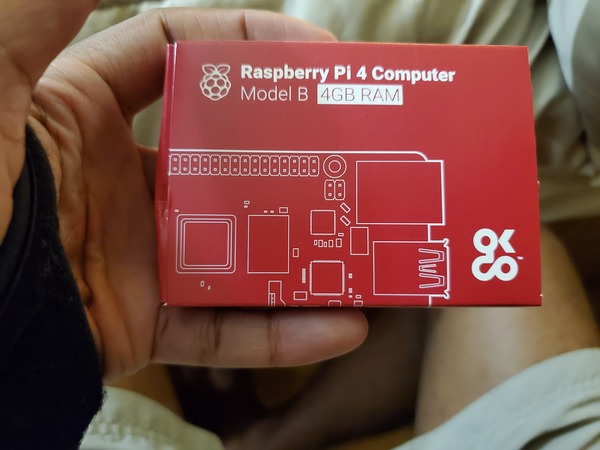
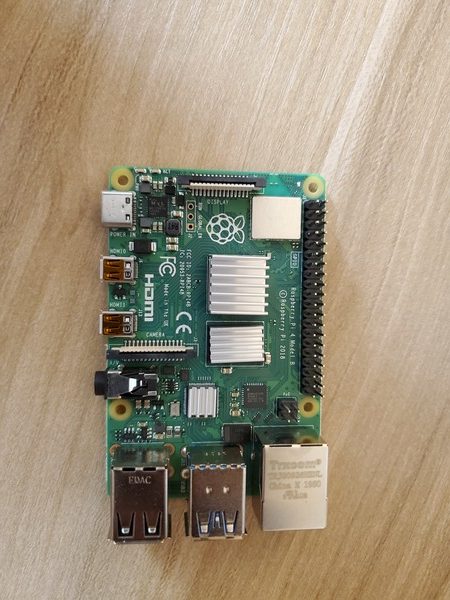
Peel off the backup of the heat sinks, and attach them to the corresponding chips on top of the Raspberry Pi.
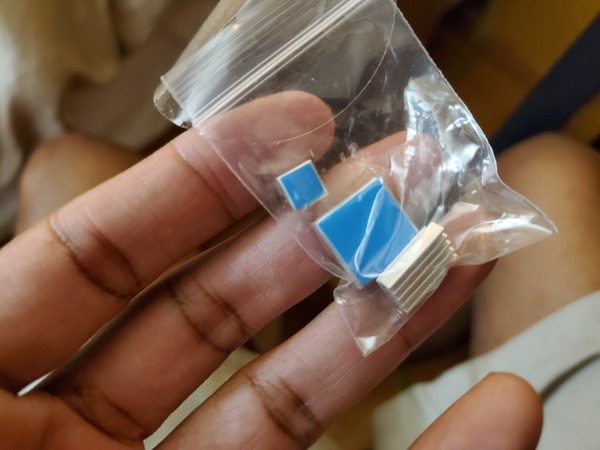
Grab the cooling fan.
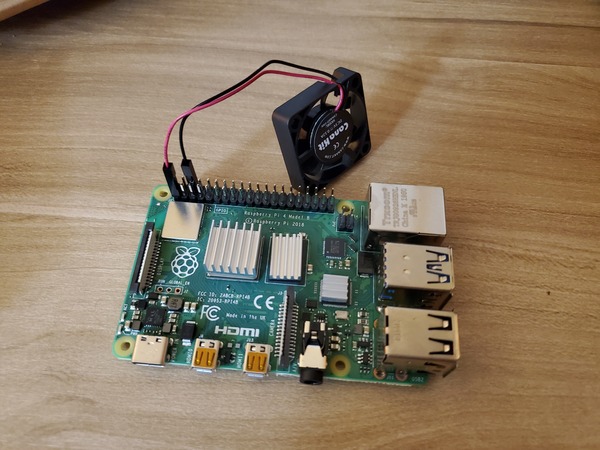
Connect the black wire to header pin 6 of the Raspberry Pi. Connect the red wire to header pin 1 of the Raspberry Pi.
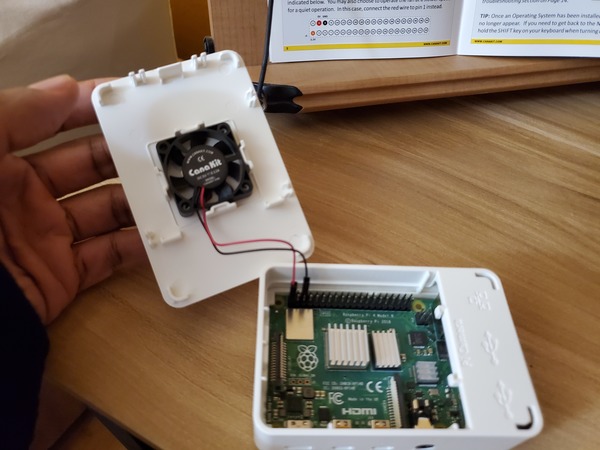
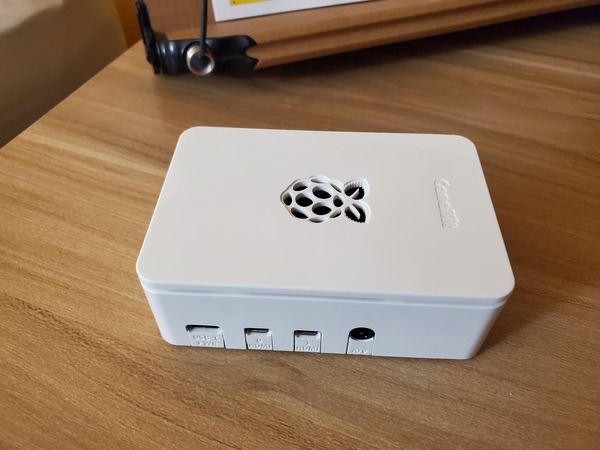
Install the Raspberry Pi inside the case.
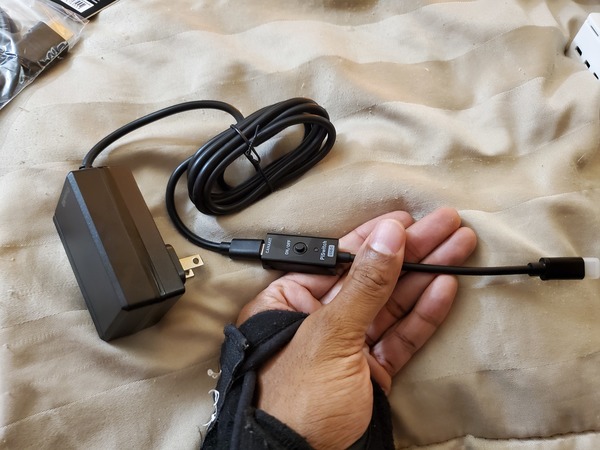
Connect the PiSwitch to the USB-C Power Supply. It should snap into place.
Once the installation of the operating system is complete, remove the microSD card reader from your laptop.
Set Up Wi-Fi
Reinsert the microSD card into your computer.
Open your File Manager, and find the network-config file. Mine is located on the F drive in Windows.
Open that file using Notepad or another plain text editor.
Uncomment (remove the “#” at the beginning) and edit the following lines to add your Wi-Fi credentials (don’t touch any of the other lines):
wifis:
  wlan0:
  dhcp4: true
  optional: true
  access-points:
    <wifi network name>:
      password: "<wifi password>"
For example:
wifis:
  wlan0:
  dhcp4: true
  optional: true
  access-points:
    "home network":
      password: "123456789"
Make sure the network name and password are inside quotes.
Save the file.
Set Up the Raspberry Pi
Safely remove the microSD Card Reader from your laptop.
Remove the microSD card from the card reader.
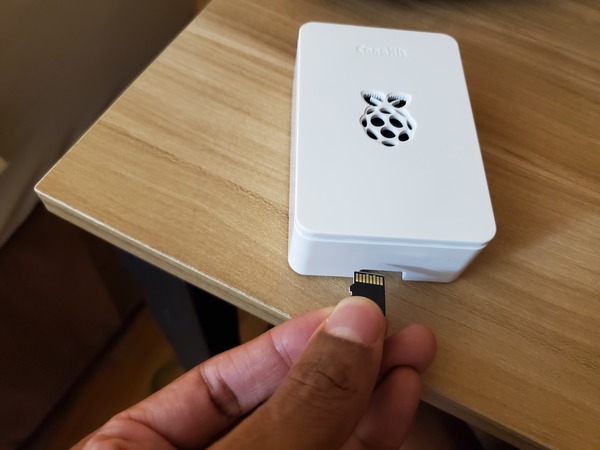
Insert the microSD card into the bottom of the Raspberry Pi.
Connect a keyboard and a mouse to the USB 3.0 ports of the Raspberry Pi.
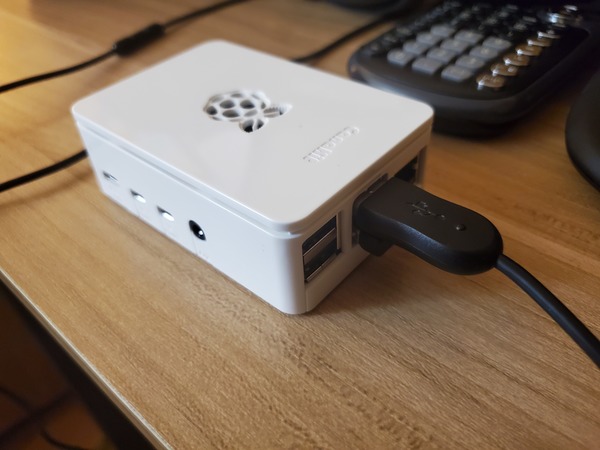
Connect an HDMI monitor to the Raspberry Pi using the Micro HDMI cable connected to the Main MIcro HDMI port (which is labeled HDMI 0).
Connect the 3A USB-C Power Supply to the Raspberry Pi. You should see the computer boot.
Log in using “ubuntu” as both the password and login ID. You will have to do this multiple times.
You will then be asked to change your password.
Type:
sudo reboot
Type the command:
hostname -I
You will see the IP address of your Raspberry Pi. Mine is 192.168.254.68. Write this number down on a piece of paper because you will need it later.
Now update and upgrade the packages.
sudo apt update
sudo apt upgrade
Now, install a desktop.
sudo apt install xubuntu-desktop
Installing the desktop should take around 20-30 minutes or so.
Once that is done, it will ask you what you want as your default display manager. I’m going to use gdm3.
Wait for that to download.
Reboot your computer.
sudo reboot
Your desktop should show up.
Type in your password and press ENTER.
Click on Activities in the upper left corner of the screen to find applications.
If you want to see a Windows-like desktop, type the following commands:
cd ~/.cache/sessions/
Remove any files in there.
Type:
rm
Then press the Tab key and press Enter.
Now type:
xfdesktop
Connect to Raspberry Pi from Your Personal Computer
Follow the steps for Putty under step 9b at this link to connect to your Raspberry Pi from your personal computer.
Install Raspbian
Now, we will install the Raspbian operating system. Turn off the Raspberry Pi, and remove the microSD card.
Insert the default microSD card that came with the kit.
Turn on the Raspberry Pi.
You should see an option to select “Raspbian Full [RECOMMENDED]”. Click the checkbox beside that.
Change the language to your desired language.
Click Wifi networks, and type in the password of your network.
Click Install.
Click Yes to confirm.
Wait while the operating system installs.
You’ll get a message that the operating system installed successfully.
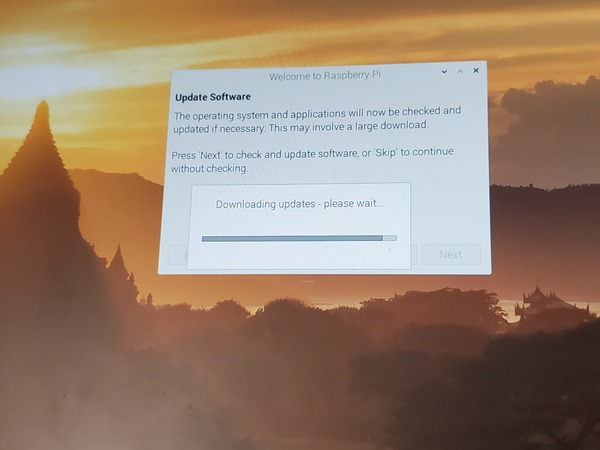
Now follow all the steps from Step 7 of this tutorial. All the software updates at the initial startup take a really long time, so be patient. You can even go and grab lunch and return. It might not look like the progress bar is moving, but it is.
Keep building!

