How to Stream GPS Data Using Raspberry Pi

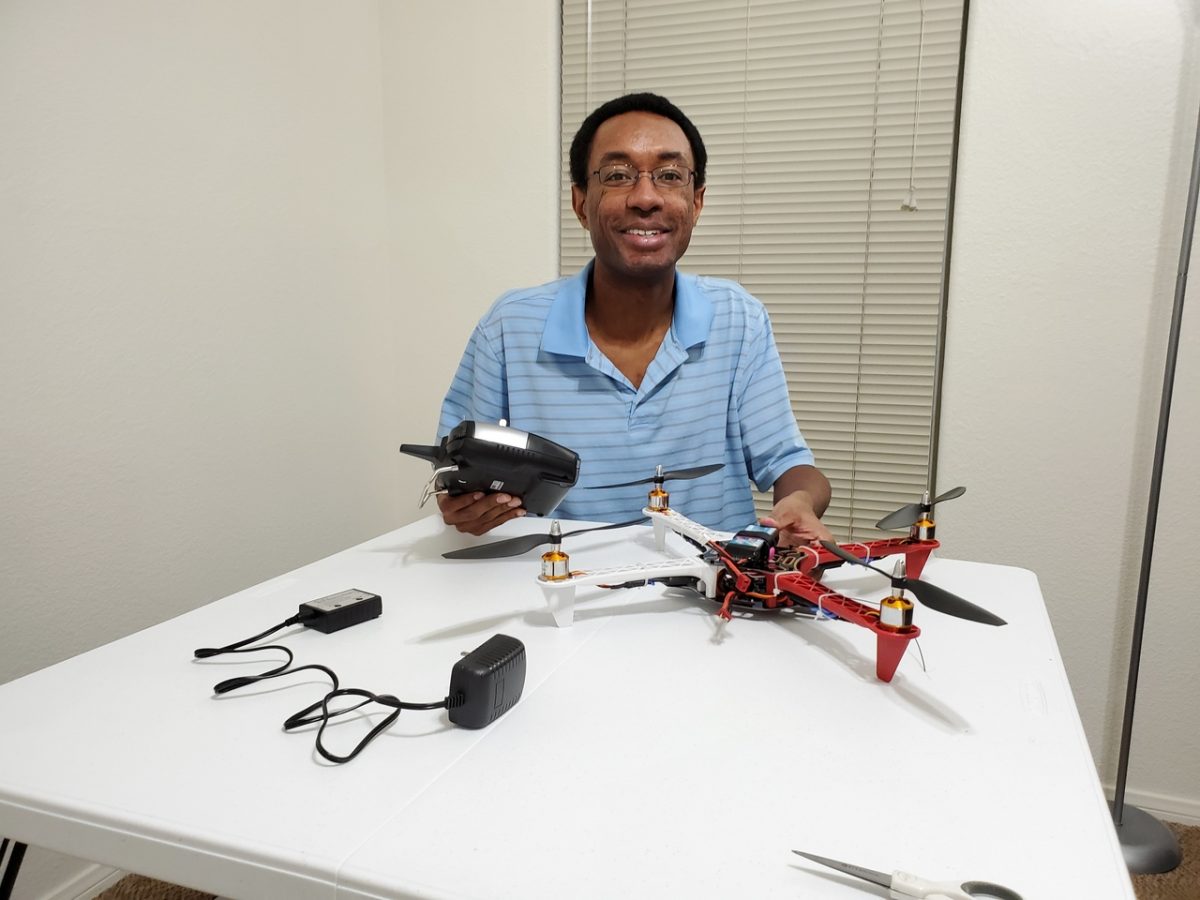
In this post, I’ll show you how to stream GPS data using a Raspberry Pi. To make it more fun, I actually strapped the GPS receiver and Raspberry Pi to a quadcopter and streamed the data via Wifi to my laptop computer. I’ll walk you through all the steps below.

Requirements

Here are the requirements:

  • Using a GPS receiver/dongle connected to the Raspberry Pi, capture GPS data, stream via WiFi to my laptop computer and display on my laptop computer.

Prerequisites

The following components are used in this project. You will need:

Implementation

Hardware

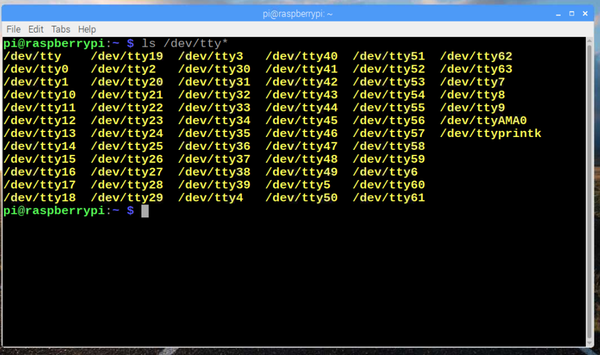
I began by opening a terminal window and typing the following command:

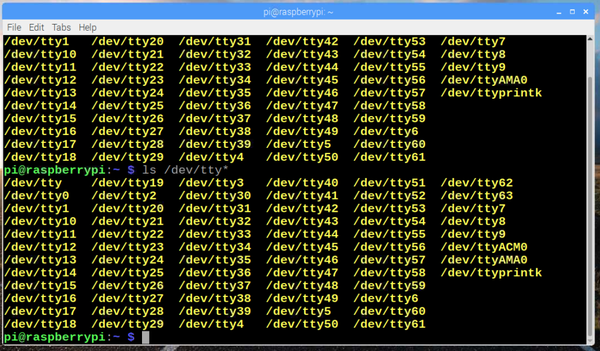
ls /dev/tty*

I looked at the devices, then plugged in the GPS unit into the USB port of the Raspberry Pi. I then looked at the terminal again to check for the difference.

Before:
gps_data_raspberry_pi

After:

gps_data_raspberry_pi

I saw the new entry is /dev/ttyACM0.

Next, I made sure the tty port is set to a baud rate of 9600.

stty -F /dev/ttyACM0
gps_data_raspberry_pi

Next, I installed the daemon. The purpose of this step is to install software on the Raspberry Pi that understands the serial data that the GPS module is providing via /dev/ttyAMA0.

sudo aptitude install gpsd gpsd-clients python-gps

I then invoked the daemon using -nN so it doesn’t try to set the baud rate itself.

sudo gpsd -nN /dev/ttyACM0 /var/run/gpsd.sock

I then ran the basic test program to verify gpsd is working.

cgps -s

I jump started the service.

sudo service gpsd stop
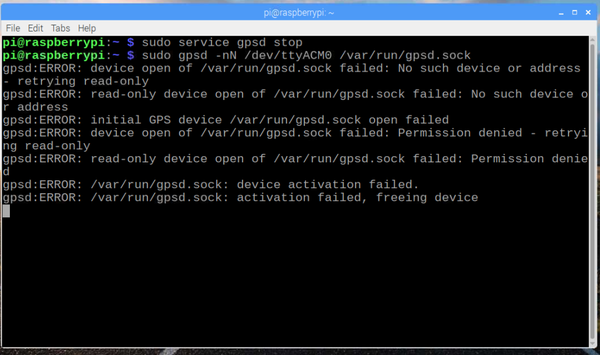
sudo gpsd -nN /dev/ttyACM0 /var/run/gpsd.sock

I got a lot of error messages.
gps_data_raspberry_pi

I then placed the GPS device on the windowsill to have a clear view of the sky.

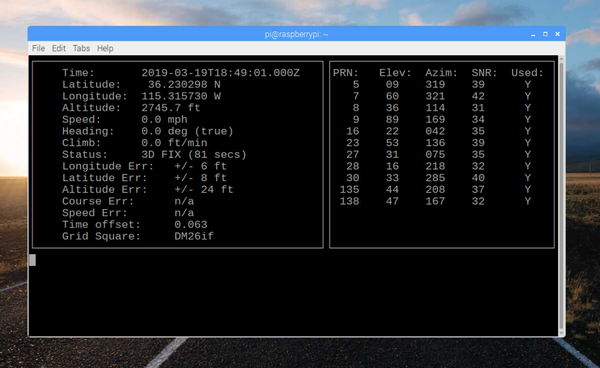
I opened another terminal window, and typed the following command:

cgps -s
gps_data_raspberry_pi

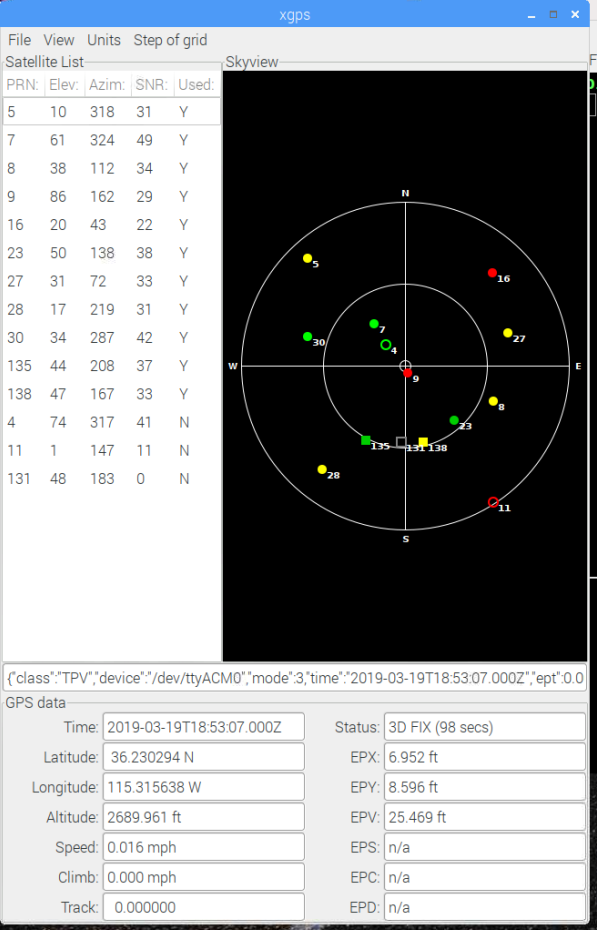
I typed the following command to get a more visual display of the GPS data.

xgps
gps_data_raspberry_pi

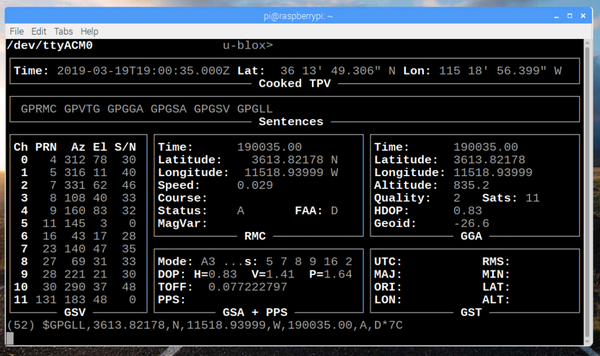
I ran the following command to get a more detailed look at the live-streaming GPS data.

gpsmon 
gps_data_raspberry_pi

I typed the following command to shutdown the GPS stream:

sudo killall gpsd

To restart the GPS stream I typed

sudo gpsd /dev/ttyAMA0 -F /var/run/gpsd.sock

I then typed the following command to shutdown the GPS stream:

sudo killall gpsd

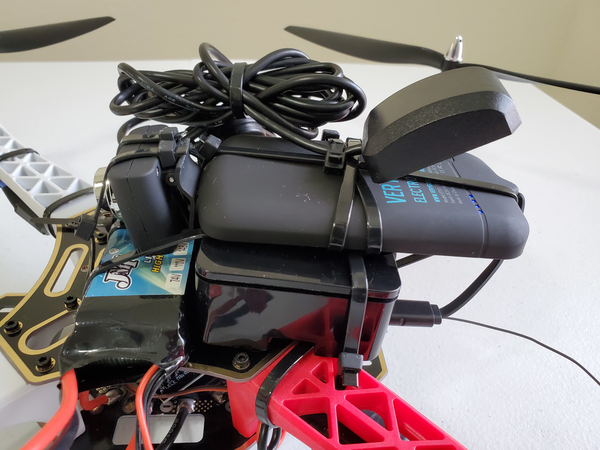
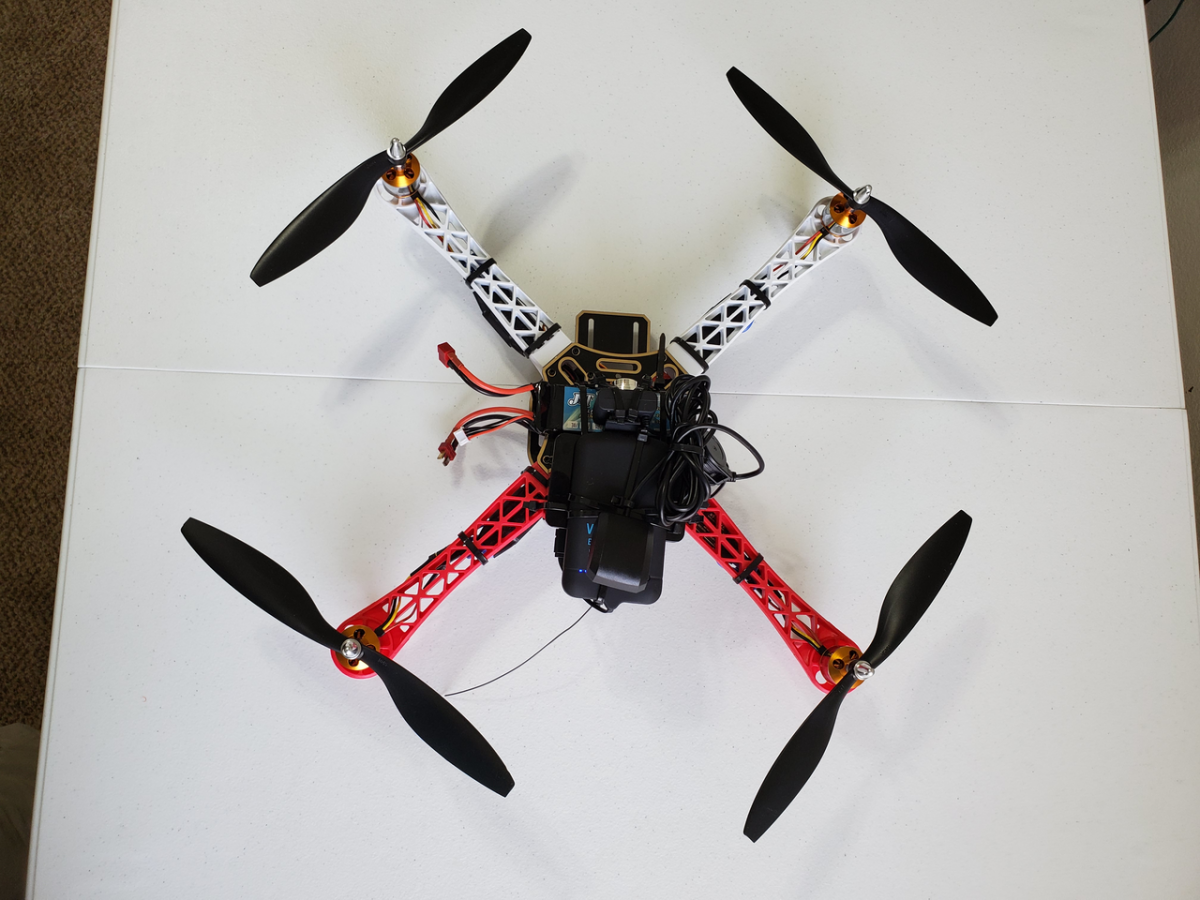
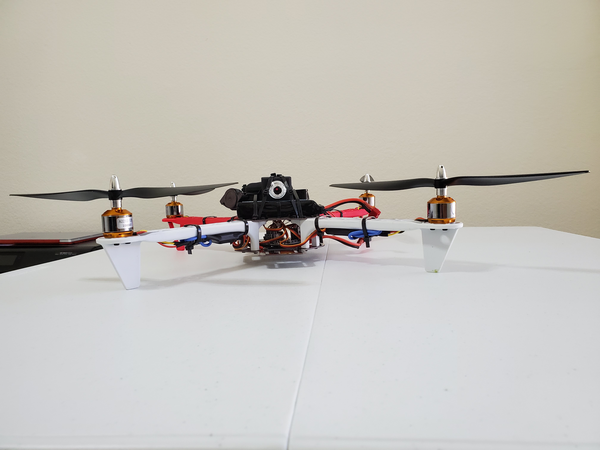
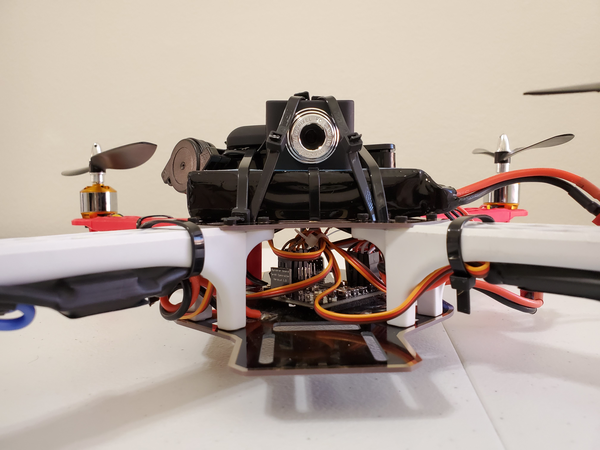
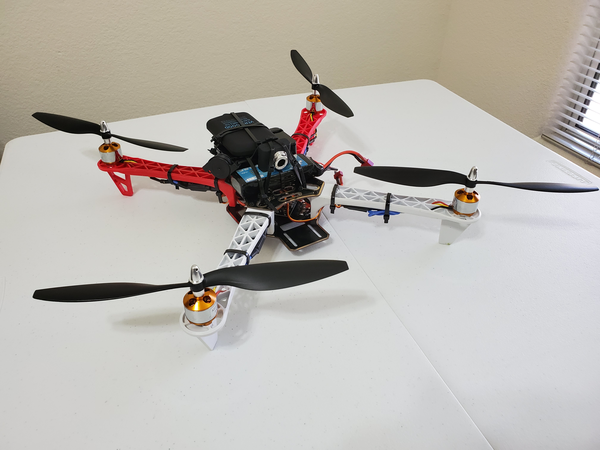
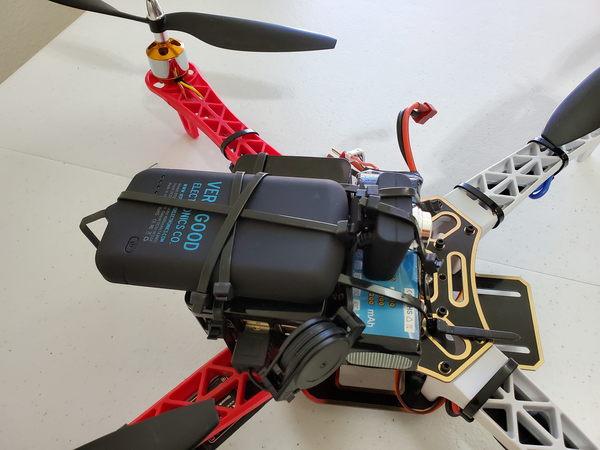
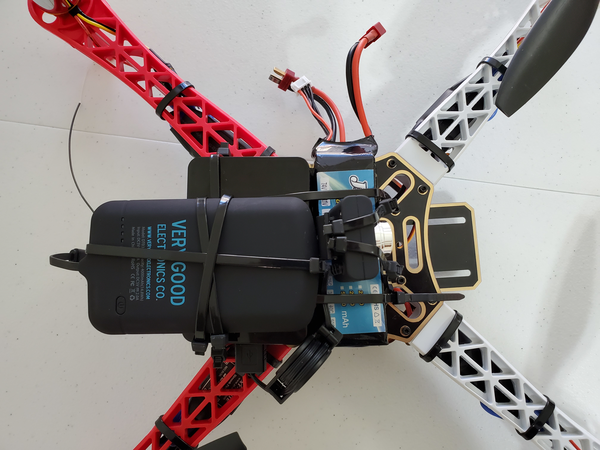
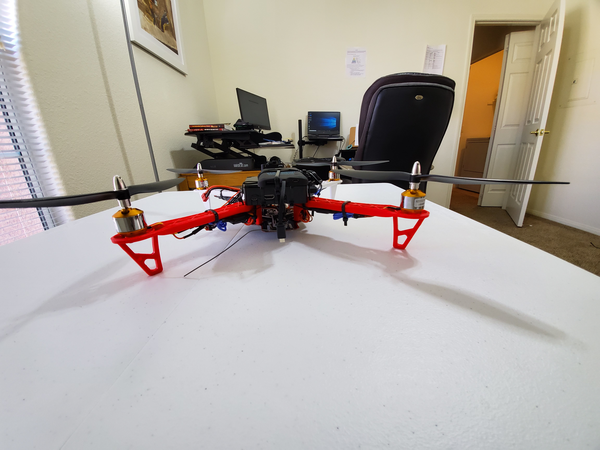
I then mounted the Raspberry Pi and GPS on the quadcopter.
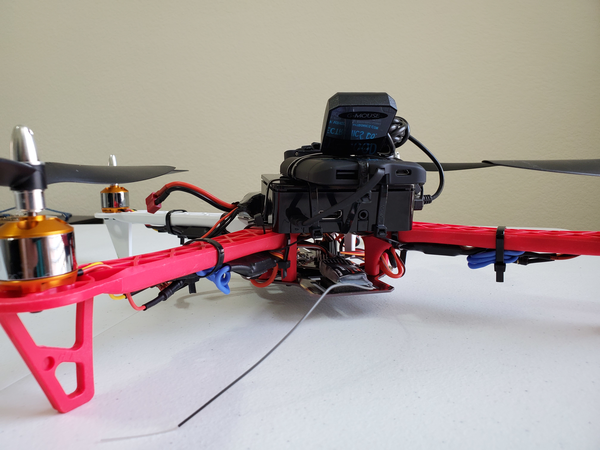
gps_data_raspberry_pi

I then flew the quadcopter and streamed the GPS data via WiFi to my host computer.

Software

No extra software was necessary.

Video

How to Stream Live Video Using Raspberry Pi

In this post, I’ll show you how to stream live video using a Raspberry Pi. To make it more fun, I actually strapped the camera and Raspberry Pi to a quadcopter, captured video, and streamed that video via Wifi to my laptop computer. I’ll walk you through all the steps below.

Requirements

Here are the requirements:

  • Using a USB Webcam connected to the Raspberry Pi, capture video, download via WiFi to my laptop computer (Windows 10) and display on my laptop computer.

Design

The following components are used in this project. You will need:

Here is the diagram of the hardware setup:

No diagram necessary.

Implementation

Hardware

First, I updated the packages. It is good practice to update all the Raspberry Pi software before installing new software. I went to the terminal inside Raspberry Pi, and I typed the following commands in order to make sure that I am using the latest version:

sudo apt-get update
stream_live_video_8
sudo apt-get upgrade

I waited several minutes for the upgrade to perform.

I then restarted the Raspberry Pi using the following command:

sudo reboot

Then, I typed the following command to start the installation:

sudo apt-get install motion

I typed in the following command and pressed Enter to see if the system is recognizing my USB web camera.

lsusb
stream_live_video_9

The name of the USB web camera is GEMBIRD as seen in the above screenshot.

I made edits to the configuration file, motion.conf, using the following command:

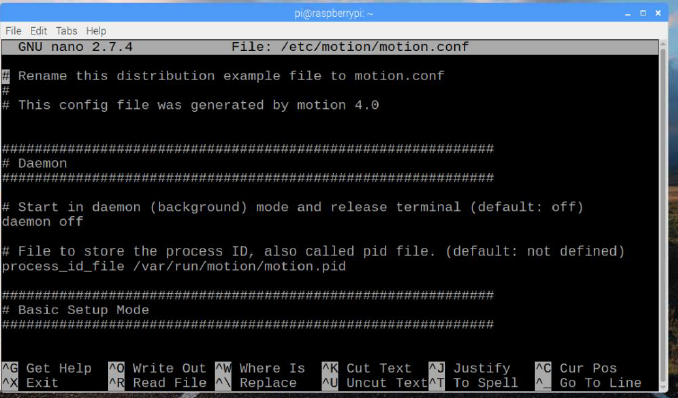
sudo nano /etc/motion/motion.conf
stream_live_video_10

I made sure the settings were as follows:

  • daemon on
  • framerate 100
  • stream_localhost off
  • stream_port 8081
  • stream_quality 100
  • stream_maxrate 100
  • width 640
  • height 480
  • webcontrol_localhost off
  • quality 100
  • post_capture 5

I pressed ctrl + x to exit.

I typed y to save.

I typed enter to confirm.

I typed the following command and pressed Enter:

sudo nano /etc/default/motion

I changed the following line:

start_motion_daemon=yes

I saved and exited by pressing ctrl+x then y

I restarted the service to make sure the web page would load:

sudo service motion restart

To start the service, I typed the following command:

sudo motion

Next, I checked the webcam stream at the IP address of the Raspberry Pi:

192.168.0.17:8081
stream_live_video_11

To stop the service, I ran the following line:

sudo service motion stop

To start the service again, I ran the following line:

sudo service motion start

I then typed the following command:

sudo motion

Next, I checked the webcam stream at the IP address of the Raspberry Pi:

192.168.0.17:8081

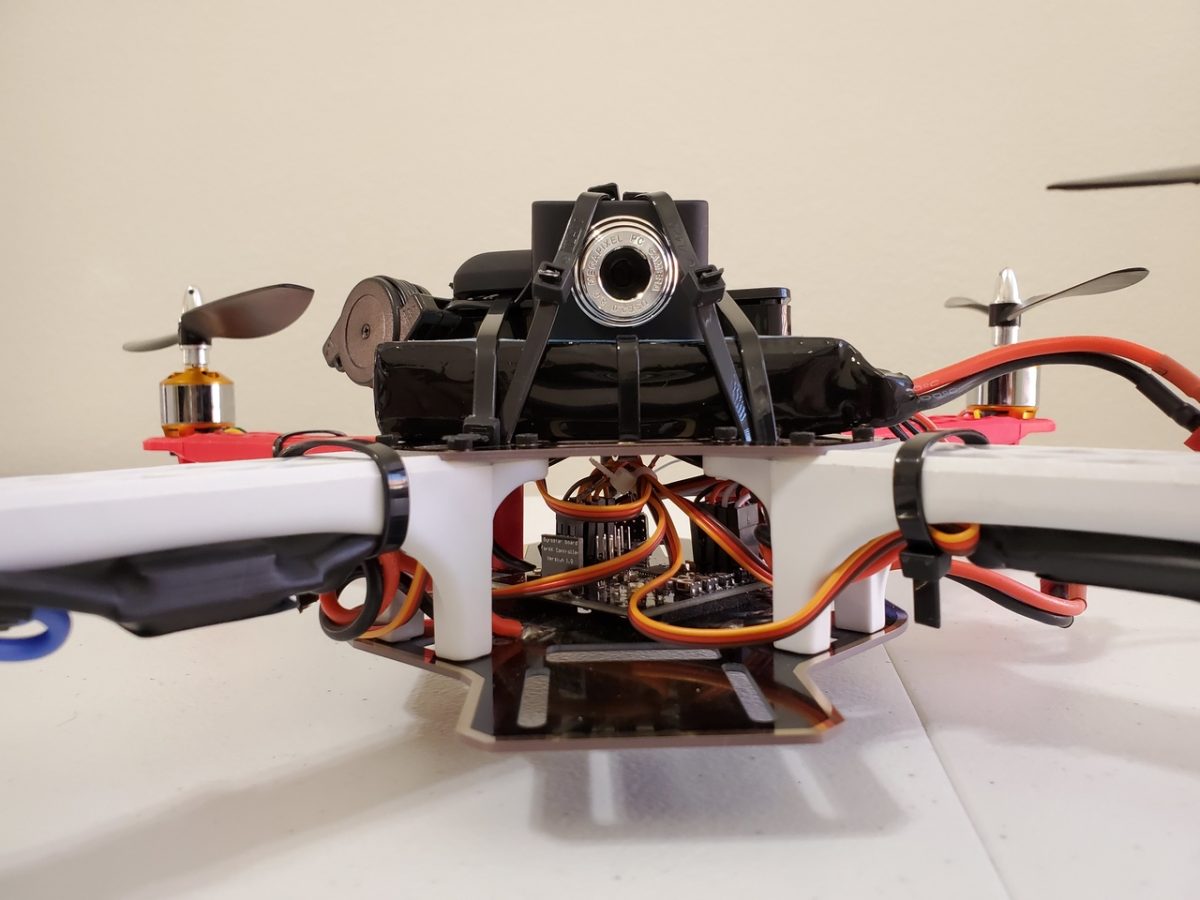
I then mounted the Raspberry Pi, battery, and webcam on the quadcopter.

stream_live_video_raspberry_pi (4)
stream_live_video_raspberry_pi (5)
stream_live_video_raspberry_pi (6)
stream_live_video_raspberry_pi (7)
stream_live_video_raspberry_pi (2)
stream_live_video_raspberry_pi (3)

I then flew the quadcopter and streamed the video via WiFi to my host computer. See the video below in the next section.

Software

No software was necessary.
Video

How to Assemble the QWinOut DIY Radio-Controlled Quadcopter

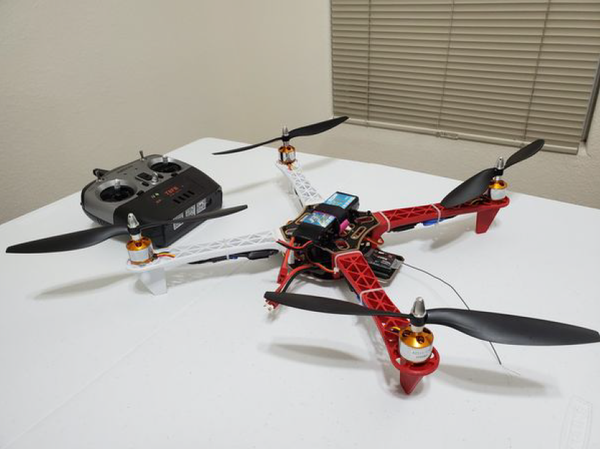
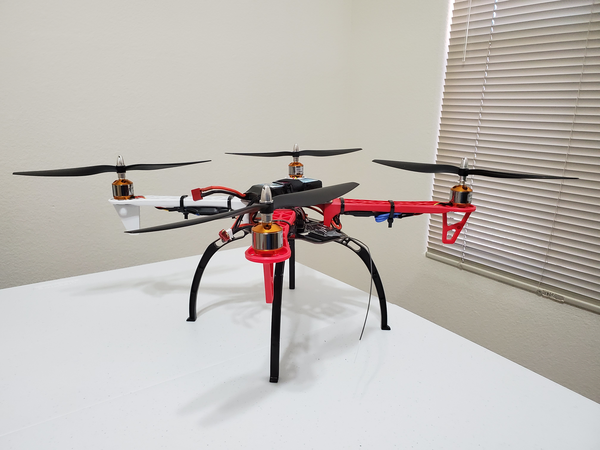
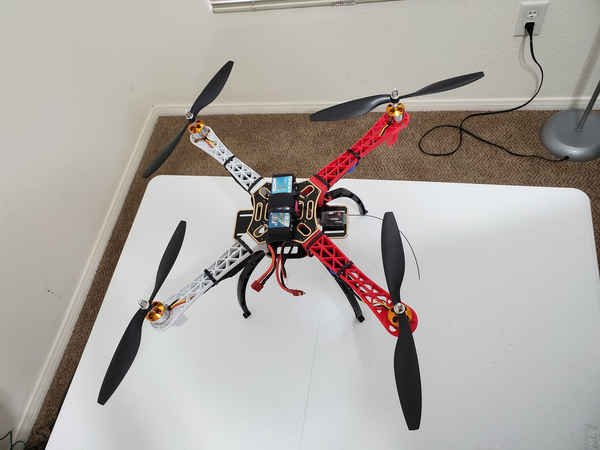
In this post, I’ll show you how to assemble the QWinOut DIY Radio Controlled Quadcopter (450mm).

Requirements

Here are the requirements:

  • Assemble the quadcopter by following the instructional video below.
  • Register the drone with the Federal Aviation Administration (FAA).
  • Make a video of the flight.

Hardware Design

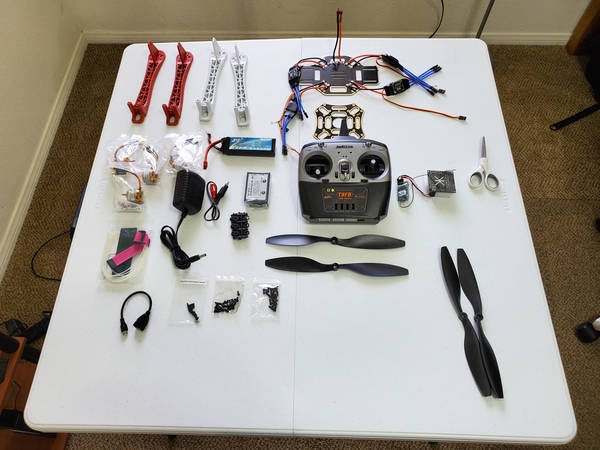
The following components are used in this system. They are all contained in the QWinout DIY Controlled Quadcopter Kit.

qwinout_quadcopter_parts_3

Spare Parts

Setup

Here are the steps for the hardware setup:

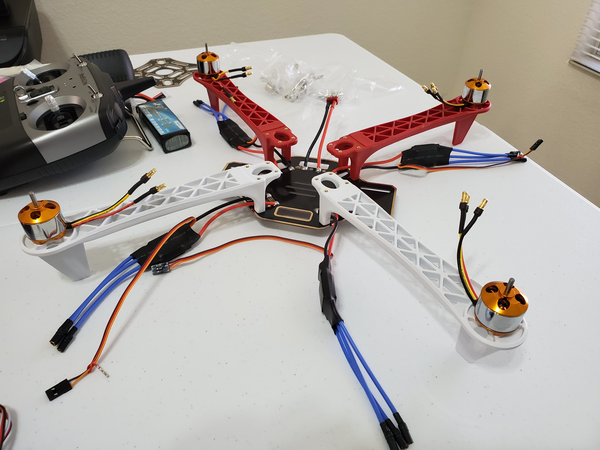
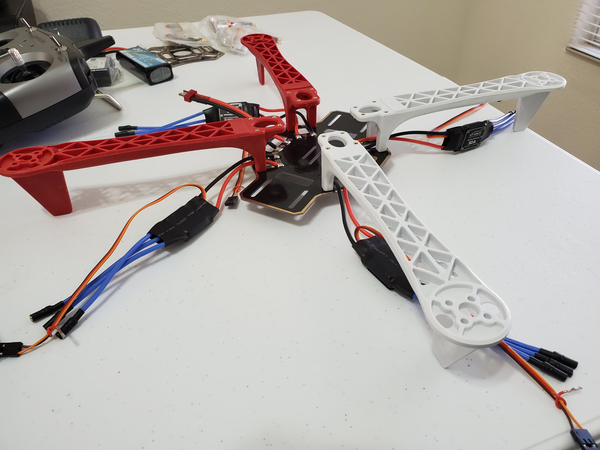
To begin, I secured the four plastic arms to the frame board with the screws. I used my fingers to tighten the screws, followed by a 5/64 in. long arm hex Allen key wrench.

qwinout_quadcopter_parts_2

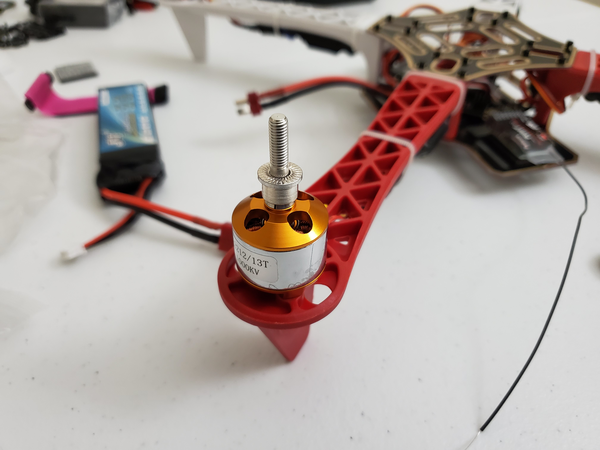
I secured the motor on the motor mount of the arm with the screws. I used my fingers to tighten the screws, followed by a 3/32 in. long arm hex Allen key wrench.

qwinout_quadcopter_parts_1

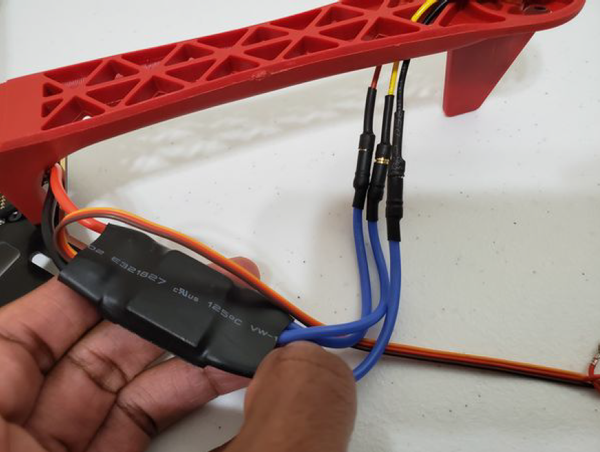
I connected all four motors to the four Electronic Speed Controllers (ESCs). Black to black, red to red, and yellow to the middle wire.

qwinout_450mm_quadcopter_assembly (2)

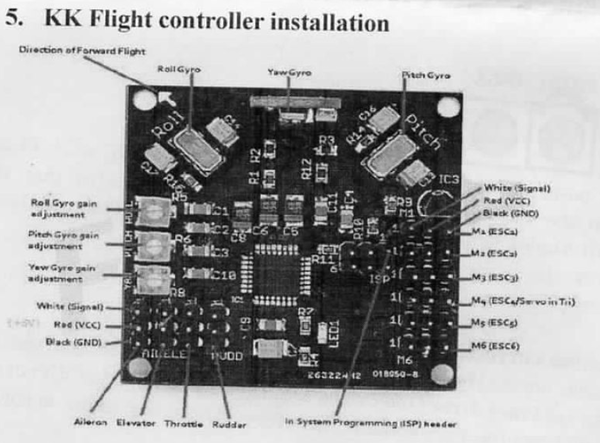
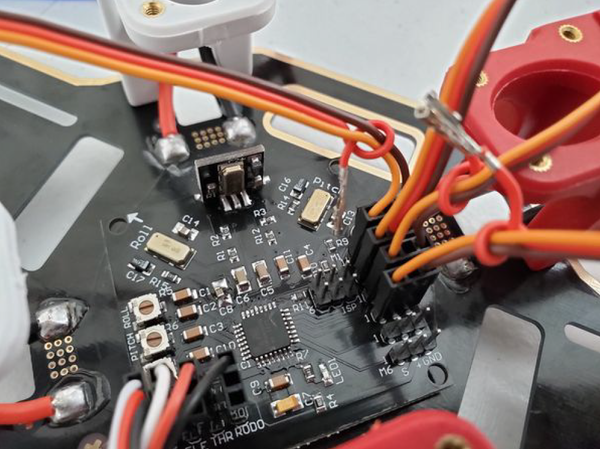
I installed the KK Flight Controller on the board with the adhesive tape. I then connected the flight controller M1-M4 ports to the ESCs according to the sequence below. The arrow on the flight controller points to the front of the quadcopter.

qwinout_450mm_quadcopter_assembly (3)

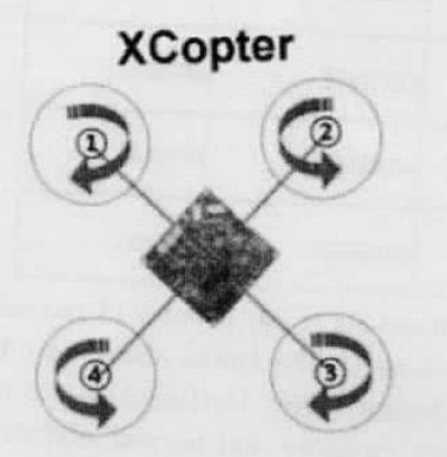
Below is the direction that each motor should spin. Two motors will spin counterclockwise, and two motors will spin clockwise.

motor_spin_direction
qwinout_450mm_quadcopter_assembly (5)

Next, I installed batteries in the back of the Radio Link remote control. I then turned it on.

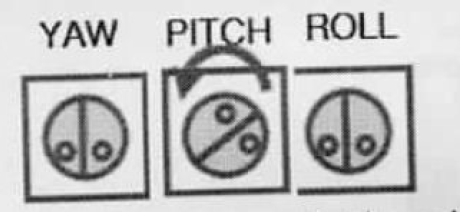
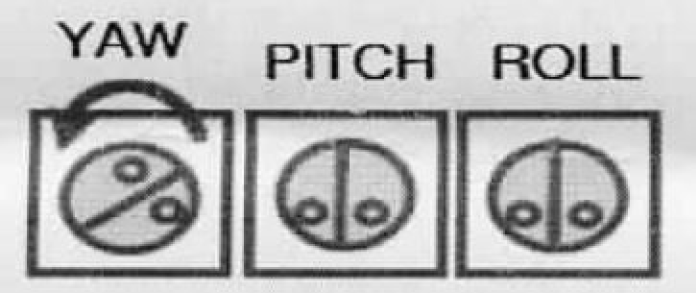
I then placed the aircraft horizontally. I turned off the PITCH knob switch by turning it counterclockwise. I used a 2.4mm flathead screwdriver to do this.

yaw_pitch_roll

I then connected the power of the aircraft. The flight controller light flashed quickly then slowly, indicating the neutral point signal was identified and saved. This completed the Transmitter Central Point Calibration.

I unplugged the power supply.

I turned on the PITCH knob by turning it clockwise 125 degrees.

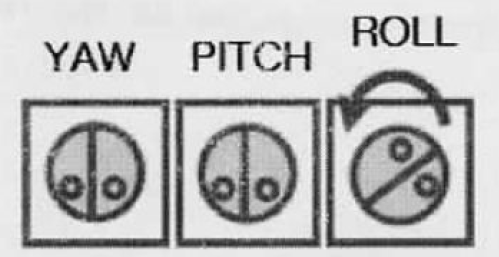
I then did the Gyro direction correction. I turned off the ROLL knob switch by turning it counterclockwise.

yaw_pitch_roll_2

I then cut off the aircraft power supply. I turned the ROLL knob clockwise 125 degrees to turn it back on.

I then turned off the YAW knob by switching it counterclockwise all the way.

I pulled the throttle stick up to its highest position. I powered on the aircraft. I then pulled the remote control throttle back to its lowest point. This completed the calibration.

I turned the YAW knob switch clockwise 125 degrees to turn it back on.

Next, I unlocked the aircraft. I turned on the remote control, plugged in the quadcopter, and pushed the throttle stick (the button on the left) to the bottom right to unlock the aircraft.

I then checked the motor rotation direction to make sure motor 1 in the front left spun clockwise, motor 3 in the rear right spun clockwise, and the other two motors spun counterclockwise. To change the direction of a motor, I switched the black and yellow wires of motors 1 and 3 (any two of the three wires can be switched) because they were spinning counterclockwise.

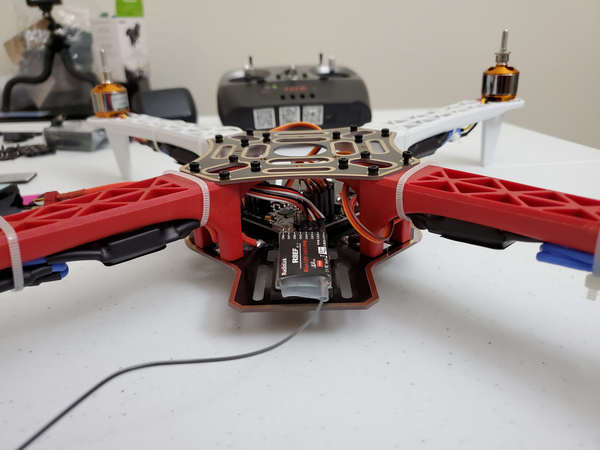
Next, I secured the radio receiver behind the flight controller.

secure_radio_receiver

I then used the plastic cable ties to secure the ESC signal wires to the quadcopter.

I then secured the other frame board and the 4 arm groups with the screws.
I then added the parts to secure the propeller. There are two propellers that spin clockwise, and two propellers that spin counterclockwise. This video here helped me to determine which blade is clockwise and which blade is counterclockwise.

propeller_parts

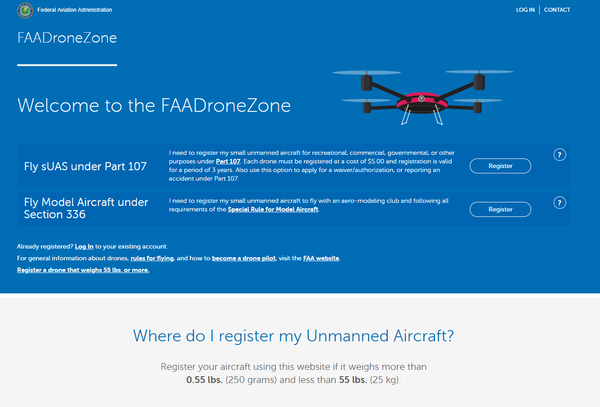
Lastly, with the quadcopter assembled, I followed the “How to Fly a Drone: A Beginner’s Guide”, and I registered my drone with the FAA.

register_drone_at_faa

Implementation

qwinout_450mm_quadcopter_assembly (4)
qwinout_450mm_quadcopter_assembly (6)
You can also add the skid gear legs which I have linked to in the “Spare Parts” section of this post (see above)
qwinout_450mm_quadcopter_assembly (1)

Video

Here is the video of my quadcopter in action: