
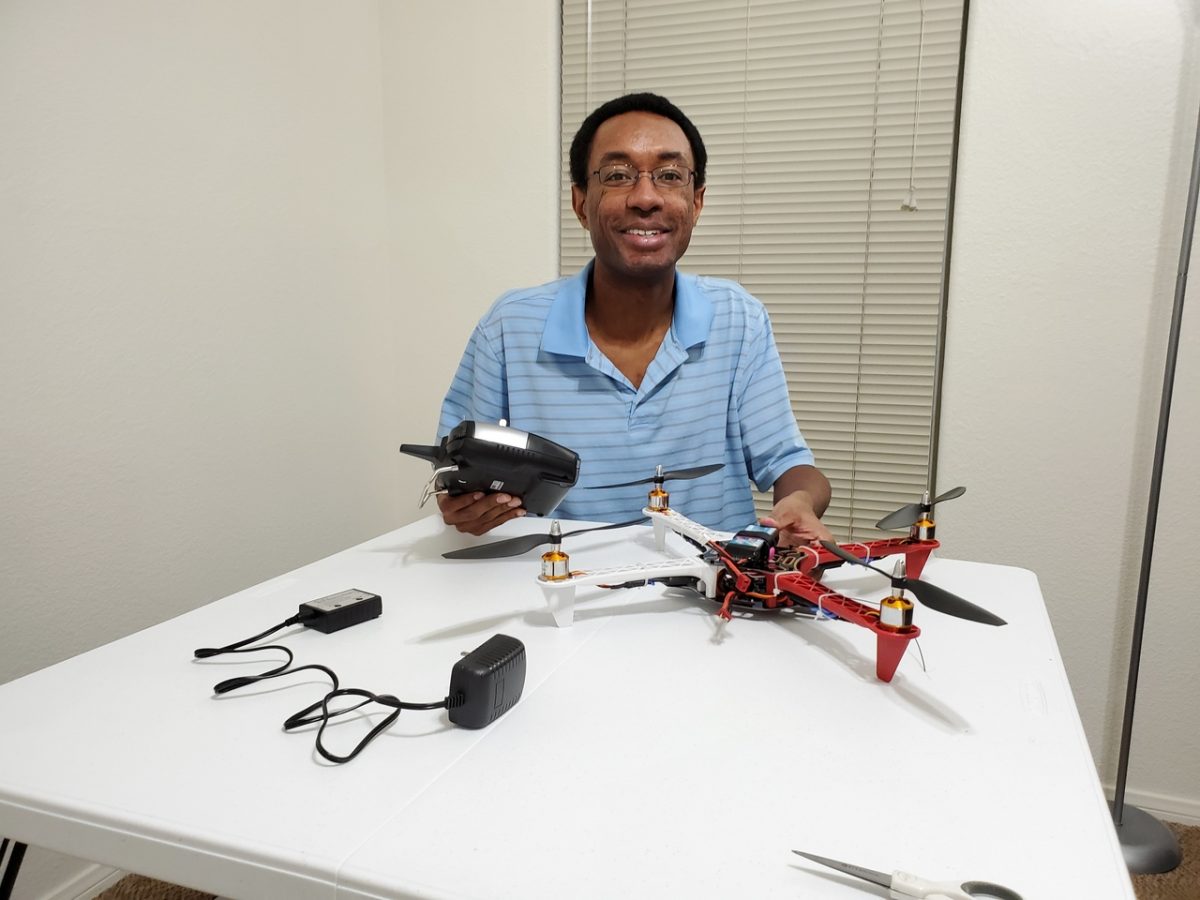
In this post, I’ll show you how to assemble the QWinOut DIY Radio Controlled Quadcopter (450mm).
Requirements
Here are the requirements:
- Assemble the quadcopter by following the instructional video below.
- Register the drone with the Federal Aviation Administration (FAA).
- Make a video of the flight.
Hardware Design
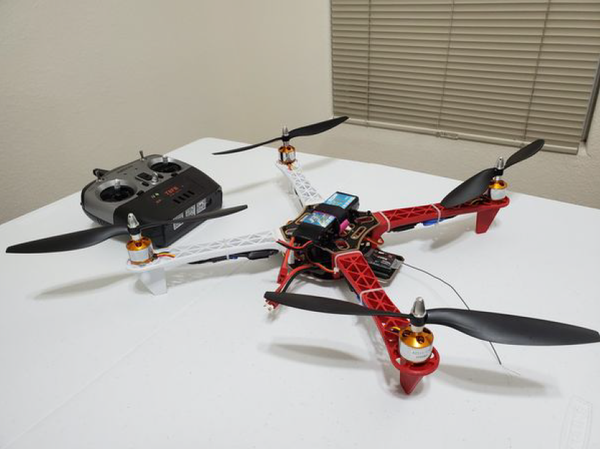
The following components are used in this system. They are all contained in the QWinout DIY Controlled Quadcopter Kit.
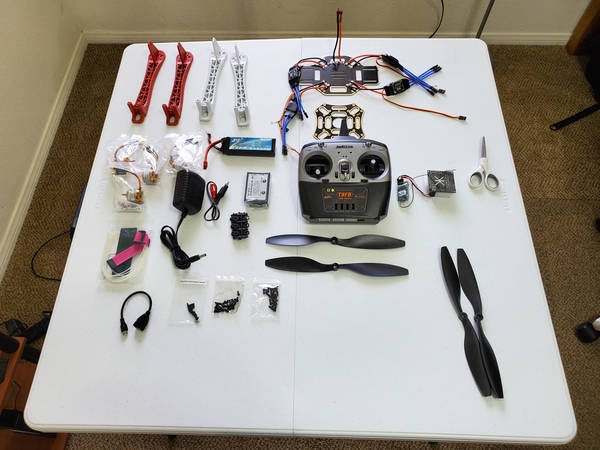
Spare Parts
- Black Cable Ties (to secure the battery to the frame)
- YoungRC F450 Drone Frame Kit 4-Axis Airframe 450mm Quadcopter Frame Kit with Landing Skid Gear
- 8 Propellers, 4 Clockwise (CW) & 4 Counter-Clockwise (CCW)
- RC Aluminum Bullet Propeller Adapter for Brushless Motor
Setup
Here are the steps for the hardware setup:
To begin, I secured the four plastic arms to the frame board with the screws. I used my fingers to tighten the screws, followed by a 5/64 in. long arm hex Allen key wrench.
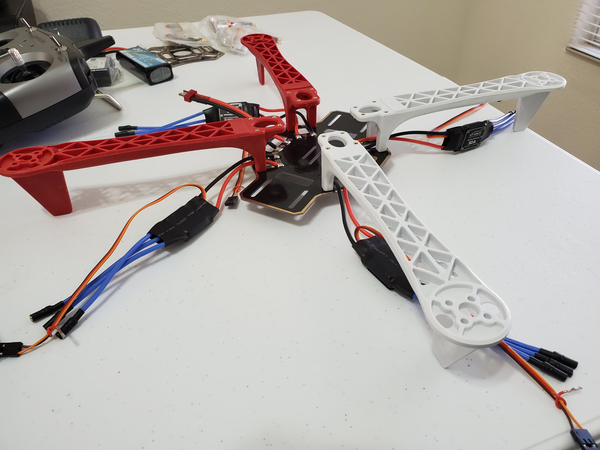
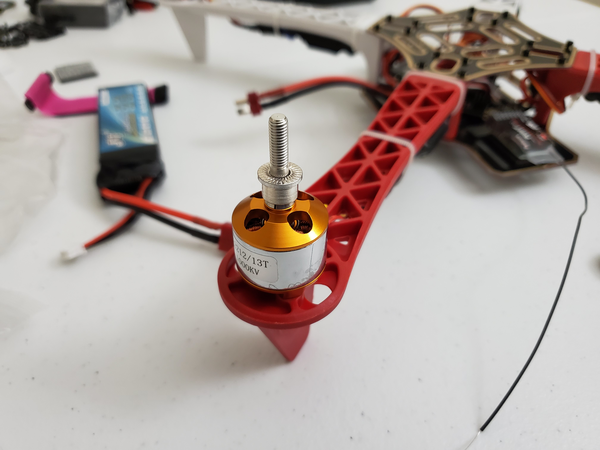
I secured the motor on the motor mount of the arm with the screws. I used my fingers to tighten the screws, followed by a 3/32 in. long arm hex Allen key wrench.
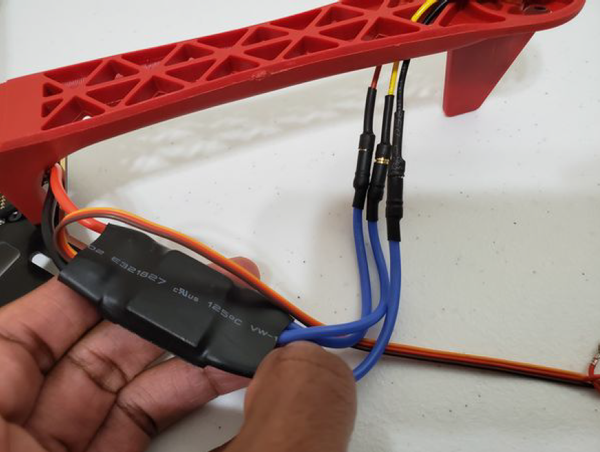
I connected all four motors to the four Electronic Speed Controllers (ESCs). Black to black, red to red, and yellow to the middle wire.
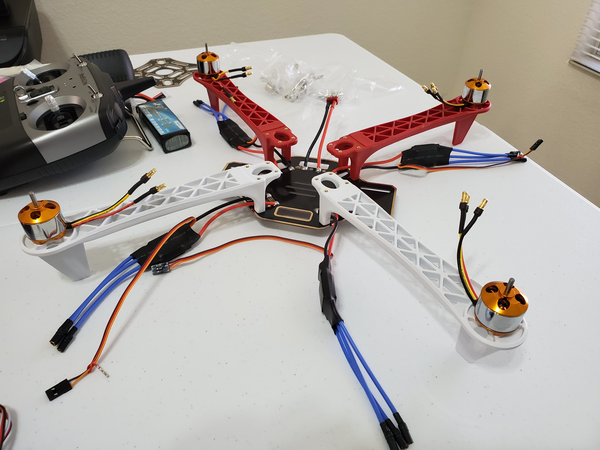
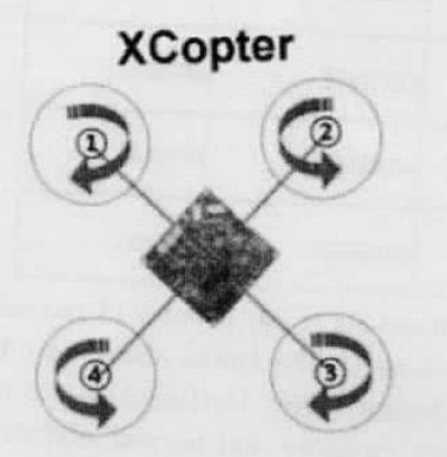
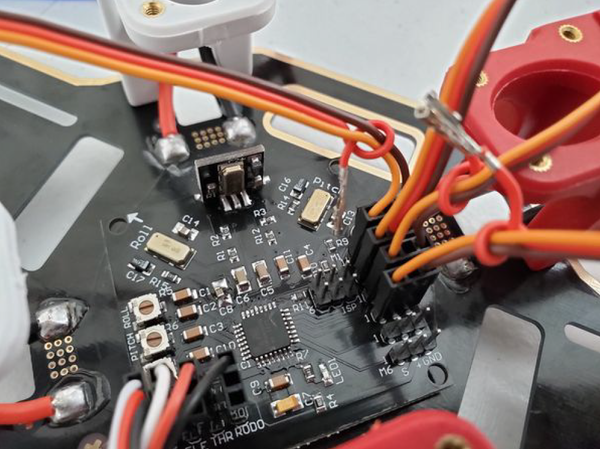
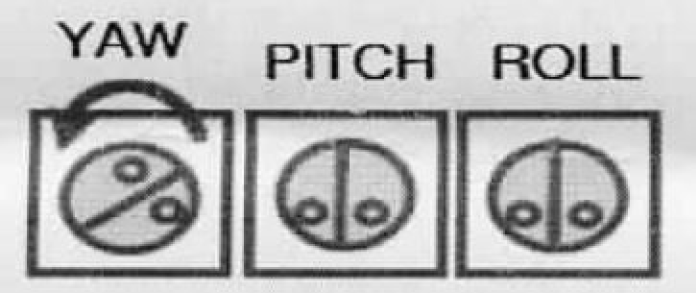
I installed the KK Flight Controller on the board with the adhesive tape. I then connected the flight controller M1-M4 ports to the ESCs according to the sequence below. The arrow on the flight controller points to the front of the quadcopter.

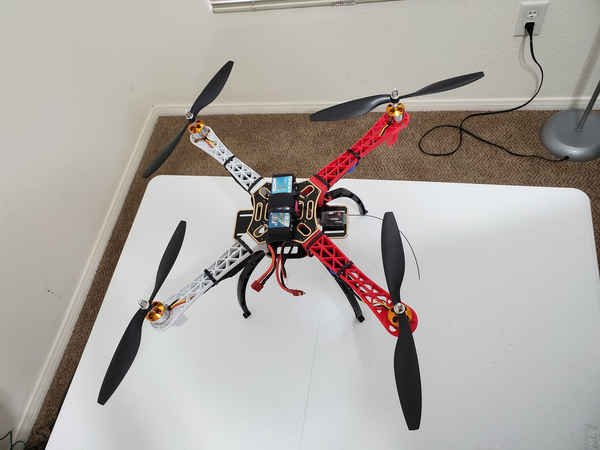
Below is the direction that each motor should spin. Two motors will spin counterclockwise, and two motors will spin clockwise.
Next, I installed batteries in the back of the Radio Link remote control. I then turned it on.
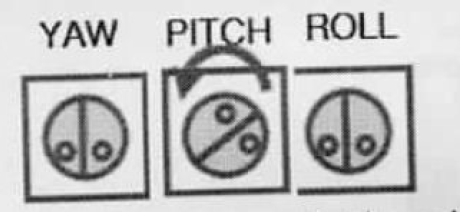
I then placed the aircraft horizontally. I turned off the PITCH knob switch by turning it counterclockwise. I used a 2.4mm flathead screwdriver to do this.
I then connected the power of the aircraft. The flight controller light flashed quickly then slowly, indicating the neutral point signal was identified and saved. This completed the Transmitter Central Point Calibration.
I unplugged the power supply.
I turned on the PITCH knob by turning it clockwise 125 degrees.
I then did the Gyro direction correction. I turned off the ROLL knob switch by turning it counterclockwise.
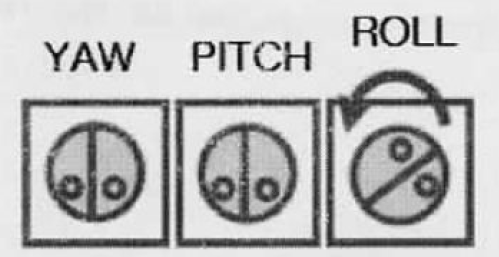
I then cut off the aircraft power supply. I turned the ROLL knob clockwise 125 degrees to turn it back on.
I then turned off the YAW knob by switching it counterclockwise all the way.
I pulled the throttle stick up to its highest position. I powered on the aircraft. I then pulled the remote control throttle back to its lowest point. This completed the calibration.
I turned the YAW knob switch clockwise 125 degrees to turn it back on.
Next, I unlocked the aircraft. I turned on the remote control, plugged in the quadcopter, and pushed the throttle stick (the button on the left) to the bottom right to unlock the aircraft.
I then checked the motor rotation direction to make sure motor 1 in the front left spun clockwise, motor 3 in the rear right spun clockwise, and the other two motors spun counterclockwise. To change the direction of a motor, I switched the black and yellow wires of motors 1 and 3 (any two of the three wires can be switched) because they were spinning counterclockwise.
Next, I secured the radio receiver behind the flight controller.
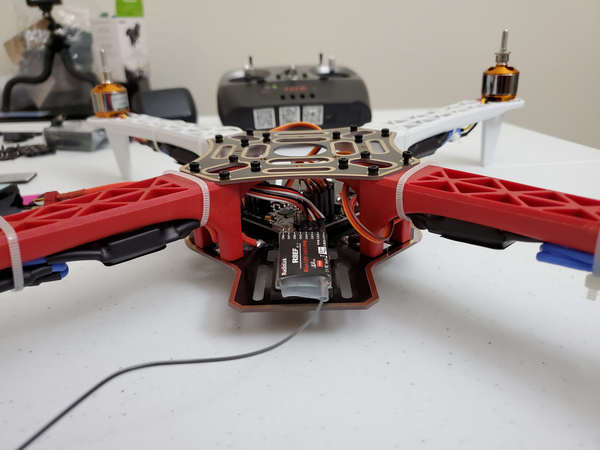
I then used the plastic cable ties to secure the ESC signal wires to the quadcopter.
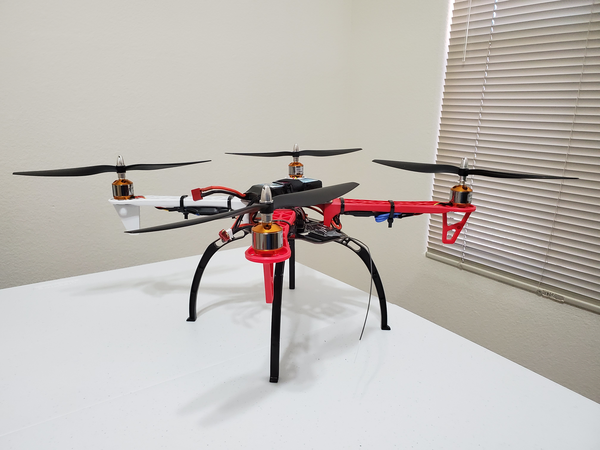
I then secured the other frame board and the 4 arm groups with the screws.
I then added the parts to secure the propeller. There are two propellers that spin clockwise, and two propellers that spin counterclockwise. This video here helped me to determine which blade is clockwise and which blade is counterclockwise.
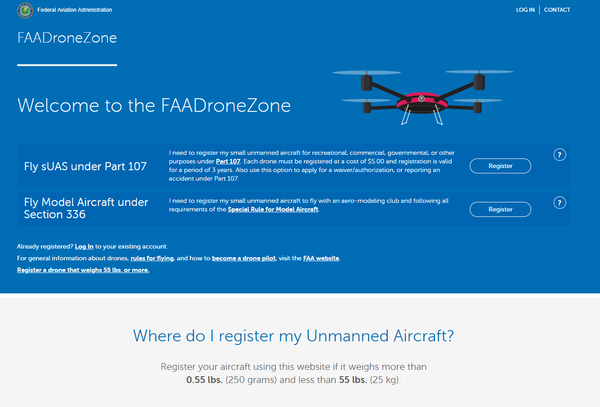
Lastly, with the quadcopter assembled, I followed the “How to Fly a Drone: A Beginner’s Guide”, and I registered my drone with the FAA.
Implementation
Video
Here is the video of my quadcopter in action: