
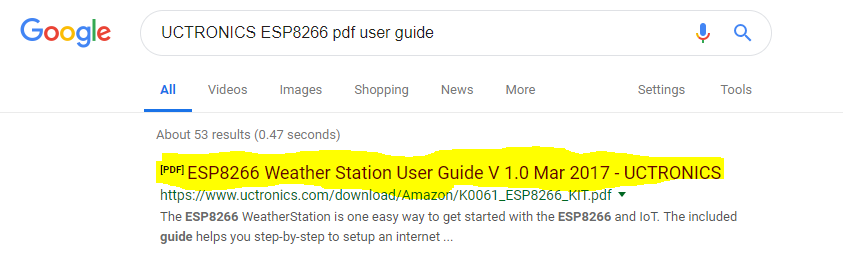
In this post, I’ll show you how to set up the ESP8266 and how to capture temperature and humidity data using this device. For this project I followed the Uctronics user guide. To locate that, just type into Google, “UCTRONICS ESP8266 pdf user guide”, and it should be the first result.
Requirements
Here are the requirements:
- Set up the ESP8266 and capture temperature and humidity data using this device.
Hardware Design
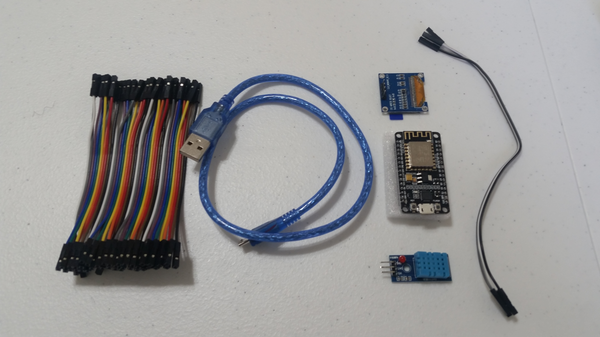
The following components are used in this project. You will need:
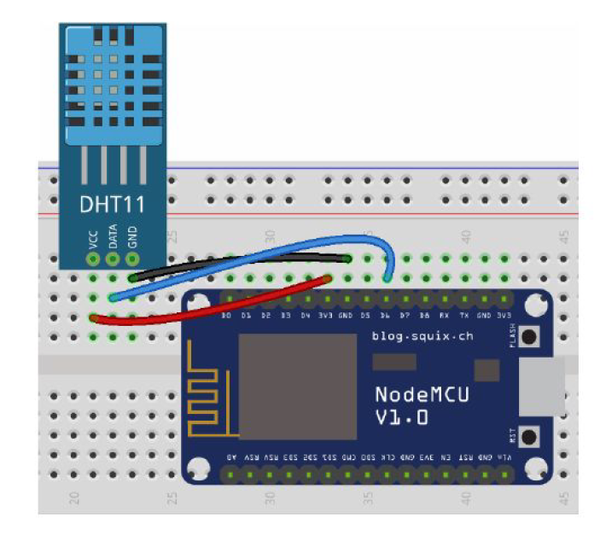
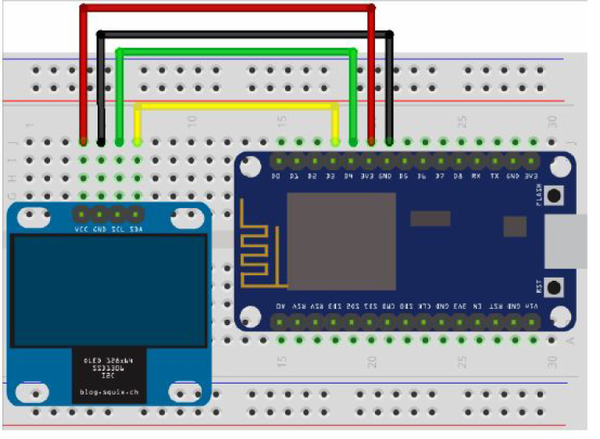
Here is the diagram of the hardware setup:
Software Design
Software to read temperature and humidity comes from:
https://github.com/supprot/ArduCAM_esp8266- dht-thingspeak-logger.
Hardware Implementation
First, I did a test project to see if I can use an API to capture weather forecast data from the web on my OLED.
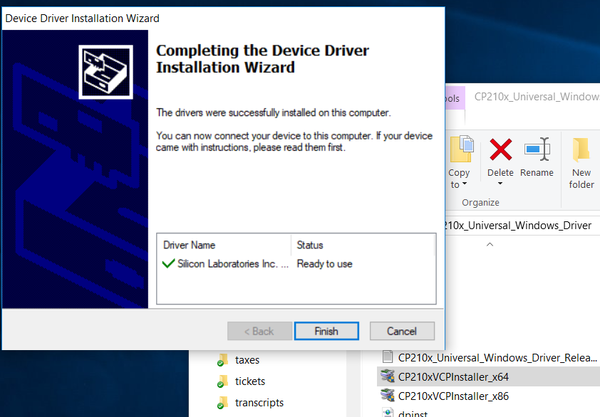
I downloaded and installed the Serial Driver available here: https://www.silabs.com/products/mcu/Pages/USBtoUARTBridgeVCPDrivers.aspx
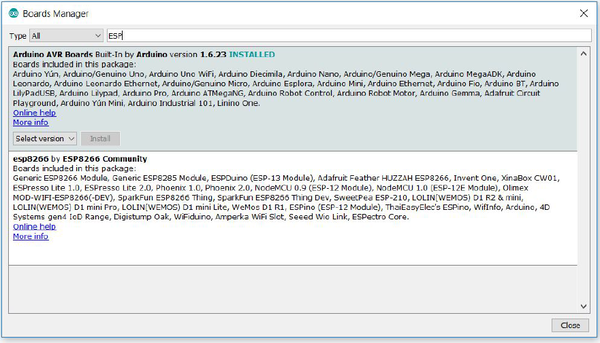
I installed the ESP8266 toolchain.
I selected the correct board NodeMCU 1.0 (ESP-12E Module): In the Arduino IDE, I went to Tools > Board: * > NodeMCU 1.0 (ESP-12E Module).
I set the correct port by going to Tools > Port and looking for a COM port labelled COM# (where # is a number).
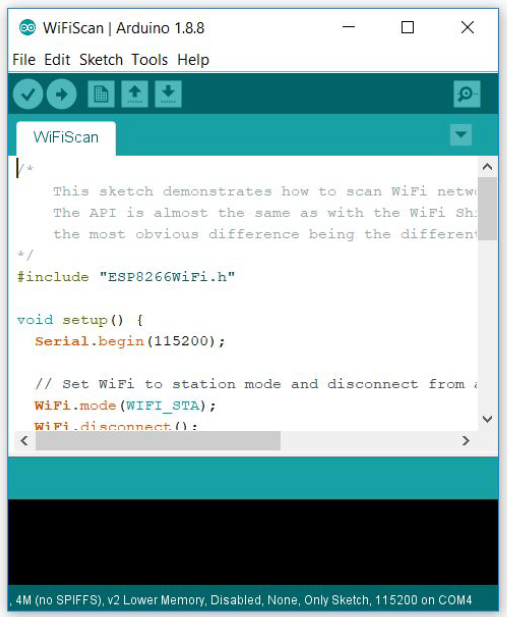
I tested the setup of the Wifi Scanner. In the Menu of the Arduino IDE, I went to to File > Examples > ESP8266Wifi and select WiFiScan.
I installed the libraries for the weather station: Sketch > Include Library… > Manage Libraries…
- ESP8266 Weather Station Library
- Json Streaming Parser Library
- SSD1306 OLED Library
I opened the WeatherStationDemo example: Went to File > Examples > ESP8266 Weather Station >WeatherStationDemo and saved the new sketch with a new name.
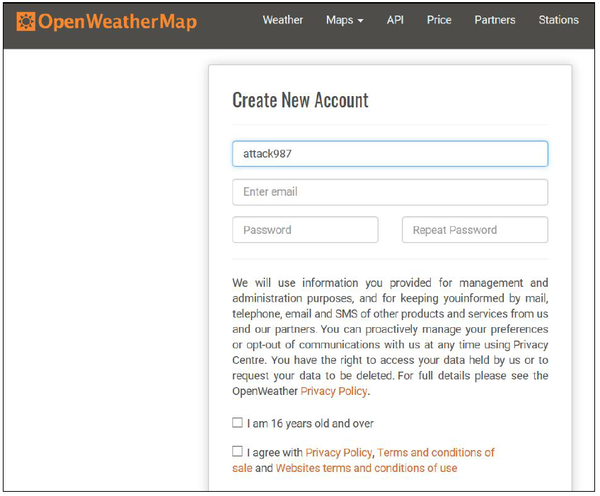
I got the OpenWeatherMap API.
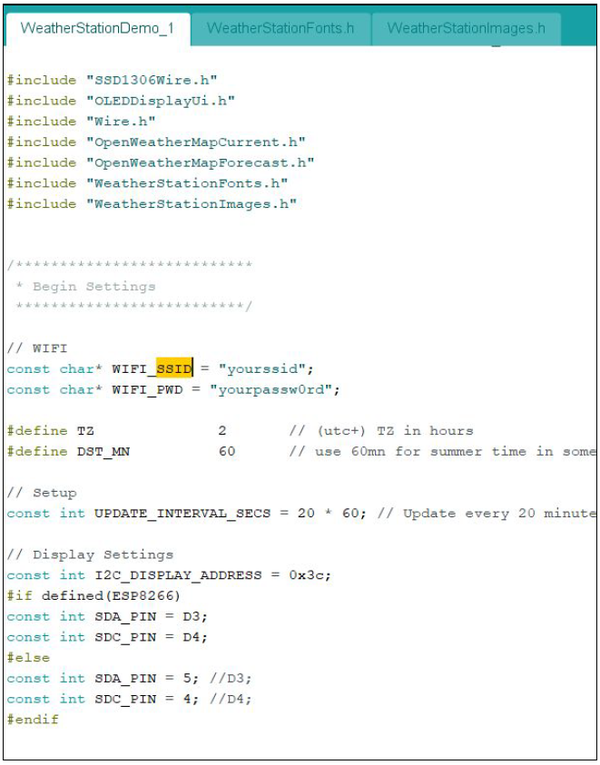
I configured the weather station.
I connected the hardware.
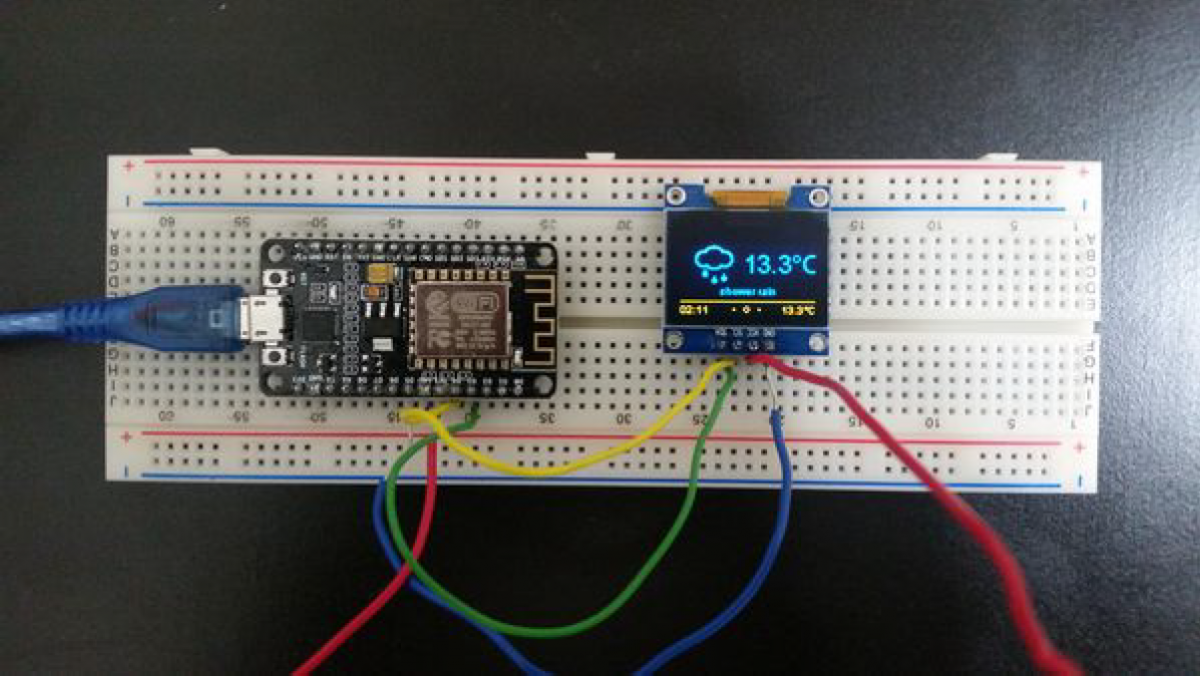
I uploaded the firmware and ran the WeatherStation. The weather forecast and current weather outside were displayed on the OLED display as seen below.

Next, I collected and displayed temperature and humidity data in my home office. Here are the steps I took:
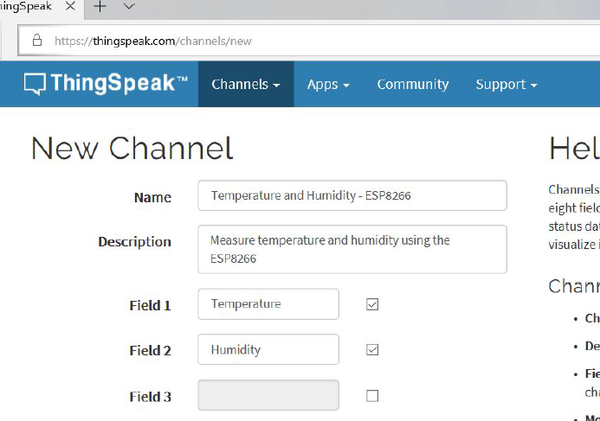
I set up Thingspeak.
I went to https://github.com/supprot/ArduCAM_esp8266- dht-thingspeak-logger and downloaded the code as a Zip file.
I adapted the settings to my needs.
I set up the hardware.

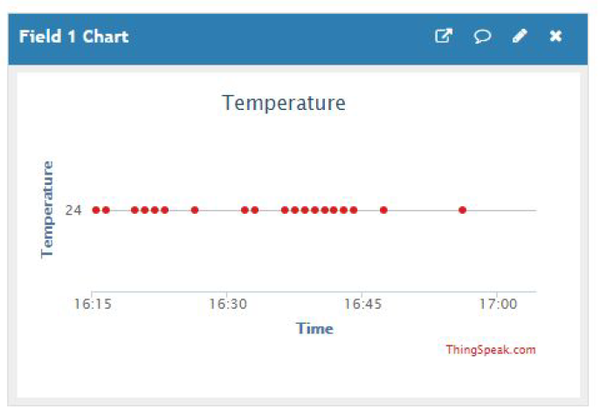
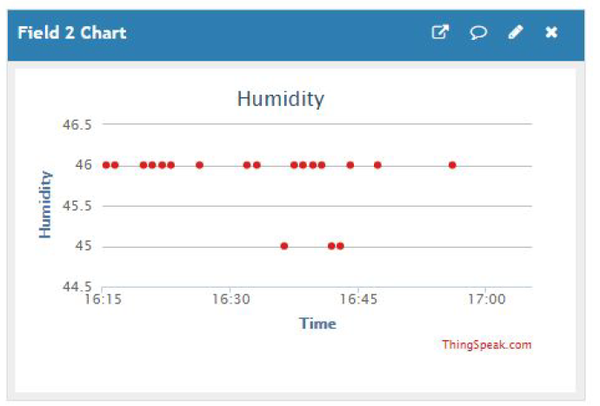
I ran the temperature and humidity logger. Here are the results I got.
Software Implementation
Here is the source code that you will need to load to your ESP8266 board. Where it says “xxxx”, that is where you enter your own values:
/**The MIT License (MIT)

Copyright (c) 2015 by Daniel Eichhorn

Permission is hereby granted, free of charge, to any person obtaining a copy
of this software and associated documentation files (the "Software"), to deal
in the Software without restriction, including without limitation the rights
to use, copy, modify, merge, publish, distribute, sublicense, and/or sell
copies of the Software, and to permit persons to whom the Software is
furnished to do so, subject to the following conditions:

The above copyright notice and this permission notice shall be included in all
copies or substantial portions of the Software.

THE SOFTWARE IS PROVIDED "AS IS", WITHOUT WARRANTY OF ANY KIND, EXPRESS OR
IMPLIED, INCLUDING BUT NOT LIMITED TO THE WARRANTIES OF MERCHANTABILITY,
FITNESS FOR A PARTICULAR PURPOSE AND NONINFRINGEMENT. IN NO EVENT SHALL THE
AUTHORS OR COPYRIGHT HOLDERS BE LIABLE FOR ANY CLAIM, DAMAGES OR OTHER
LIABILITY, WHETHER IN AN ACTION OF CONTRACT, TORT OR OTHERWISE, ARISING FROM,
OUT OF OR IN CONNECTION WITH THE SOFTWARE OR THE USE OR OTHER DEALINGS IN THE
SOFTWARE.

See more at http://blog.squix.ch
// Modified by Addison Sears-Collins
*/

#include <ESP8266WiFi.h>
#include <DHT.h>


/***************************
 * Begin Settings
 **************************/


const char* ssid     = "xxxx";
const char* password = "xxxx";

const char* host = "api.thingspeak.com";

const char* THINGSPEAK_API_KEY = "xxxx";

// DHT Settings
#define DHTPIN D6     // what digital pin we're connected to. If you are not using NodeMCU change D6 to real pin


// Uncomment whatever type you're using!
#define DHTTYPE DHT11   // DHT 11
//#define DHTTYPE DHT22   // DHT 22  (AM2302), AM2321
//#define DHTTYPE DHT21   // DHT 21 (AM2301)

const boolean IS_METRIC = true;

// Update every 30 seconds. Min with Thingspeak is ~20 seconds
const int UPDATE_INTERVAL_SECONDS = 60;

/***************************
 * End Settings
 **************************/

// Initialize the temperature/ humidity sensor
DHT dht(DHTPIN, DHTTYPE);

void setup() {
  Serial.begin(115200);
  delay(10);

  // We start by connecting to a WiFi network

  Serial.println();
  Serial.println();
  Serial.print("Connecting to ");
  Serial.println(ssid);

  WiFi.begin(ssid, password);

  while (WiFi.status() != WL_CONNECTED) {
    delay(500);
    Serial.print(".");
  }

  Serial.println("");
  Serial.println("WiFi connected");
  Serial.println("IP address: ");
  Serial.println(WiFi.localIP());
}

void loop() {
    Serial.print("connecting to ");
    Serial.println(host);

    // Use WiFiClient class to create TCP connections
    WiFiClient client;
    const int httpPort = 80;
    if (!client.connect(host, httpPort)) {
      Serial.println("connection failed");
      return;
    }

    // read values from the sensor
    float humidity = dht.readHumidity();
    float temperature = dht.readTemperature(!IS_METRIC);

    // We now create a URI for the request
    String url = "/update?api_key=";
    url += THINGSPEAK_API_KEY;
    url += "&field1=";
    url += String(temperature);
    url += "&field2=";
    url += String(humidity);

    Serial.print("Requesting URL: ");
    Serial.println(url);

    // This will send the request to the server
    client.print(String("GET ") + url + " HTTP/1.1\r\n" +
                 "Host: " + host + "\r\n" +
                 "Connection: close\r\n\r\n");
    delay(10);
    while(!client.available()){
      delay(100);
      Serial.print(".");
    }
    // Read all the lines of the reply from server and print them to Serial
    while(client.available()){
      String line = client.readStringUntil('\r');
      Serial.print(line);
    }

    Serial.println();
    Serial.println("closing connection");


  // Go back to sleep. If your sensor is battery powered you might
  // want to use deep sleep here
  delay(1000 * UPDATE_INTERVAL_SECONDS);
}