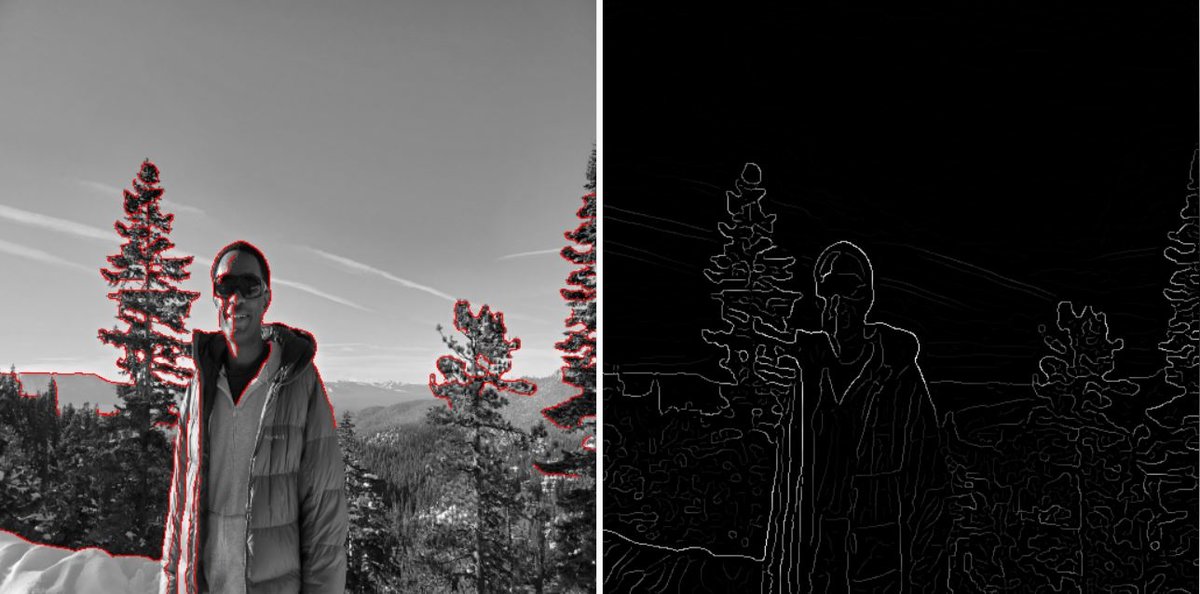
In this tutorial, I will show you how to load an image, process it, and then save it to your computer using OpenCV, the popular computer vision library for Python.
Real-World Applications
- Just about any computer vision application written in Python that handles images or videos could use OpenCV.
Let’s get started!
Prerequisites
Installation and Setup
We now need to make sure we have all the software packages installed. Check to see if you have OpenCV installed on your machine. If you are using Anaconda, you can type:
conda install -c conda-forge opencv
Alternatively, you can type:
pip install opencv-python
Make sure you have NumPy installed, a scientific computing library for Python.
If you’re using Anaconda, you can type:
conda install numpy
Alternatively, you can type:
pip install numpy
Write the Code
Open up a new Python file called read_write_img_opencv.py.
Here is the full code:
# Project: How To Load and Write an Image Using OpenCV
# Author: Addison Sears-Collins
# Date created: February 24, 2021
# Description: The basics of OpenCV
import cv2 # Computer vision library for Python
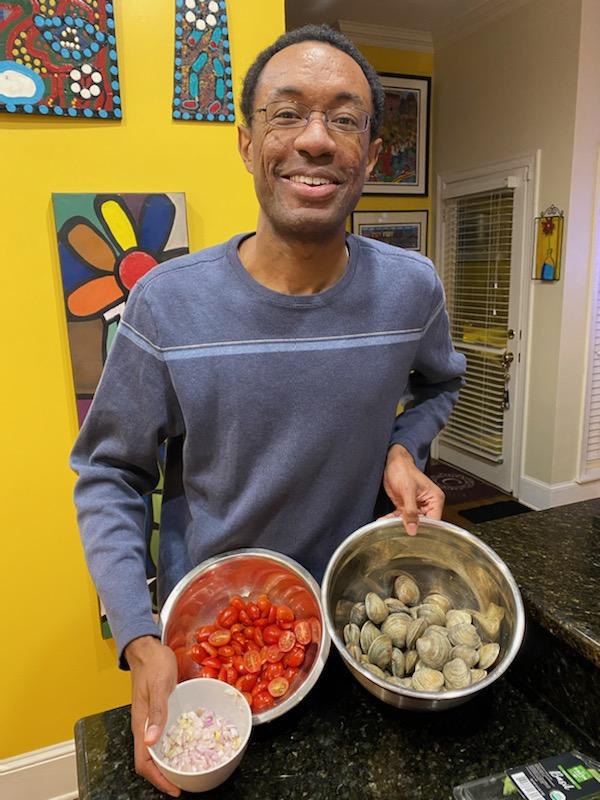
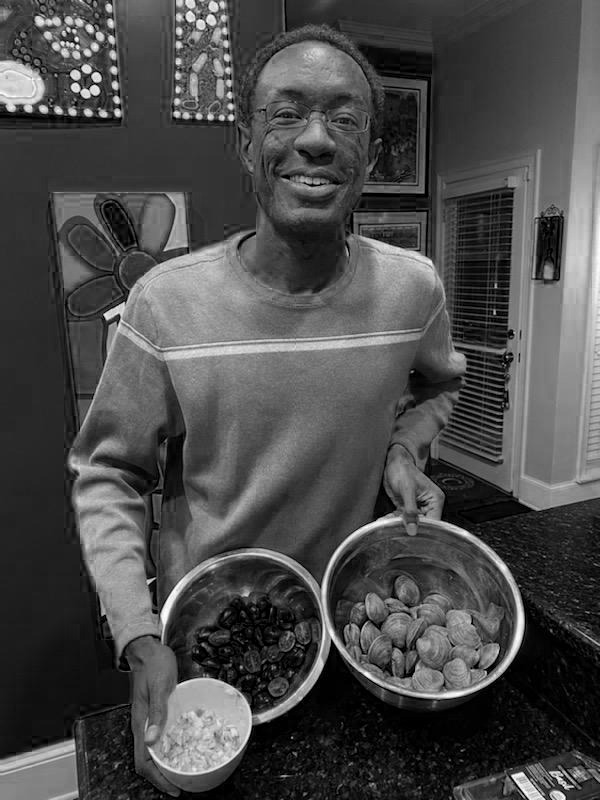
# Load an image of Automatic Addison
img = cv2.imread("addison-photo.jpg")
# Was the image there?
if img is None:
print("Error: File not found")
# Display the image
cv2.imshow("Automatic Addison", img)
cv2.waitKey(0) # Wait for a keypress
cv2.destroyAllWindows()
# Split the image into its 3 separate color channels:
# blue, green, and red (i.e BGR)
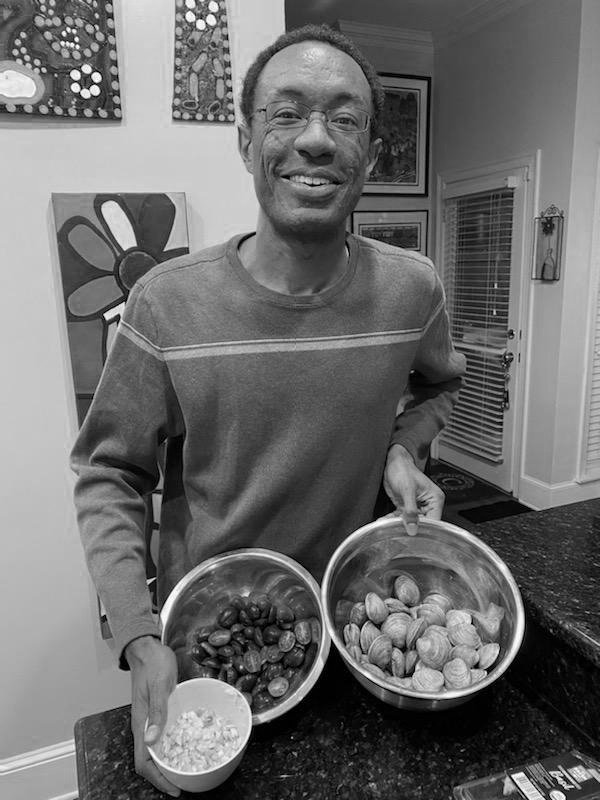
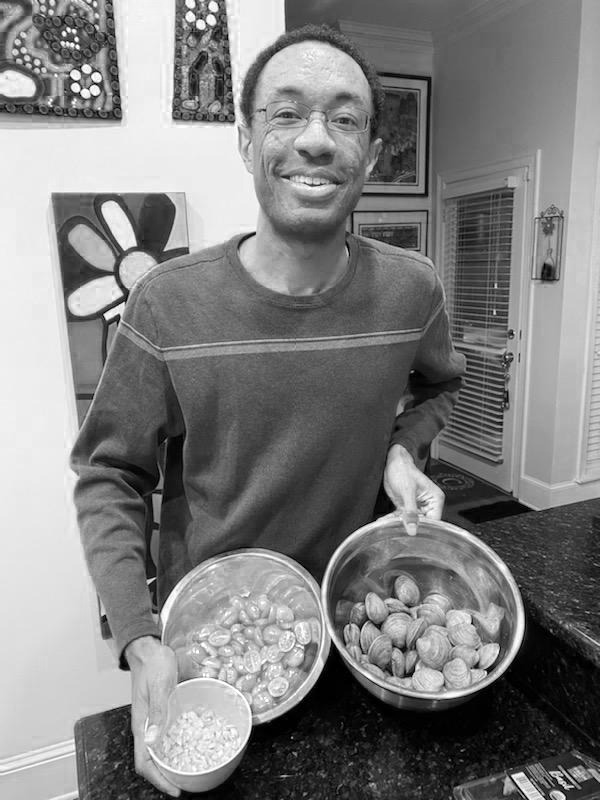
blue_channel, green_channel, red_channel = cv2.split(img)
# Display the blue channel
cv2.imshow("Blue Channel", blue_channel)
cv2.waitKey(0)
cv2.destroyAllWindows()
# Display the green channel
cv2.imshow("Green Channel", green_channel)
cv2.waitKey(0)
cv2.destroyAllWindows()
# Display the red channel
cv2.imshow("Red Channel", red_channel)
cv2.waitKey(0)
cv2.destroyAllWindows()
# Save the red channel image to the current directory
cv2.imwrite("red_channel_photo.jpg",red_channel)
Code Output
# Display the image
cv2.imshow("Automatic Addison", img)
cv2.waitKey(0) # Wait for a keypress
cv2.destroyAllWindows()
# Split the image into its 3 separate color channels:
# blue, green, and red (i.e BGR)
blue_channel, green_channel, red_channel = cv2.split(img)

# Display the blue channel
cv2.imshow("Blue Channel", blue_channel)
cv2.waitKey(0)
cv2.destroyAllWindows()
# Display the green channel
cv2.imshow("Green Channel", green_channel)
cv2.waitKey(0)
cv2.destroyAllWindows()
# Display the red channel
cv2.imshow("Red Channel", red_channel)
cv2.waitKey(0)
cv2.destroyAllWindows()
That’s it. Keep building!