

In this post, I will show you how to set up Anaconda. Anaconda is a free, open-source distribution of Python (and R). The goal of Anaconda is to be a free “one-stop-shop” for all your Python data science and machine learning needs. It contains the key packages you need to build cool machine learning projects.
Requirements
Here are the requirements:
- Set up Anaconda.
- Set up Jupyter Notebook.
- Install important libraries.
- Learn basic Anaconda commands.
Directions
Install Anaconda
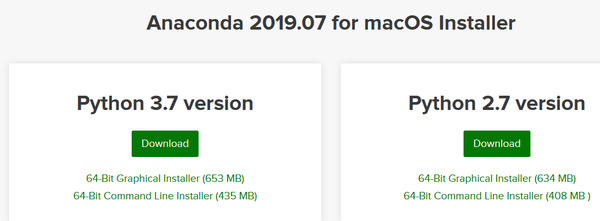
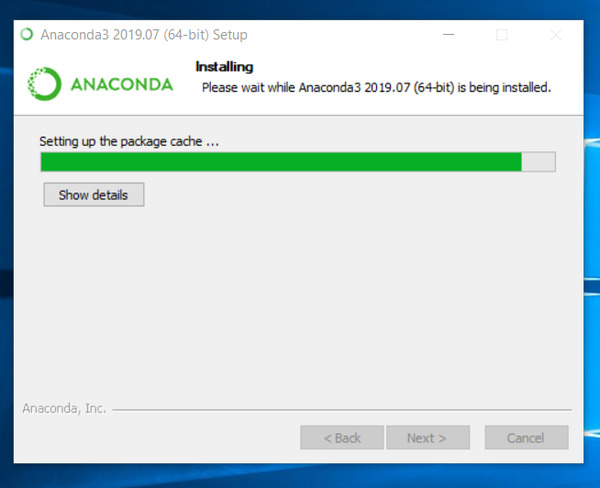
Go to the Anaconda website and click “Download.”

Choose the latest version of Python. In my case, that is Python 3.7. Click “Download” to download the Anaconda installer for your operating system type (i.e. Windows, macOS, or Linux).
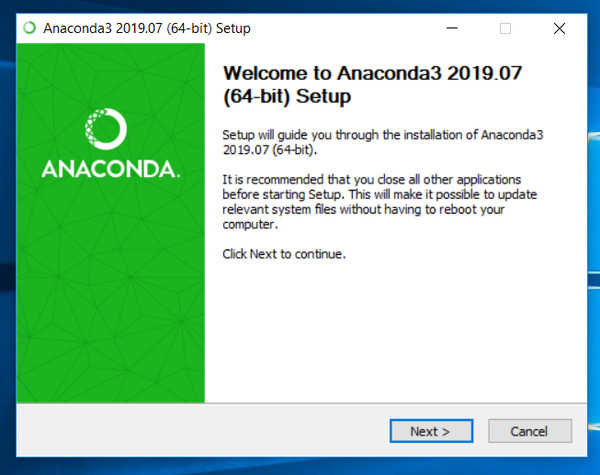
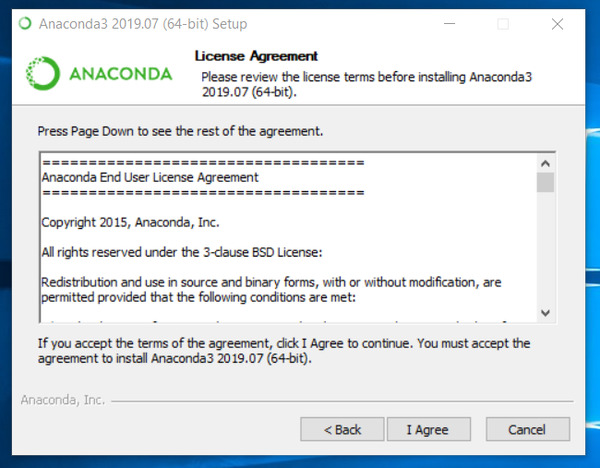
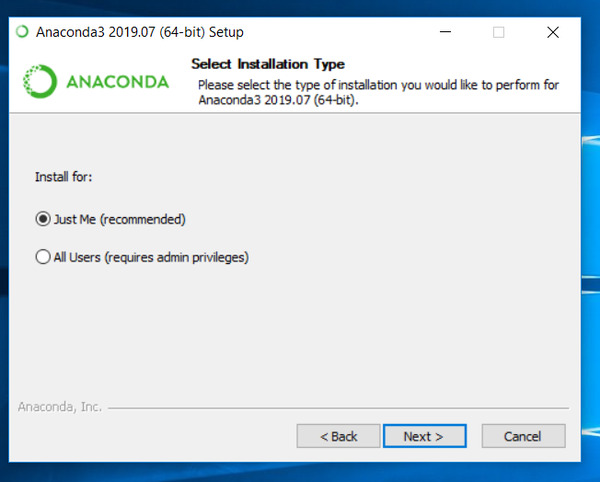
Follow the instructions to install the program:
- Installing on Windows (this is what I’m using)
- Installing on macOS
- Installing on Linux
Verify Anaconda is installed by searching for “Anaconda Navigator” on your computer.
Open Anaconda Navigator.

Follow the instructions here for creating a “Hello World” program. You can use Spyder, Jupyter Notebooks, or the Anaconda Prompt (terminal). If you use Jupyter Notebooks, you will need to open the notebooks in Firefox, Google Chrome or another web browser.
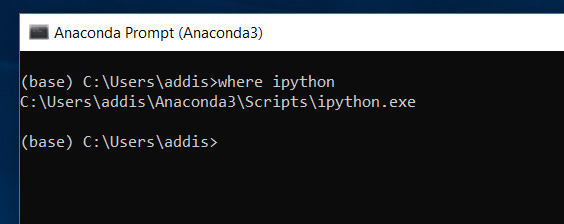
Check to make sure that you have IPython installed. Use the following command (in an Anaconda Prompt window) to check:
where ipython
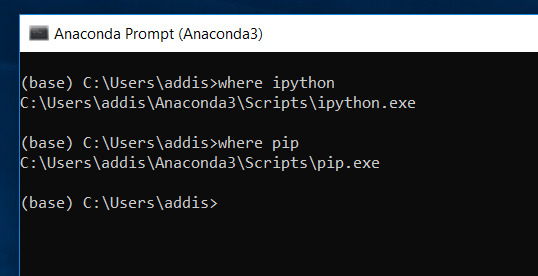
Make sure that you have pip installed. Pip is the package management system for Python.
where pip
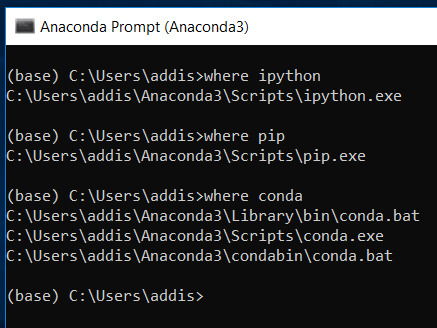
Make sure that you have conda installed. Conda is Anaconda’s package management system.
where conda
Install Some Libraries
Install OpenCV
To install OpenCV, use the following command in the Anaconda Prompt:
pip install opencv-contrib-python
Type the following command to get a list of packages and make sure opencv-contrib-python is installed.
conda list
Install dlib
Install cmake.
pip install cmake
Install the C++ library called dlib.
pip install dlib
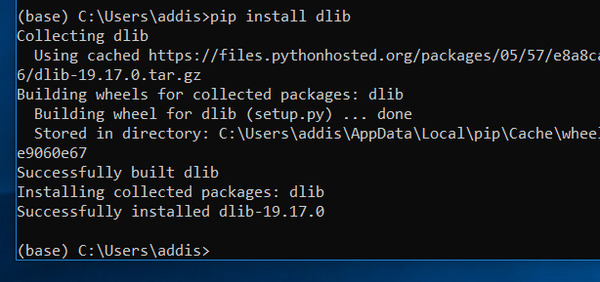
Type the following command and take a look at the list to see if dlib is successfully installed:
conda list
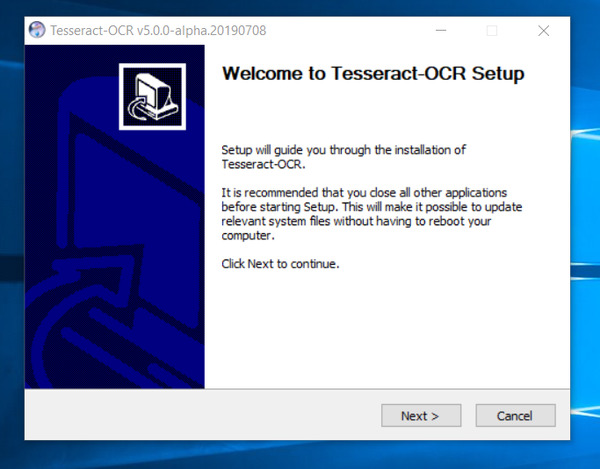
Install Tesseract
Go to Tesseract at UB Mannheim.
Download the Tesseract for your system.
Set it up by following the prompts.
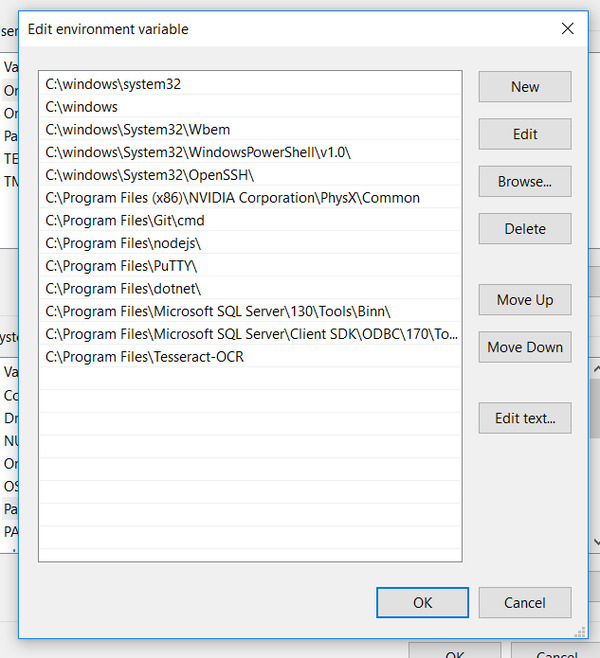
Once Tesseract OCR is downloaded, find it on your system.
Copy the name of the file it is located in. In my case, that is:
C:\Program Files\Tesseract-OCR
Search for “Environment Variables” on your computer.
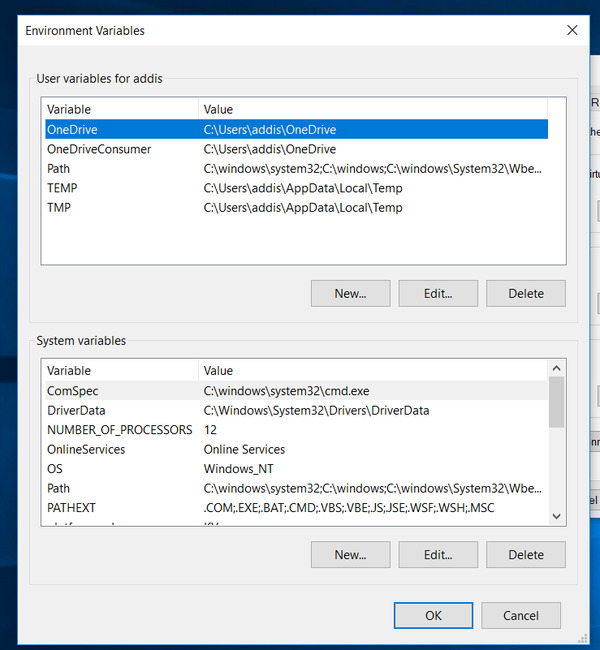
Under “System Variables,” click “Path,” and then click Edit.
Add the path: C:\Program Files\Tesseract-OCR
Click OK a few times to close all windows.
Open up the Anaconda Prompt.
Type this command to see if tesseract is installed on your system.
where tesseract
Now, apply the Python binding to the packages using the following commands:
pip install tesseract
pip install pytesseract
Install TensorFlow
Type the following command in the Anaconda Prompt:
pip install tensorflow
Install TensorFlow hub using this command:
pip install tensorflow-hub
Now install tflearn.
pip install tflearn
Now, install the Keras neural network library.
pip install keras
Install the Rest of the Libraries
Type the following commands to install the rest of the libraries:
pip install pillow
pip install SimpleITK
Learn Basic Anaconda Commands
Changing Directories
If you ever want to change directories to the D drive instead of the C drive, open Anaconda Prompt on your computer and type the following commands, in order
D:
cd D:\XXXX\XXXX\XXXX\XXXX
where D:\XXXX\XXXX\XXXX\XXXX is the file path.
Listing Directory Contents
Type the dir command to list the contents of a directory.
dir
Creating a Jupyter Notebook
Open Anaconda Prompt on your computer and type the following command:
jupyter notebook
Converting a Jupyter Notebook into Python Files
If you want to convert a Jupyter Notebook into Python files, change to that directory and type the following command:
jupyter nbconvert --to script *.ipynb
Congratulations if you made it this far! You have all the libraries installed that you need to do fundamental image processing and computer vision work in Python.