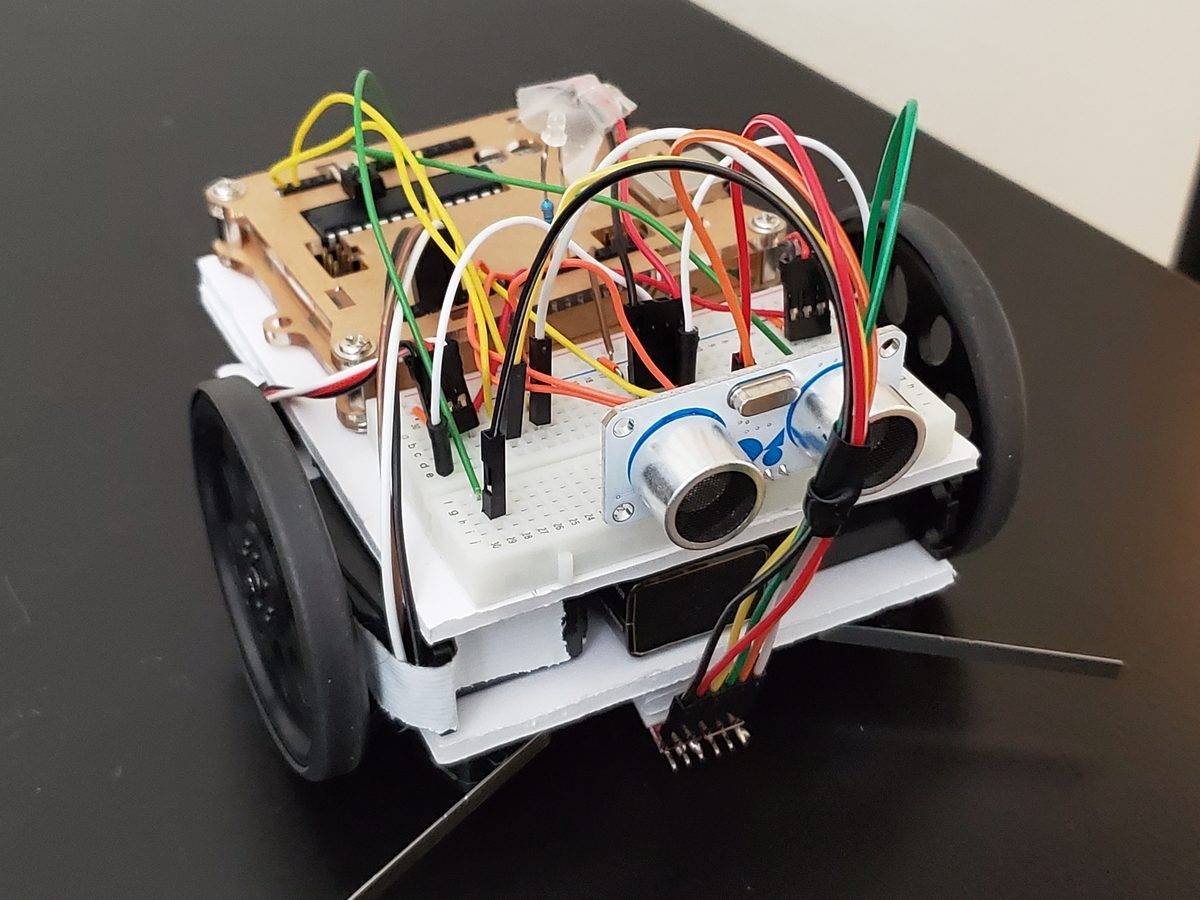
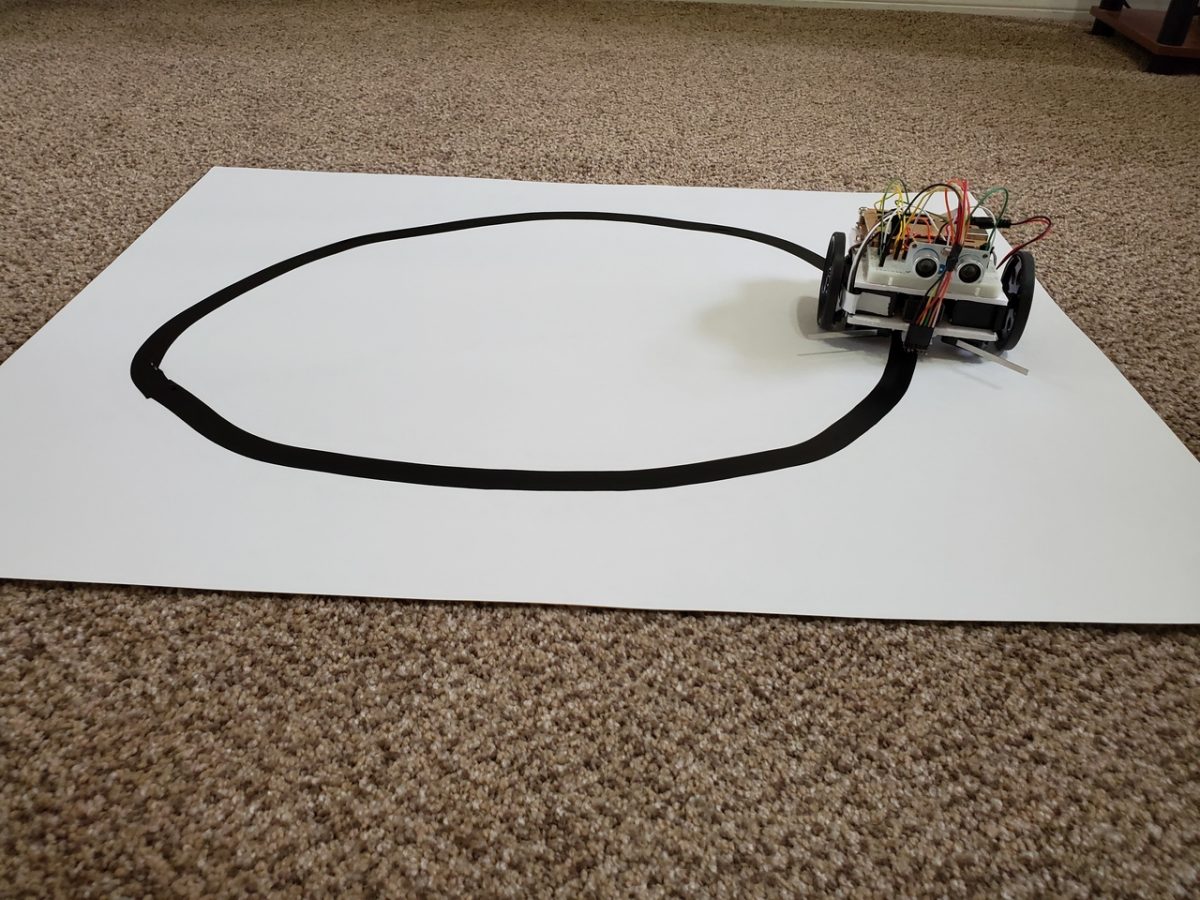
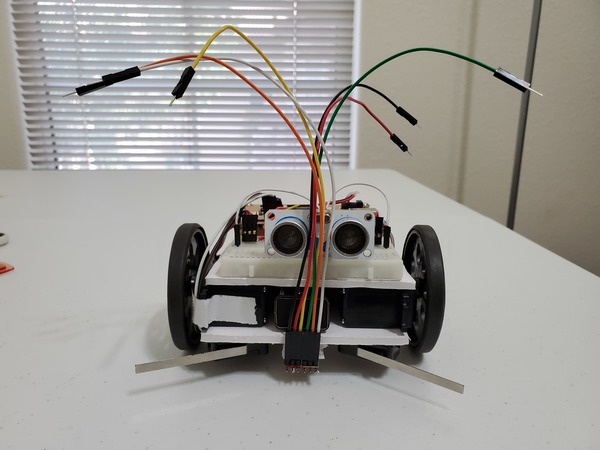
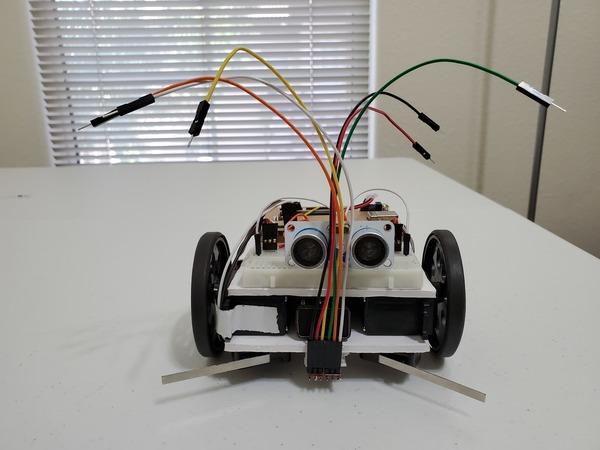
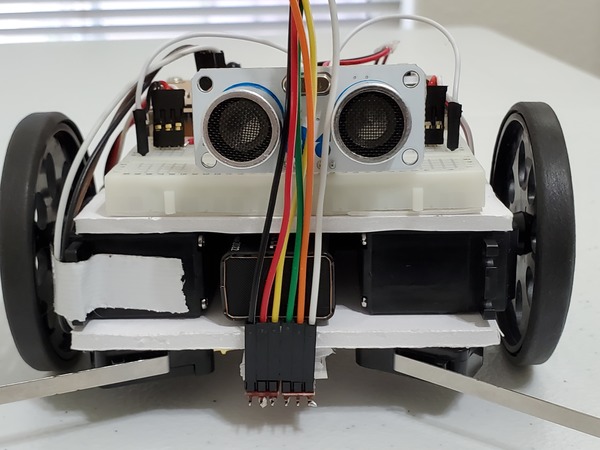
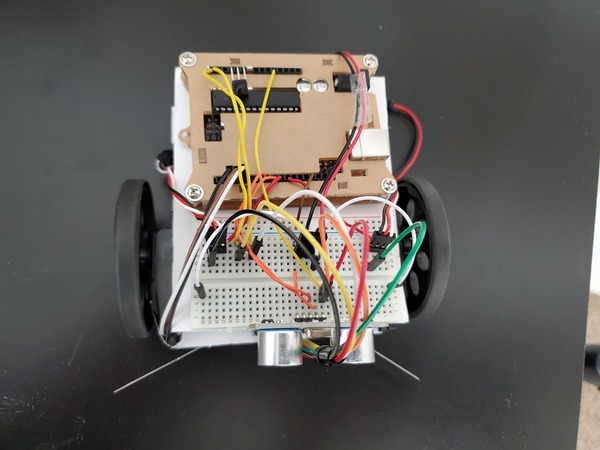
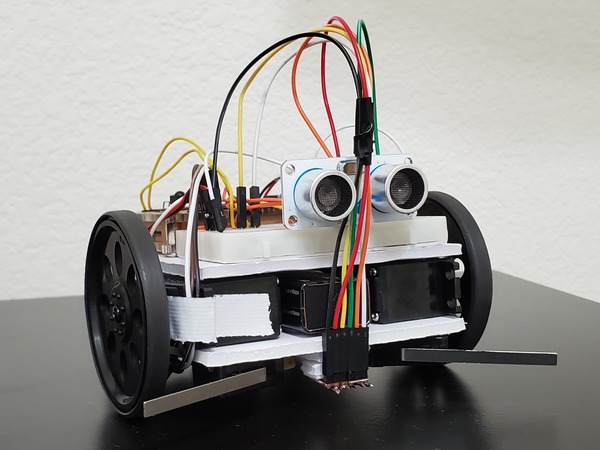
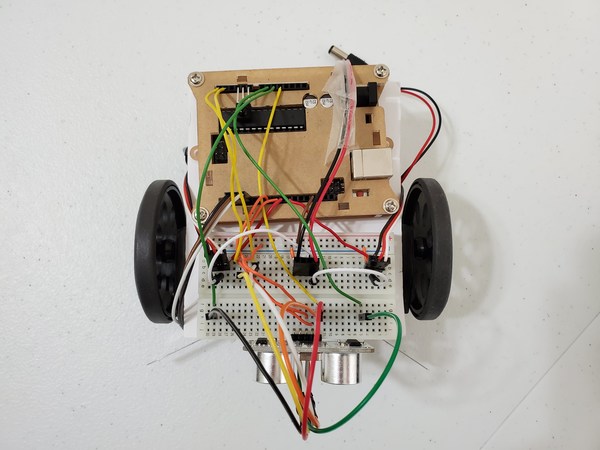
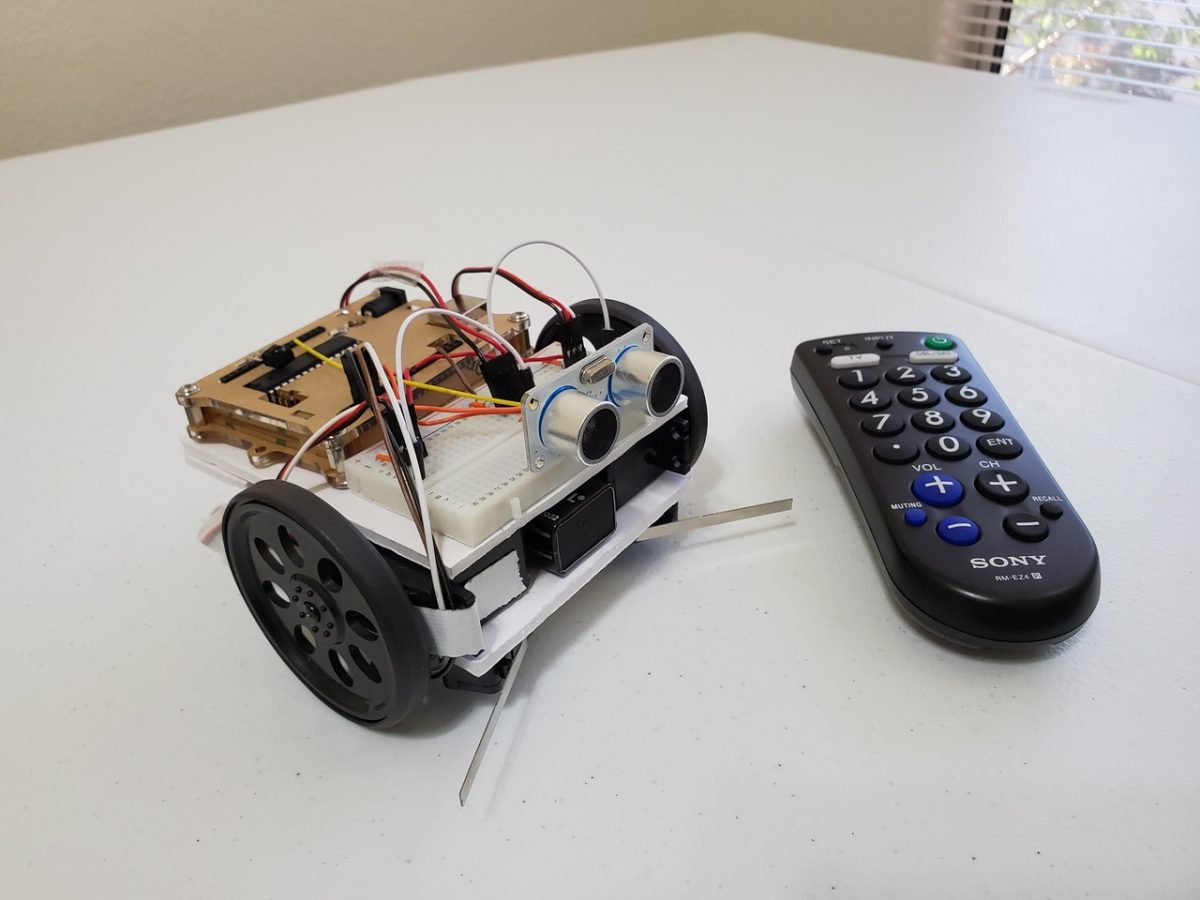
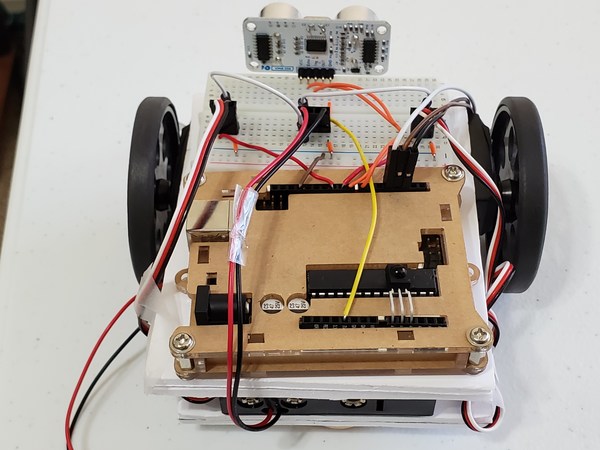
In this post, I’ll show you how to add lights to a wheeled robot so that the light is red when the robot is moving backwards and is green when the robot is moving forwards.
Shout out to the late Gordon McComb for this project idea. He is the author of an excellent book that I recommend buying if you’re getting started with robotics: How to Make a Robot.
Requirements
Here are the requirements:
- Add lights to a wheeled robot so that the light is red when the robot is moving backwards and is green when the robot is moving forwards.
You Will Need
The following components are used in this project. You will need:
- Wheeled Robot
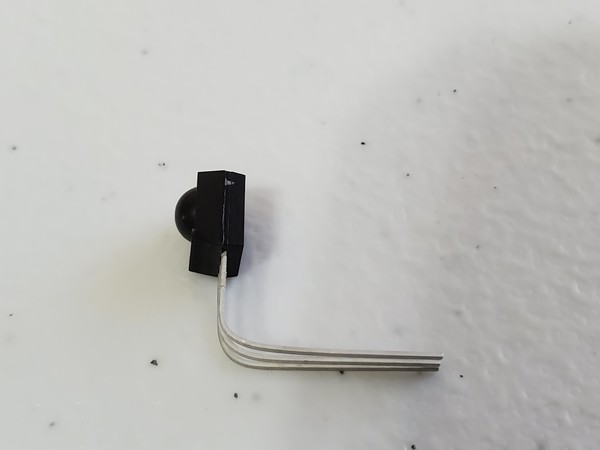
- 10 LED Bi-Color Green/Red 565nm/697nm 2-Pin (Jameco Part no.: 94553)
- 330 Ohm 0.25 Watt Resistor
Directions
Get the bi-color LED.
Cut the shorter lead of the LED so that it is 1/4 inches in length.
Get the 300 Ohm resistor. Cut one of the ends so that it is 3/8 inches.
Solder the short lead of the LED to the short lead of the 300 Ohm resistor.
Cut the bottom of the resistor so that its lead is 3/8 inches in length.
Cut the lead of the LED that is not connected to the resistor so that it is the same length as the lead that has the resistor soldered to it.
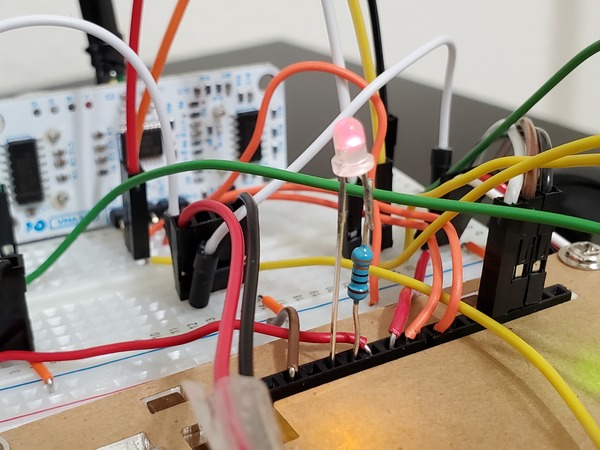
Insert the LED into the Arduino board. The lead with the resistor goes into pin 11. The lead that does not have the resistor gets inserted into pin 12.
Upload the following code to the Arduino board. you should see the LED flashing red and green.
/**
 * Make a bi-color LED flash red and green.
 *
 * @author Addison Sears-Collins
 * @version 1.0 2019-05-15
 */

#define LED_RED 11
#define LED_GREEN 12

/*
 *  This setup code is run only once, when
 *  Arudino is supplied with power.
 */
void setup() {

  // Define output pins
  pinMode(LED_RED, OUTPUT);
  pinMode(LED_GREEN, OUTPUT);

  // Set output values
  digitalWrite(LED_RED, LOW);
  digitalWrite(LED_GREEN, LOW);
}

/*
 *  This code is run again and again to
 *  make the LED blink.
 */
void loop() {
  red_blink();
  green_blink();
}

// Method to blink the red LED
void red_blink() {
  digitalWrite(LED_RED, HIGH);
  delay(250);
  digitalWrite(LED_RED, LOW);
  delay(250);
}

// Method to blink the green LED
void green_blink() {
  digitalWrite(LED_GREEN, HIGH);
  delay(250);
  digitalWrite(LED_GREEN, LOW);
  delay(250);
}
Now, upload the following code to the Arduino board. In this code, the LED will flash green when the robot is moving forward, and the LED will flash red when the robot is moving backwards.
#include <Servo.h>

/**
 * Make a robot whose light is red when the robot
 * is moving backwards and is green when the robot
 * is moving forwards.
 *
 * @author Addison Sears-Collins
 * @version 1.0 2019-05-15
 */


Servo right_servo;
Servo left_servo;

volatile int left_switch = LOW;   // Flag for left switch
volatile int right_switch = LOW;  // Flag for right switch
boolean started = false;     // True after first start

#define LED_RED 11
#define LED_GREEN 12

void setup() {
  // Set pin modes for switches
  pinMode(2, INPUT);
  pinMode(3, INPUT);
  pinMode(4, OUTPUT);

  // Set internal pull up resistors for switches
  // These go LOW when pressed as connection
  // is made with Ground.
  digitalWrite(2, HIGH);     // Right switch
  digitalWrite(3, HIGH);     // Left switch

  digitalWrite(4, LOW);      // Pin 4 is ground

  right_servo.attach(9);      // Right servo to pin 9
  left_servo.attach(10);      // Left servo to pin 10

  // Set up the interrupts
  attachInterrupt(0, bump_right, FALLING);
  attachInterrupt(1, bump_left, FALLING);

  started = true;            // OK to start moving

  pinMode(LED_GREEN, OUTPUT);
  pinMode(LED_RED, OUTPUT);
  digitalWrite(LED_GREEN, LOW);
  digitalWrite(LED_GREEN, LOW);
}

void loop() {
  if (left_switch == HIGH) {   // If the left switch hit
    go_backwards();            // Go backwards for 0.5 sec
    delay(500);
    turn_right();              // Spin for 1 second
    delay(1000);
    go_forward();              // Go forward
    left_switch = LOW;         // Reset flag shows bumped
  }

  if (right_switch == HIGH) {  // If right switch hit
    go_backwards();
    delay(500);
    turn_left();
    delay(1000);
    go_forward();
    right_switch = LOW;
  }
}

// Interrupt handlers
void bump_left() {
  if (started)              // If robot has begun
    left_switch = HIGH;
}
void bump_right() {
  if (started)
    right_switch = HIGH;
}

// Motion Routines: forward, backwards, turn, stop
// Continuous servo motor
void go_forward() {
  right_servo.write(0);
  left_servo.write(180);
  led_green();
}
void go_backwards() {
  right_servo.write(180);
  left_servo.write(0);
  led_red();
}
void turn_right() {
  right_servo.write(180);
  left_servo.write(180);
  led_off();
}
void turn_left() {
  right_servo.write(0);
  left_servo.write(0);
  led_off();
}
void stop_all() {
  right_servo.write(90);
  left_servo.write(90);
}

void led_green() {
  digitalWrite(LED_GREEN, HIGH);
  digitalWrite(LED_RED, LOW);
}
void led_red() {
  digitalWrite(LED_GREEN, LOW);
  digitalWrite(LED_RED, HIGH);
}
void led_off() {
  digitalWrite(LED_GREEN, LOW);
  digitalWrite(LED_RED, LOW);
}
If for some reason you get a situation where you get the opposite result of what should occur (flashes red when moving forward and green when in reverse), the LED is reversed. Turn it around.
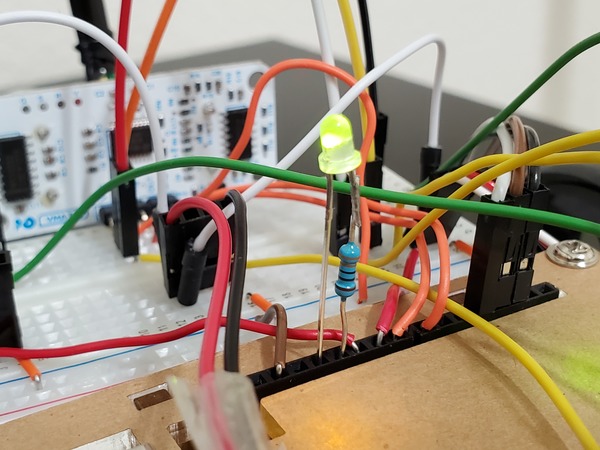
Also, if you are getting a situation where your servos are not moving, it likely means that voltage is insufficient. Changing the location of the servo power wire, the wire that connects the red servo line to the red line of the 4xAA battery pack usually does the trick. If not, get new batteries for the servo.

