In this tutorial, I will show you how to install OpenCV on Raspberry Pi 4 and then get a real-time video stream going. OpenCV is a library that has a bunch of programming functions that enable us to do real-time computer vision.

Prerequisites
You Will Need
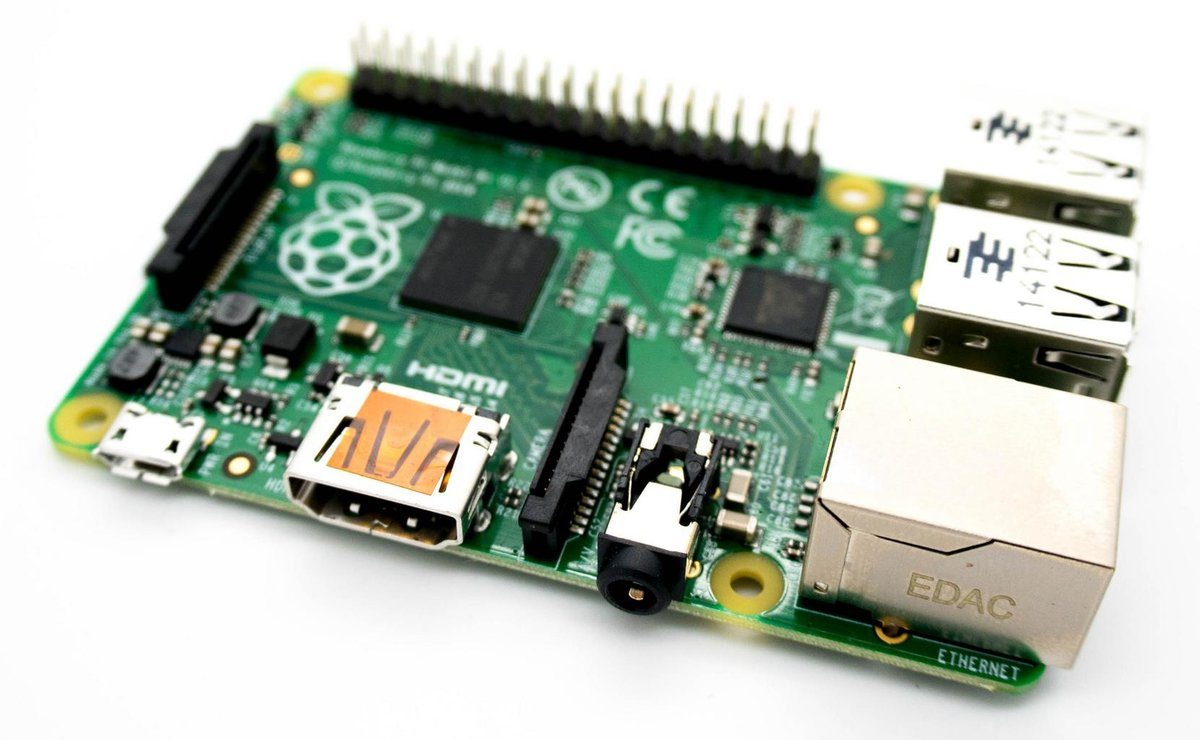
- 1 x Raspberry Pi Camera Module V2-8 Megapixel
- 1 x Arducam for Raspberry Pi Camera Ribbon Flex Extension Cable Set (optional)
Install the Raspberry Pi Camera Module
Let’s install the Raspberry Pi Camera Module. Here are the official instructions, but I’ll walk through the whole process below.
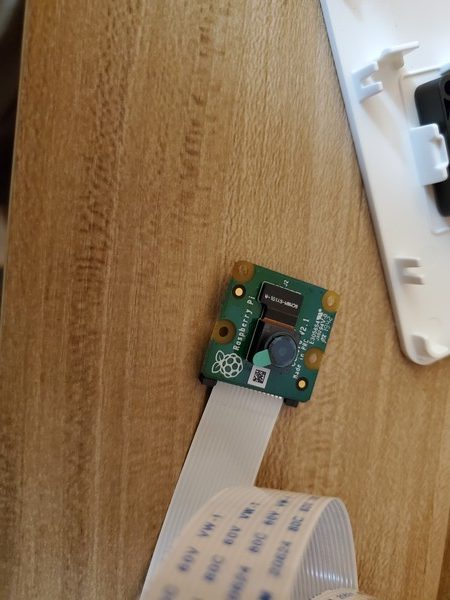
Grab the Raspberry Pi Camera’s plastic clip. (optional)
Remove the ribbon cable that is currently in there. (optional)
Replace that small cable with the longer ribbon cable that came with the Flex Extension Cable Set. (optional)
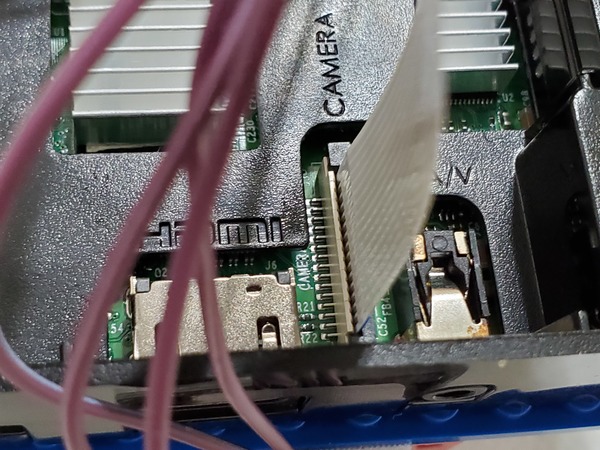
Open the Camera Serial Interface on the Raspberry Pi by taking your fingers, pinching either side, and pulling up. The Camera Serial Interface is labeled “CAMERA”.
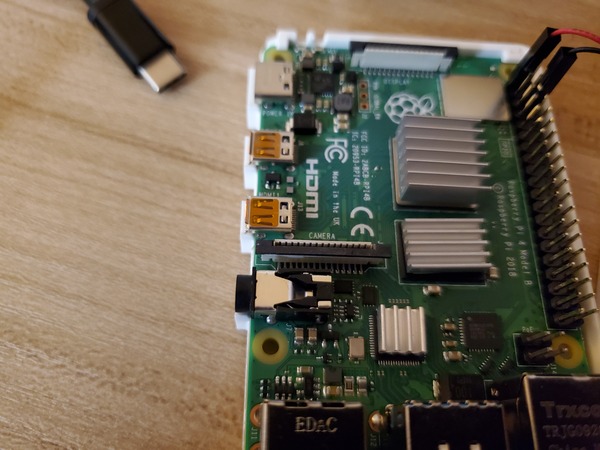
Push the long piece of ribbon into the interface. The silver pieces of the ribbon should be facing towards the CAMERA label on the Raspberry Pi board.
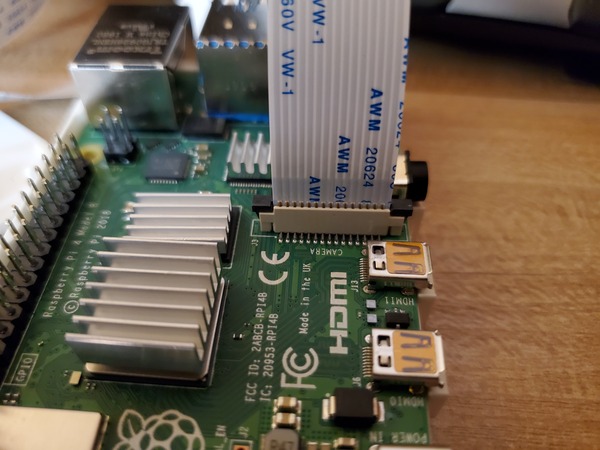
Hold the ribbon in place with one finger while you push down on the door. The door should snap into place.
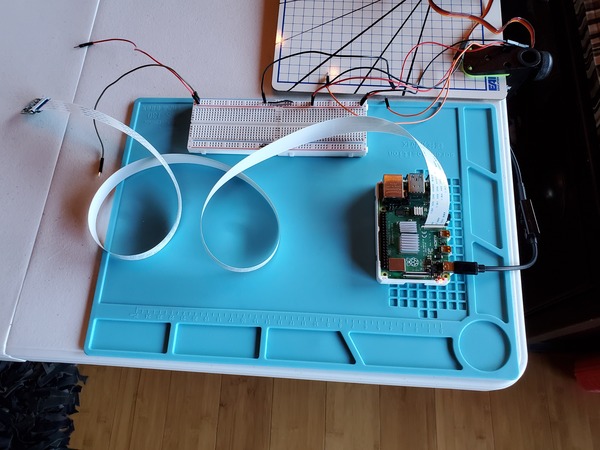
This is how it should look at this stage (Ignore the other stuff in the photo).
Lightly pull on the ribbon to make sure that it is in their snugly. It shouldn’t come out when you pull on it.
Configure the Raspberry Pi
We now need to make sure the Raspberry Pi is configured properly to use the camera.
Start the Raspberry Pi.
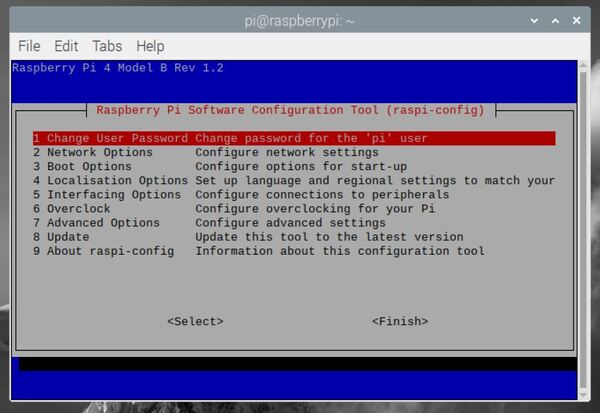
Open a fresh terminal window, and type the following command:
sudo raspi-config
Go to Interfacing Options and press Enter.
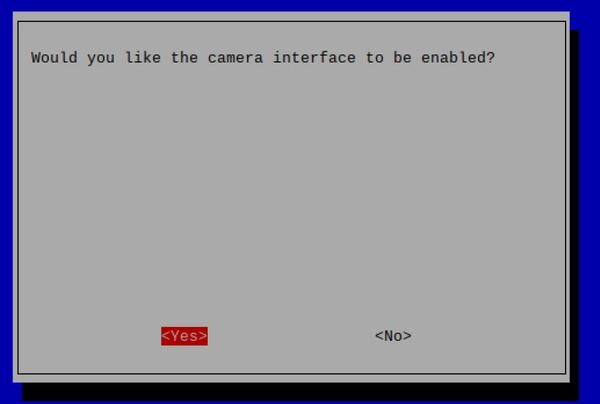
Select Camera and press Enter to enable the camera.
Press Enter.
Go to Advanced Options and press Enter.
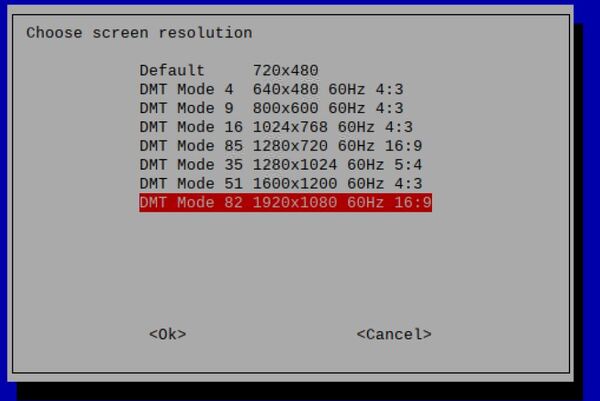
Select Resolution and press Enter.
Select a screen resolution. I’m using 1920 x 1080.
Press Enter.
Go to Finish and press Enter.
Press Enter on <Yes> to reboot the Raspberry Pi.
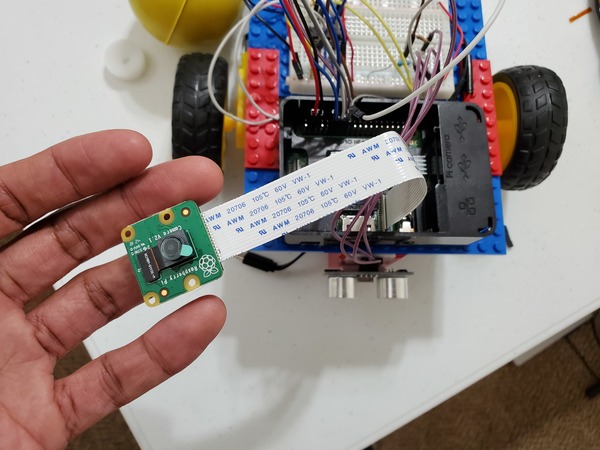
Test the Raspberry Pi Camera Module
Open up a new terminal window. Let’s take a test photo by typing the following command:
raspistill -o Desktop/image.jpg
Your photo should be on your Desktop.

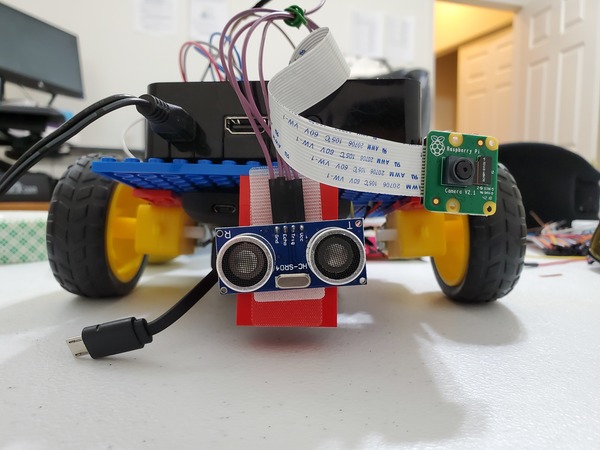
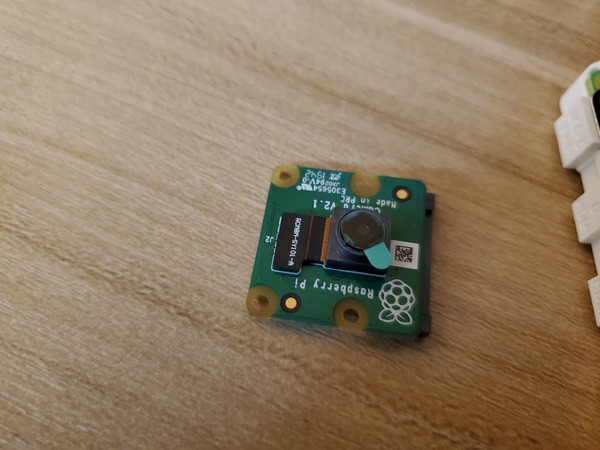
Here is how the camera looks when it is right side up. The black bar needs to be on top above the camera lens.

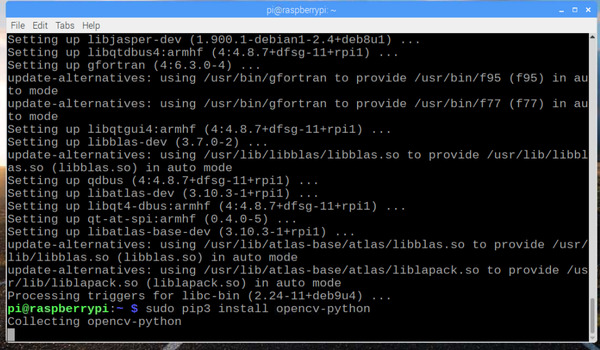
Install OpenCV
Let’s install OpenCV on our Raspberry Pi. I will largely be following this excellent tutorial. The process has a lot of steps, so go slow.
Update the packages by typing this command:
sudo apt-get update
sudo apt-get upgrade
Install these packages that assist in the compilation of the OpenCV code:
sudo apt install cmake build-essential pkg-config git
These packages provide the support that enable OpenCV to use different formats for both images and videos.
sudo apt install libjpeg-dev libtiff-dev libjasper-dev libpng-dev libwebp-dev libopenexr-dev
sudo apt install libavcodec-dev libavformat-dev libswscale-dev libv4l-dev libxvidcore-dev libx264-dev libdc1394-22-dev libgstreamer-plugins-base1.0-dev libgstreamer1.0-dev
Install some more OpenCV dependencies: You can learn about each of these packages by doing a search here at the Debian website:
sudo apt install libgtk-3-dev libqtgui4 libqtwebkit4 libqt4-test python3-pyqt5
Install these packages that help OpenCV run quickly on your Raspberry Pi.
sudo apt install libatlas-base-dev liblapacke-dev gfortran
Install the HDF5 packages that OpenCV will use to manage the data.
sudo apt install libhdf5-dev libhdf5-103
Install Python support packages.
sudo apt install python3-dev python3-pip python3-numpy
Increase the swap space. The swap space is the space that your operating system uses when RAM has reached its limit.
sudo nano /etc/dphys-swapfile
Locate this line:
CONF_SWAPSIZE=100
Change that to:
CONF_SWAPSIZE=2048
Save the file and close out using the following keystrokes, one after the other:
CTRL+X
Y
Enter
Regenerate the swap file:
sudo systemctl restart dphys-swapfile
Get the latest version of OpenCV from GitHub.
git clone https://github.com/opencv/opencv.git
git clone https://github.com/opencv/opencv_contrib.git
Both of these commands above will take a while to finish executing, so be patient.
Now, we need to compile OpenCV. We’ll create a new directory for this purpose.
mkdir ~/opencv/build
cd ~/opencv/build
Generate the makefile. Copy and paste this entire command below into your terminal and then press Enter.
cmake -D CMAKE_BUILD_TYPE=RELEASE \
    -D CMAKE_INSTALL_PREFIX=/usr/local \
    -D OPENCV_EXTRA_MODULES_PATH=~/opencv_contrib/modules \
    -D ENABLE_NEON=ON \
    -D ENABLE_VFPV3=ON \
    -D BUILD_TESTS=OFF \
    -D INSTALL_PYTHON_EXAMPLES=OFF \
    -D OPENCV_ENABLE_NONFREE=ON \
    -D CMAKE_SHARED_LINKER_FLAGS=-latomic \
    -D BUILD_EXAMPLES=OFF ..
Compile OpenCV using the command below. -j$(nproc) makes sure that all of the processors that are available to us are used for the compilation. This speeds things up:
make -j$(nproc)
Wait for OpenCV to compile. It will take a while, so you can go to lunch or do something else, and then return. My Raspberry Pi took about an hour to finish everything.
Once that compilation process has completed, you need to make sure the files get installed.
sudo make install
Run this command so that Raspberry Pi can find OpenCV.
sudo ldconfig
Now, let’s go back to the swapfile and reset the size to something smaller.
sudo nano /etc/dphys-swapfile
Locate this line:
CONF_SWAPSIZE=2048
Change that to:
CONF_SWAPSIZE=100
Save the file and close out using the following keystrokes:
CTRL+X
Y
Enter
Restart swap.
sudo systemctl restart dphys-swapfile
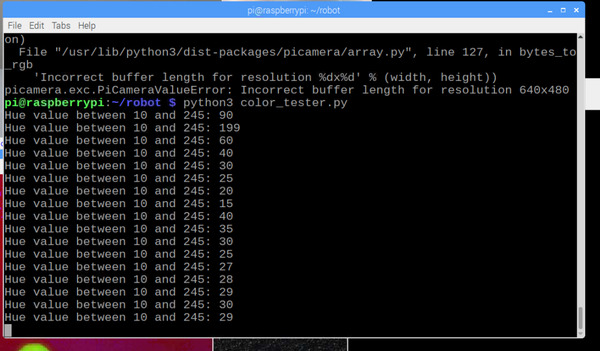
Now, make sure that picamera is installed. picamera is a Python package that enables your camera to interface with your Python code. This second array module that we’re installing enables us to use OpenCV.
pip3 install picamera
pip3 install "picamera[array]"
Test OpenCV
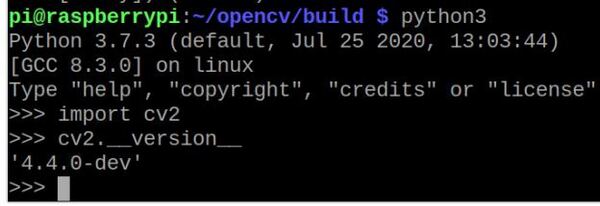
Launch python.
python3
Import OpenCV
import cv2
Check to see which version of OpenCV you have installed.
cv2.__version__
Here is what you should see:
To close out the window, type:
exit()
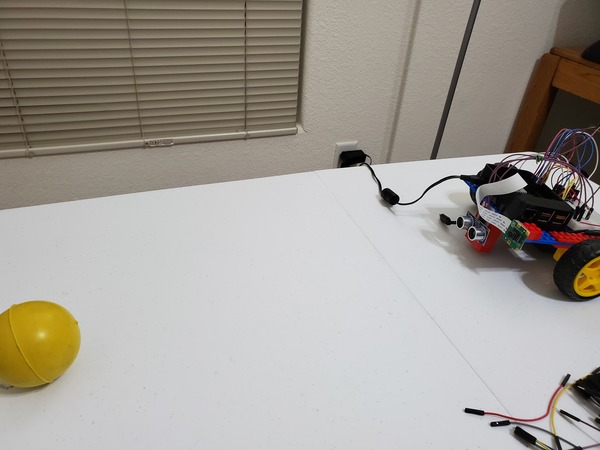
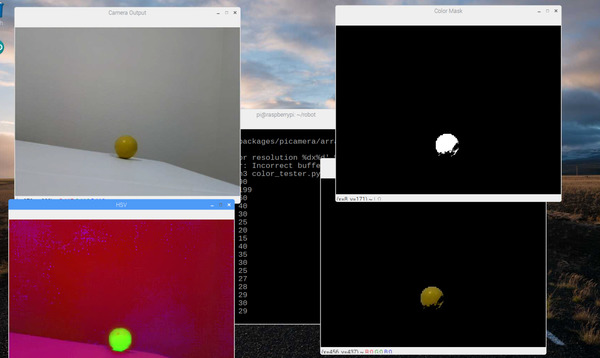
Capture Real-Time Video
Now, go to the Python IDE in your Raspberry Pi by clicking the logo -> Programming -> Thonny Python IDE.
Write the following code to capture a live video feed. Credit to Dr. Adrian Rosebrock for this source code. I’ll name the file test_video_capture.py.
Here is the code:
# Credit: Adrian Rosebrock
# https://www.pyimagesearch.com/2015/03/30/accessing-the-raspberry-pi-camera-with-opencv-and-python/

# import the necessary packages
from picamera.array import PiRGBArray # Generates a 3D RGB array
from picamera import PiCamera # Provides a Python interface for the RPi Camera Module
import time # Provides time-related functions
import cv2 # OpenCV library

# Initialize the camera
camera = PiCamera()

# Set the camera resolution
camera.resolution = (640, 480)

# Set the number of frames per second
camera.framerate = 32

# Generates a 3D RGB array and stores it in rawCapture
raw_capture = PiRGBArray(camera, size=(640, 480))

# Wait a certain number of seconds to allow the camera time to warmup
time.sleep(0.1)

# Capture frames continuously from the camera
for frame in camera.capture_continuous(raw_capture, format="bgr", use_video_port=True):

    # Grab the raw NumPy array representing the image
    image = frame.array

    # Display the frame using OpenCV
    cv2.imshow("Frame", image)

    # Wait for keyPress for 1 millisecond
    key = cv2.waitKey(1) & 0xFF

    # Clear the stream in preparation for the next frame
    raw_capture.truncate(0)

    # If the `q` key was pressed, break from the loop
    if key == ord("q"):
        break
When you’re ready, click Run. Here is what my output was:

That’s it for this tutorial. Keep building!