
In this post, I’ll show you how to read input from a push button switch on Raspberry Pi 3 Model B+. This project shows you how to use the Raspberry Pi’s GPIO pins as an input (instead of an output) to receive information from the outside world.
Requirements
Here are the requirements:
- Detect if a switch button is pressed.
- When button is pressed, print “Button is pressed!”.
- When button is not pressed, print “Button is not pressed!”.
You Will Need
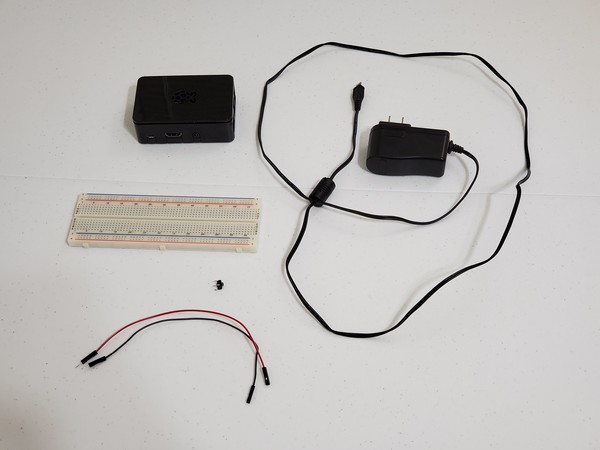
The following components are used in this project. You will need:
- Canakit Raspberry Pi 3 B+ (Pre-loaded with NOOBS)
- Solderless breadboard
- Tactile push button switch
- Male to female jumper wire
Directions
Set up the Raspberry Pi
Set up the Raspberry Pi as explained in this video:
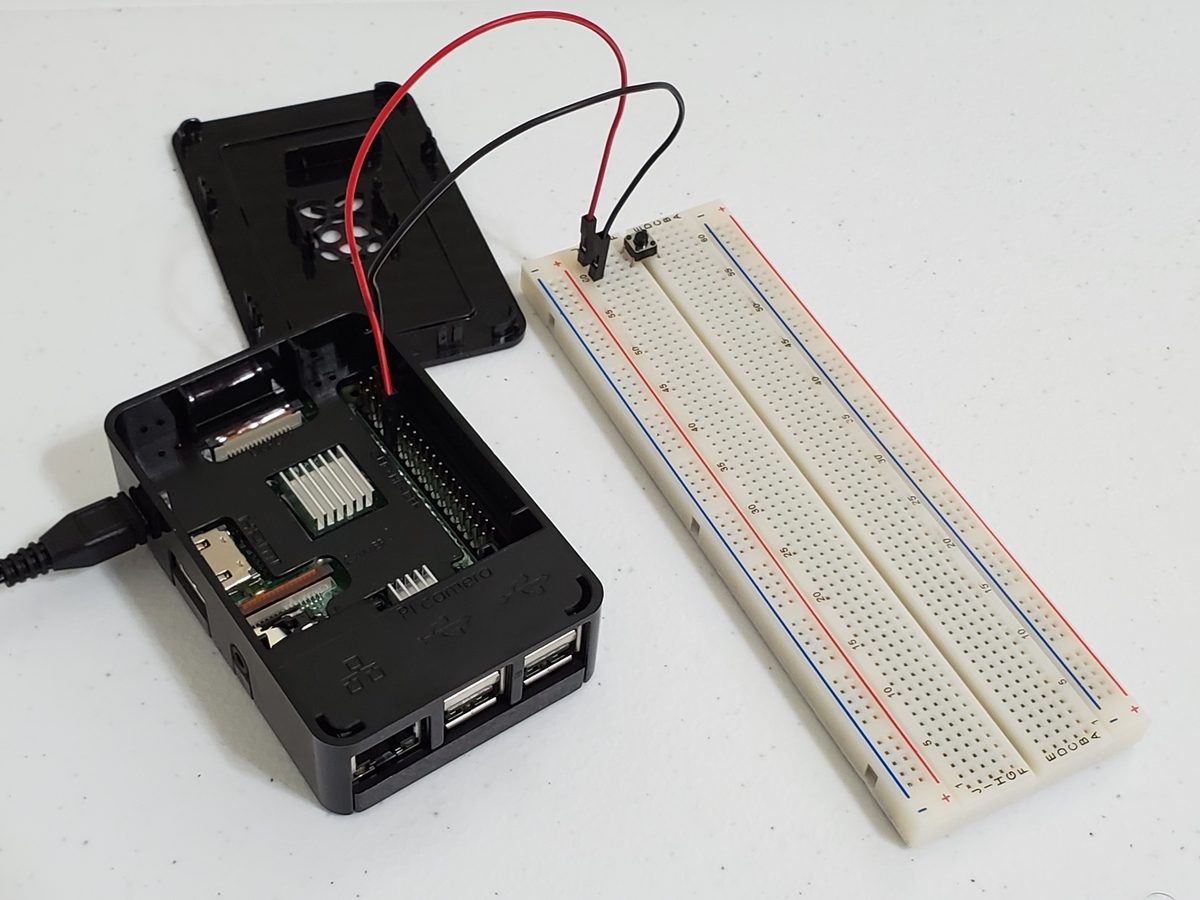
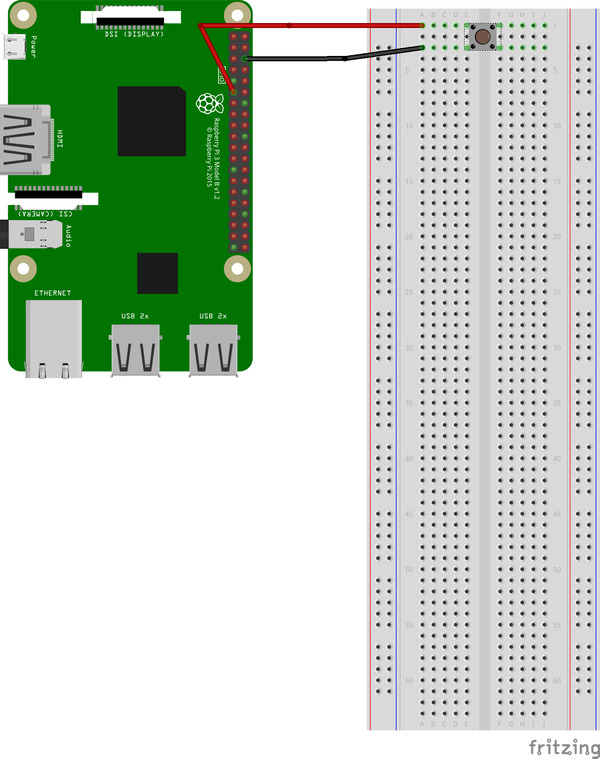
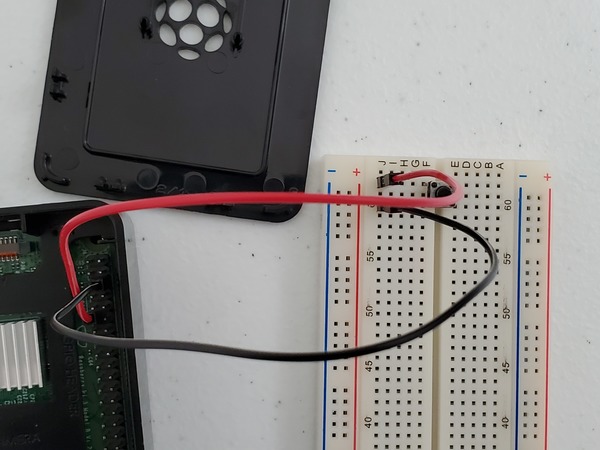
Wire the Push Button Switch to the Breadboard
Write the Program and Execute
Now we need to write a program in Python.
I have a folder in my Home Directory named robot. I get to this directory by opening up a terminal window in Raspberry Pi and typing:
cd robot
Now, we open up the Nano text editor to enable us to write the Python program. We name it push_button.py. Here is the terminal command:
nano push_button.py
We type in this python code:
import gpiozero  # We are using GPIO pins

button = gpiozero.Button(17) # GPIO17 connects to button

while True:
  if button.is_pressed:
    print("Button is pressed!")
  else:
    print("Button is not pressed!")
We then press CTRL-X, then Y, then press Enter to save the program and return to the terminal.
To run the program, we type:
python3 push_button.py
When you press the push button switch, you should see a message that says “Button is pressed!”. Otherwise, you will see a message that says “Button is not pressed!”.
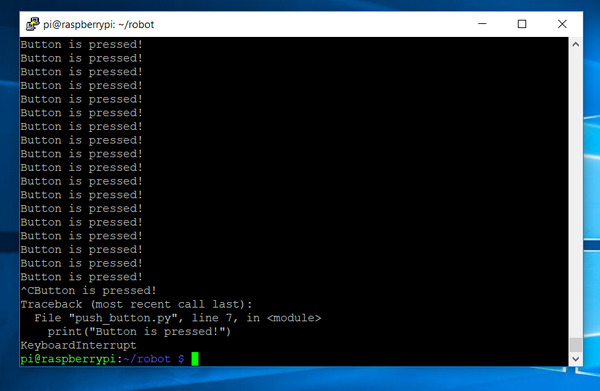
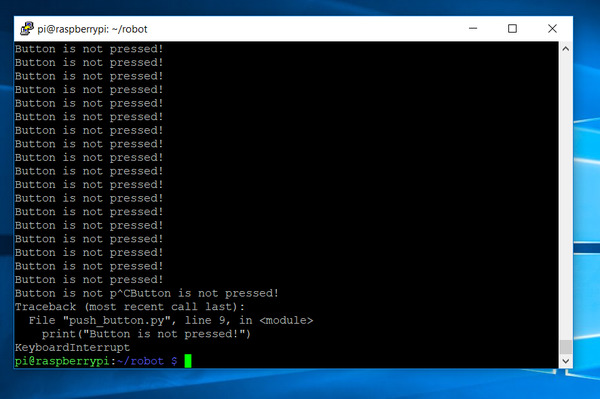
To stop the program, you press CTRL-C.