In this post, I’ll show you how to set up Visual Studio Community 2019 for Windows 10. This IDE will help us build C++ and Python programs. Our goal is to create a simple “Hello World” program in C++ and in Python.
Requirements
Here are the requirements:
- Set up Visual Studio Community 2019 for Windows 10.
- Create a simple “Hello World” program in C++ and in Python
Directions
Installation of Visual Studio Community 2019
Open a web browser.
Type “download visual studio community” into your favorite search engine.

Click on the first result.
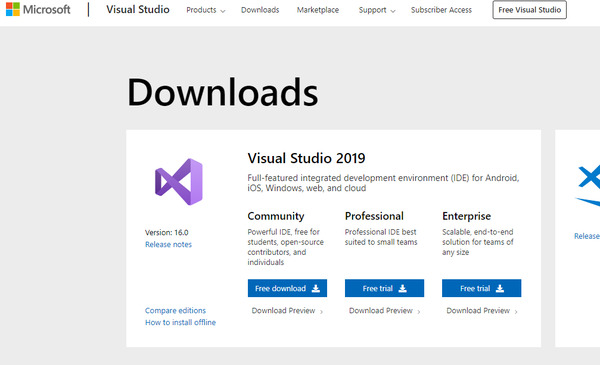
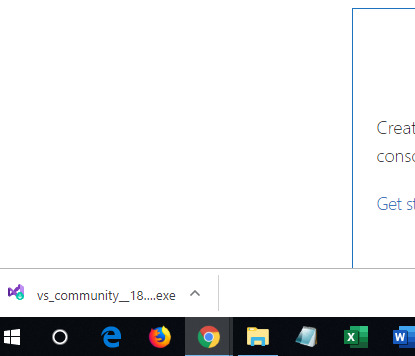
Click to download Visual Studio Community.
Click the up arrow (^) and then click “Show in folder.”
Right click on the file and click “Run as administrator.”
Click Yes.
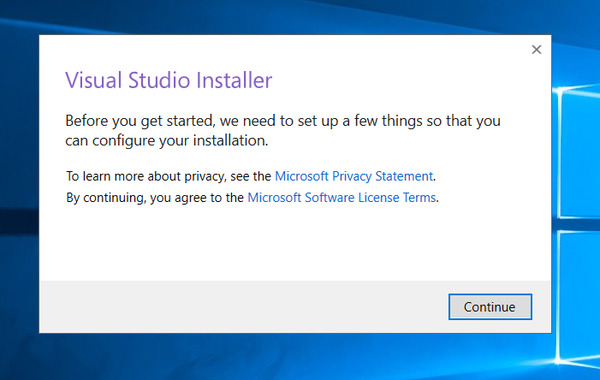
Acknowledge the terms and conditions by clicking “Continue”.
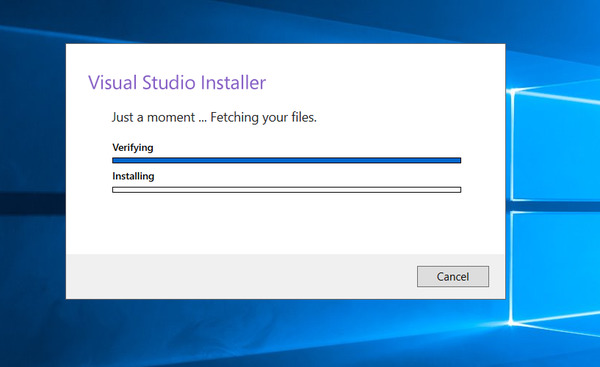
Wait for the Visual Studio Installer to do its thing.
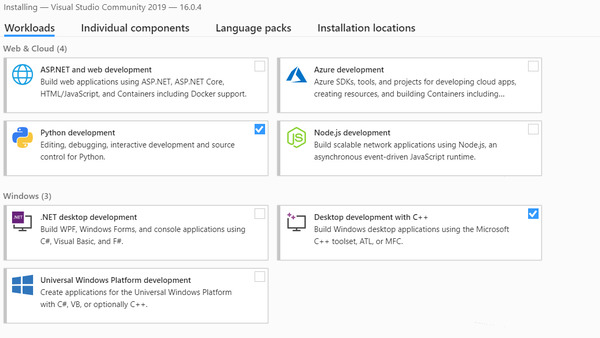
Select “Desktop Development with C++”. This is all you need to build C++ programs.
Select “Python development”. This is all you need to build Python programs.
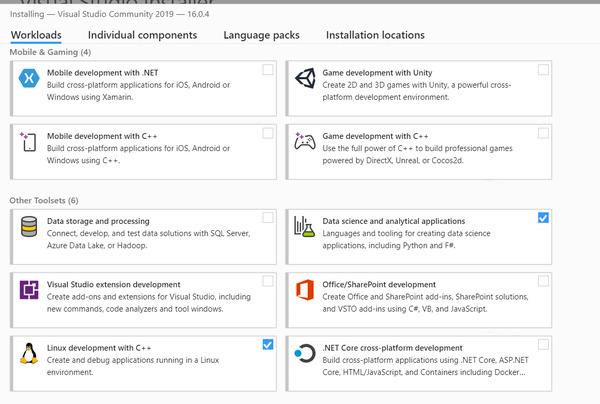
I also plan to develop for Raspberry Pi and do some data science, so I installed some extra workloads. This is optional if all you want to do is develop programs in C++ and Python:
- Linux development with C++
- Data science and analytical applications
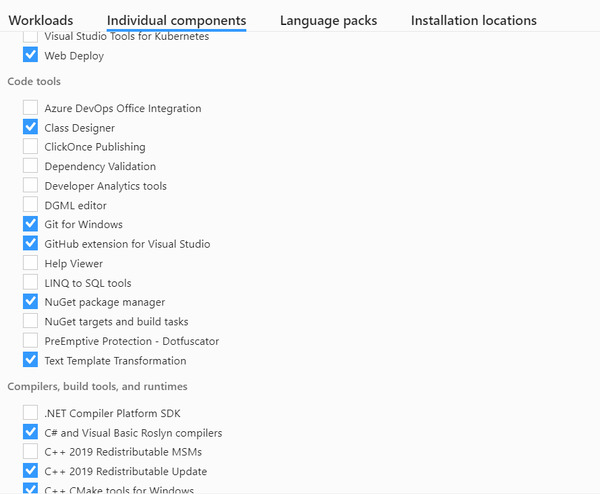
Choose the individual components that you want to install. It is OK to keep the default. Here is what else I selected:
- Git for Windows
- GitHub extension for Visual Studio
- Class Designer (under Code Tools)
You don’t need any of the .Net stuff.
Click “Install”. Go get a bite to eat or take a break. This will take a while.

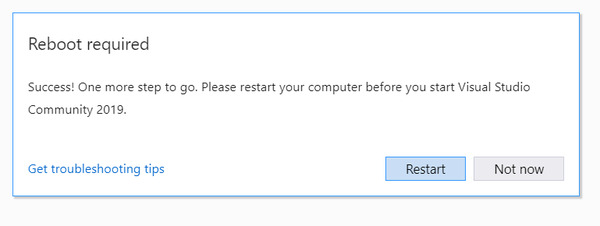
Once the install is complete, reboot your computer.
Search for the program “Visual Studio 2019” on your computer, and then create a Desktop shortcut for it so that it is easier to find the next time around.
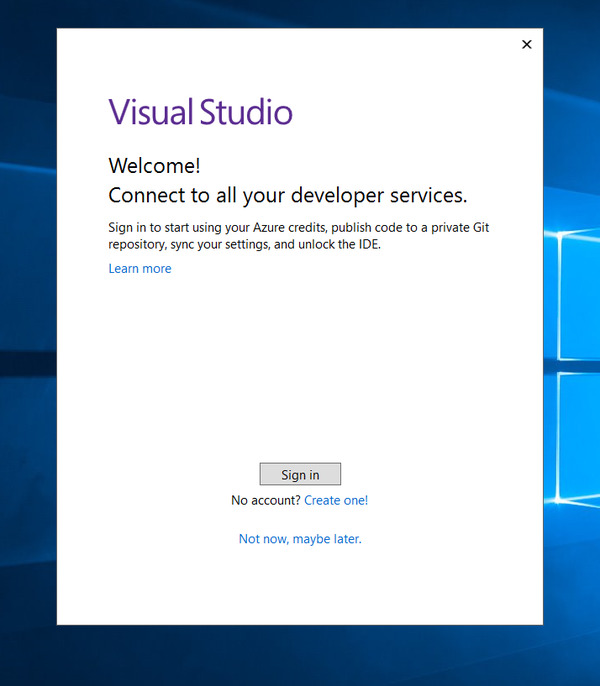
On the sign-in screen, sign in using your Microsoft account (or create one).
Select “General”.
Creating the “Hello World!” Program in C++
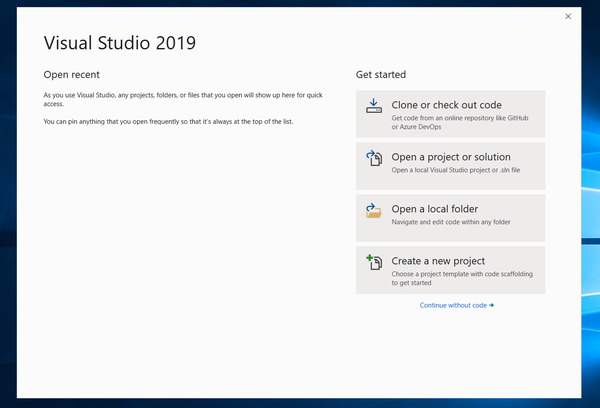
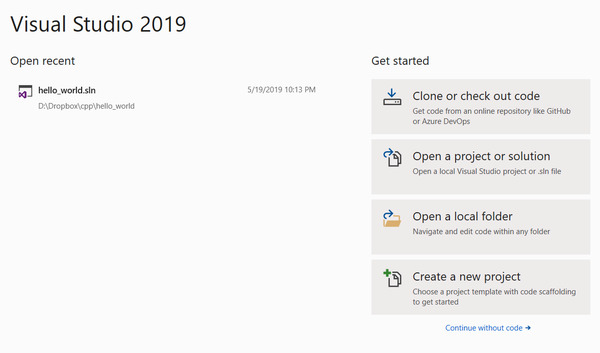
Click “Create a new project”.
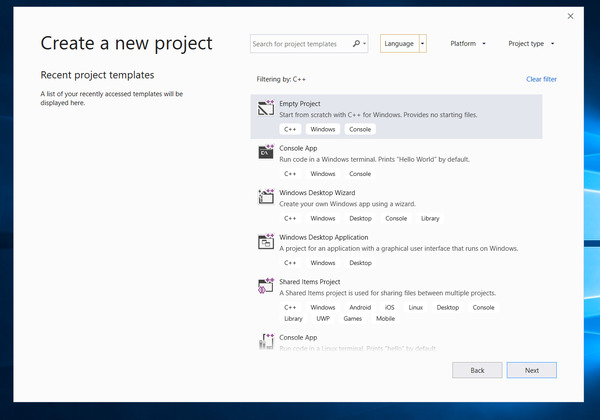
Click “Empty Project” to start a new project.
Configure your new project.
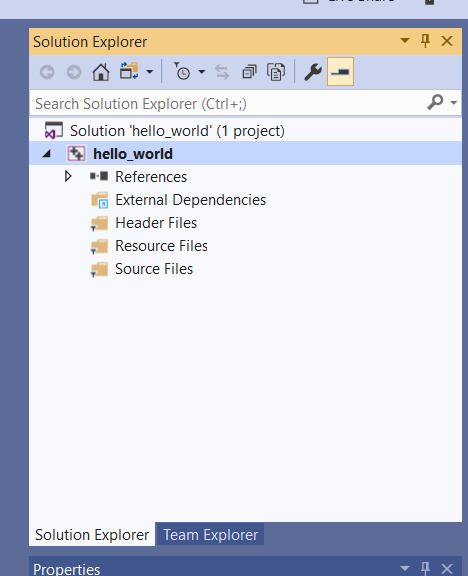
Right click on the project under the Solution Explorer. Go to Add -> New Item.
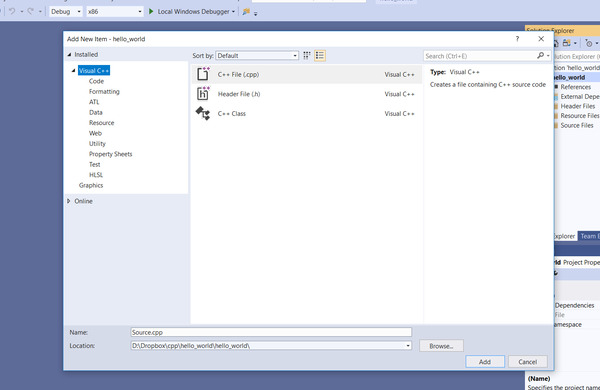
Select C++ File (.cpp), and give the source code a name. Then click “Add”.
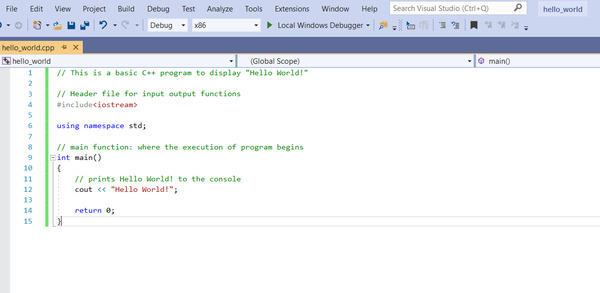
Type in the code for your “Hello World!” program:
// This is a basic C++ program to display "Hello World!"

// Header file for input output functions
#include<iostream>

using namespace std;

// main function: where the execution of program begins
int main()
{
	// prints Hello World! to the console
	cout << "Hello World!";

	return 0;
}
Click the green button (Local Windows Debugger) to compile and run.
You can also go to Build -> Build Solution. Then go to Debug -> Start Without Debugging.
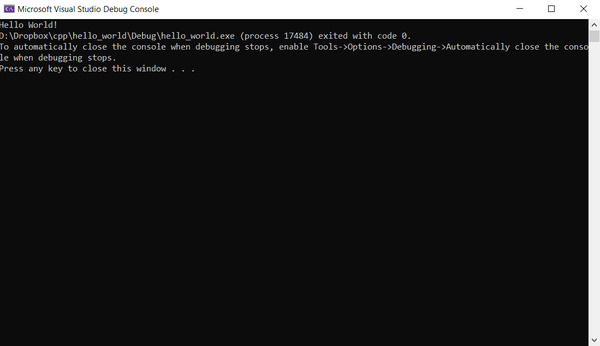
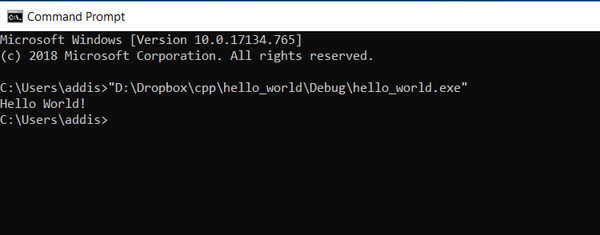
That’s it! You should see the Hello World! message pop up.
Running a Program in a Command Window
Solution Explorer (Right click the project name) -> Open Folder in File Explorer
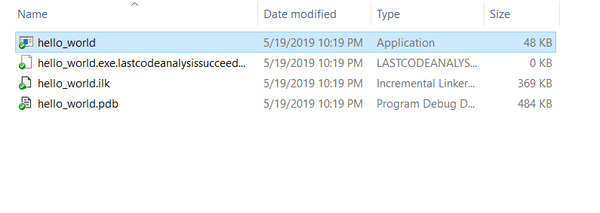
Open the Debug folder.

Select the hello_world.exe application.
Hold down the Shift Key and right click to open a menu
Choose “Copy as path”.
Press Windows + R to open a command prompt window.
Type cmd.exe in the box.
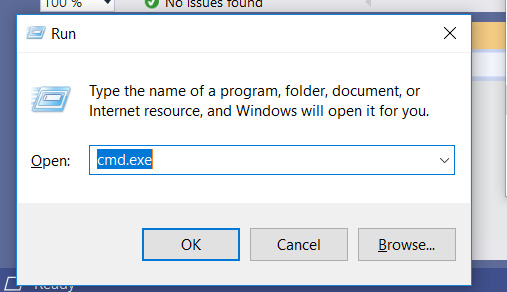
Click OK.
Right click to paste in the path.
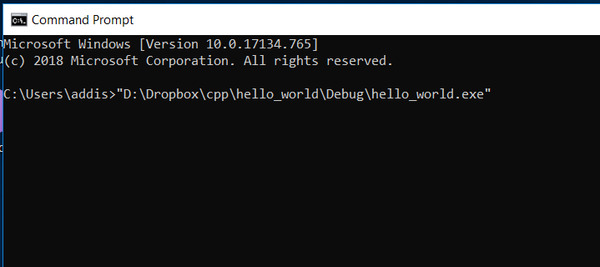
Press Enter to run.
Creating the “Hello World!” Program in Python
Click “Create a new project”.
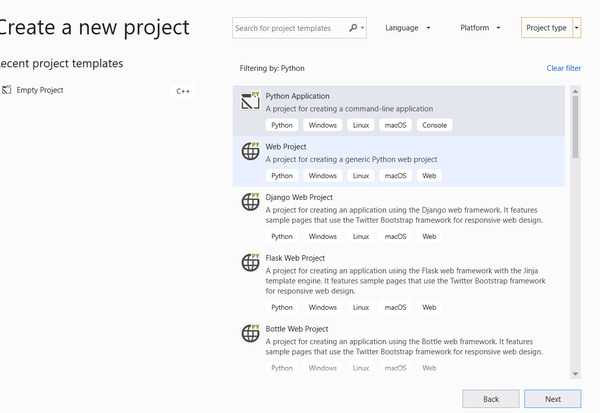
Under “Language” select Python.
Select “Python Application”.
Configure your new project. This time I checked “Place solution and project in the same directory”.
Click “Create”.
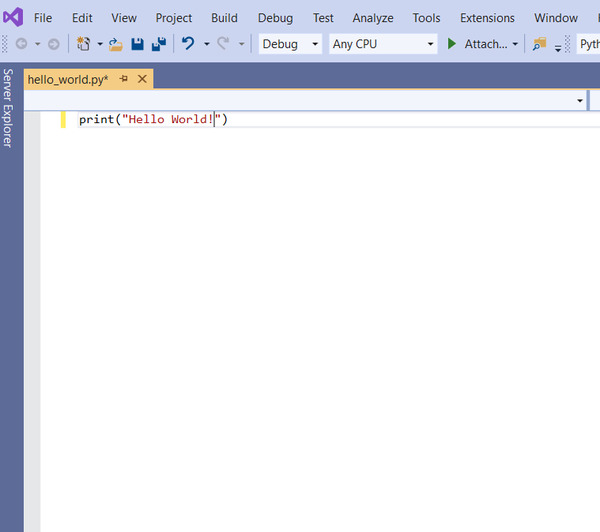
Type in the code for your “Hello World!” program:
print("Hello World!")
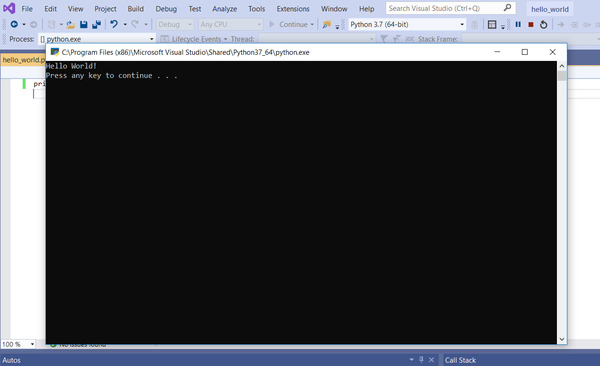
Click the green button (“Attach”) to run.
That’s it! You should see the message pop up.
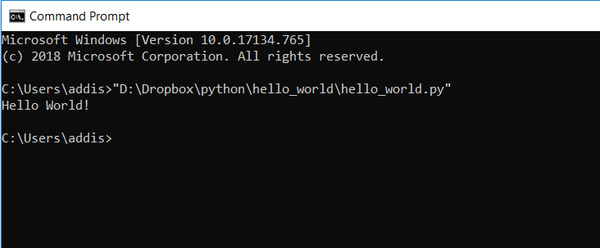
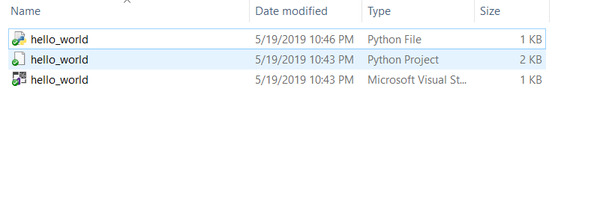
To run via command line, go to the project folder and find the python file (hello_world.py in this case).
Hold down the Shift Key and right click to open a menu.
Choose “Copy as path”.
Press Windows + R to open a command prompt window.
Right click to paste in the path.
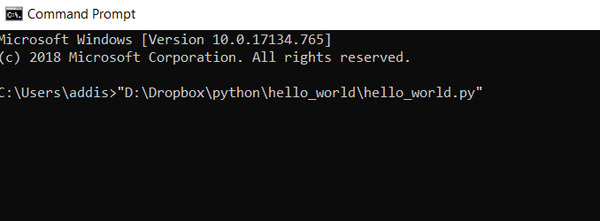
Press Enter to run. You might have to select the Python application you want to use to execute the file. You’ll only have to do this once.
The message should print to the terminal window. Congratulations! You are now ready to build C++ and Python programs!