In this tutorial, we will build a mobile robot base from scratch using ROS. In a future post, I will add a robotic arm to this base so that we have a complete mobile manipulator. By the end of this post, you will have a robot that looks like this:
This tutorial would not have been possible without Ramkumar Gandhinathan and Lentin Joseph’s awesome book ROS Robotics Projects Second Edition (Disclosure: As an Amazon Associate I earn from qualifying purchases). I highly recommend it if you want to learn ROS 1. Many of the files (URDF, configuration, and STL files), come from their book’s public GitHub page.
Real-World Applications
This project has a number of real-world applications:
- Indoor Delivery Robots
- Order Fulfillment
- Factories
- Warehouses
- Space Exploration
- Power Plants
Let’s get started!
Prerequisites
- You have ROS running on Ubuntu Linux
- I am using ROS Noetic.
- I’m running my Ubuntu Linux inside a virtual machine on Windows 10. If you have MacOS or Linux, that will work just fine. Just make sure you have ROS installed.
- Also, if you did the Hello World ROS project (to create a basic ROS Publisher and Subscriber node), you will find this tutorial easier to follow.
Install ROS Packages
Let’s begin by installing some packages that we will need to accomplish our objective.
sudo apt-get install ros-noetic-ros-control
sudo apt-get install ros-noetic-ros-controllers
sudo apt-get install ros-noetic-gazebo-ros-control
Create a ROS Package
In a new terminal window, move to the src (source) folder of your workspace.
cd ~/catkin_ws/src
Now create the package.
catkin_create_pkg mobile_manipulator_body std_msgs roscpp rospy
cd ~/catkin_ws/
catkin_make --only-pkg-with-deps mobile_manipulator_body
Create Folders
Open a new terminal window.
Move to your package.
roscd mobile_manipulator_body
Create these four folders.
mkdir config launch meshes urdf
Build the Base of the Robot
Now move to your meshes folder.
cd meshes
Go to this link, and download all the mesh files.
Put the mesh files into your meshes folder inside your mobile_manipulator_body package.
Check to see all the files are in there.
dir

Move to the urdf folder.
cd ..
cd urdf
Create a file named robot_base.urdf. In this file, we will define the four wheels of the robot and the base (i.e. five different “links”. Links are the rigid parts of the robot).
gedit robot_base.urdf
Copy this code for robot_base.urdf into that file.
Save and close the file.
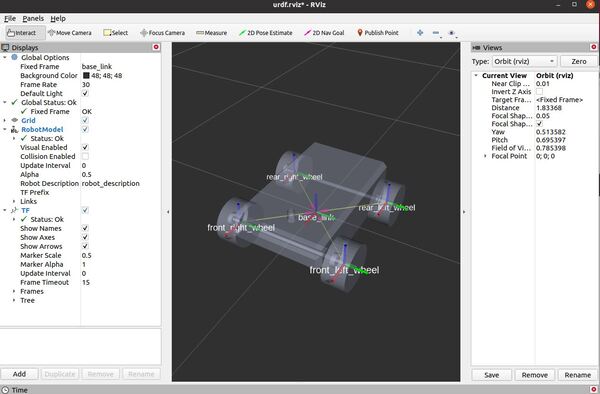
Now, let’s launch RViz to see what our robot looks like so far.
roscd mobile_manipulator_body/urdf/
roslaunch urdf_tutorial display.launch model:=robot_base.urdf
Move the wheels using the sliders.

Press CTRL + C in all open terminal windows to close everything down.
Now, let’s set up the configuration parameters for the controllers.
Open a new terminal window.
Go to the config file of your package.
roscd mobile_manipulator_body/config/
Now create a file named control.yaml.
gedit control.yaml
Add the control.yaml code inside there.
Save and close the file.
Launch the Base of the Robot
Now let’s launch the base of the robot.
Open a new terminal window, and go to the package.
roscd mobile_manipulator_body/launch/
Create a new launch file.
gedit base_gazebo_control.launch
Add the code for base_gazebo_control.launch inside there.
Save and close the file.
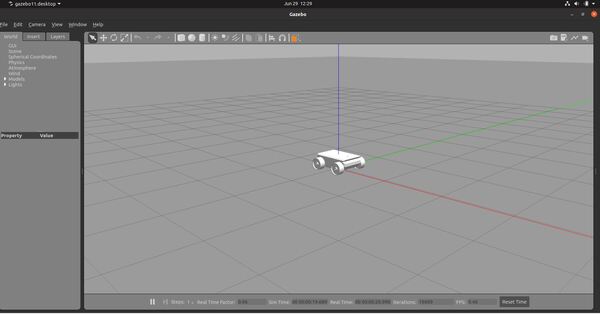
Now let’s launch the robot in Gazebo.
Open a new terminal window.
Move to your catkin workspace.
cd ~/catkin_ws/
roslaunch mobile_manipulator_body base_gazebo_control.launch
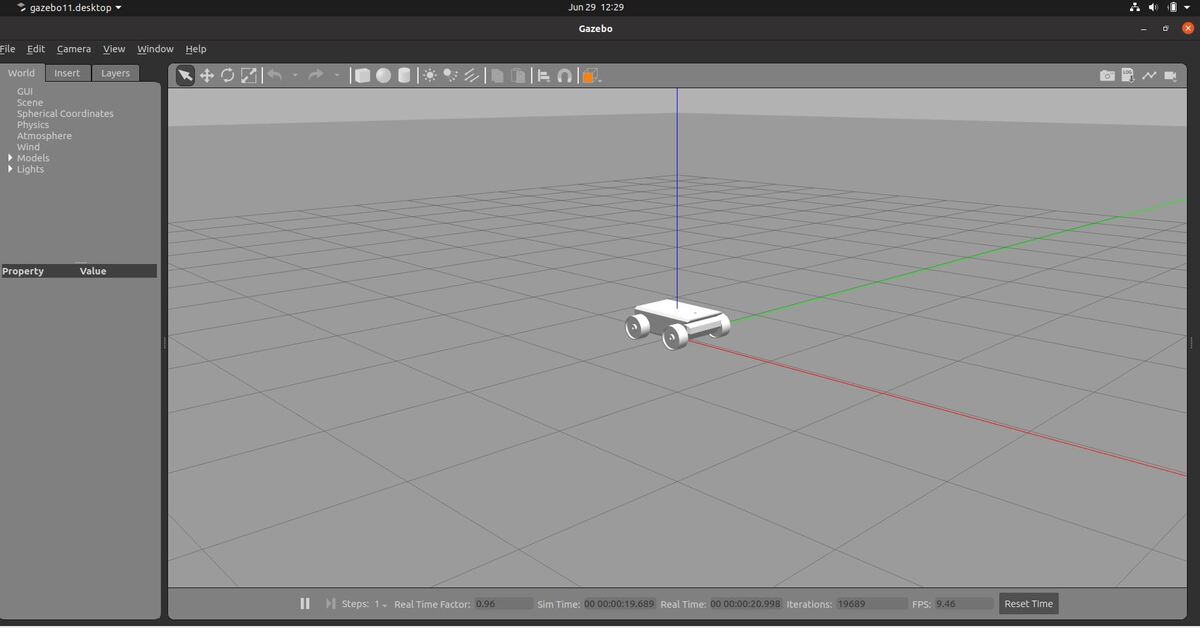
Here is how the robot looks.
Here are the active ROS topics.
rostopic list
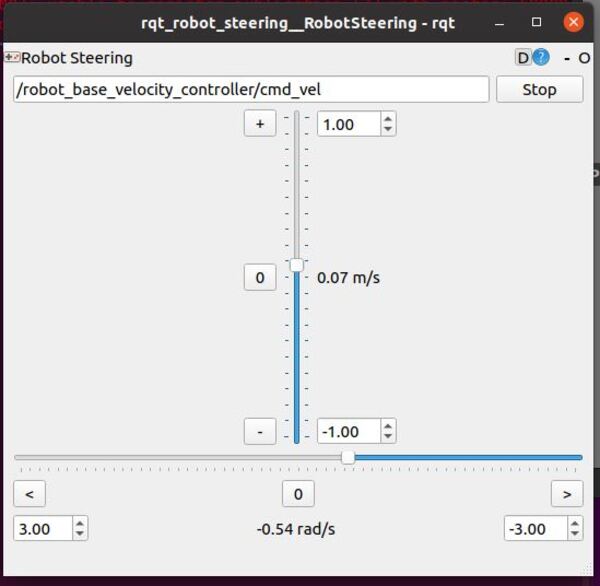
You can steer the robot by opening a new window and typing:
rosrun rqt_robot_steering rqt_robot_steering
You will need to change the topic inside the GUI to:
/robot_base_velocity_controller/cmd_vel
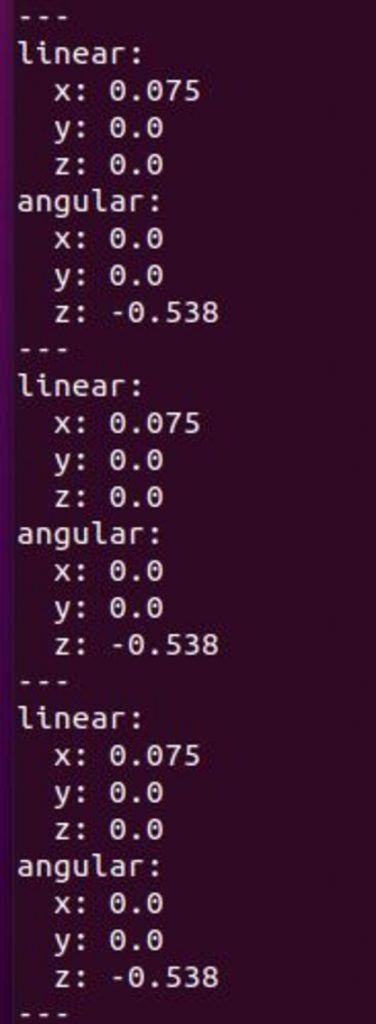
To see the velocity messages, open a new window and type:
rostopic echo /robot_base_velocity_controller/cmd_vel