In this tutorial, we will go over how to create a ROS 2 package.
A ROS 2 package is the fundamental building block of robot software in ROS 2. Imagine it as a Lego brick in your robot’s software architecture. Each package contains a specific piece of functionality or capability, like motor control, sensor processing, or communication with other systems.
Remember, just like Legos, you can combine multiple ROS 2 packages to create complex robot functionalities. Each package plays its specific role, and together they build the complete software system for your robot.
The official instructions for creating a package are here, but I will walk you through the entire process, step by step.
Let’s get started!
Prerequisites
- You have created a ROS 2 workspace.
Directions
Open a terminal, and type these commands (note: we are using the Apache 2.0 license, but you can remove that piece if you want):
cd ~/ros2_ws/srcros2 pkg create --build-type ament_cmake --license Apache-2.0 cobot_arm_examplesNow let’s build our new package:
cd ~/ros2_wscolcon build Let’s see if our new package is recognized by ROS 2.
Either open a new terminal window or source the bashrc file like this:
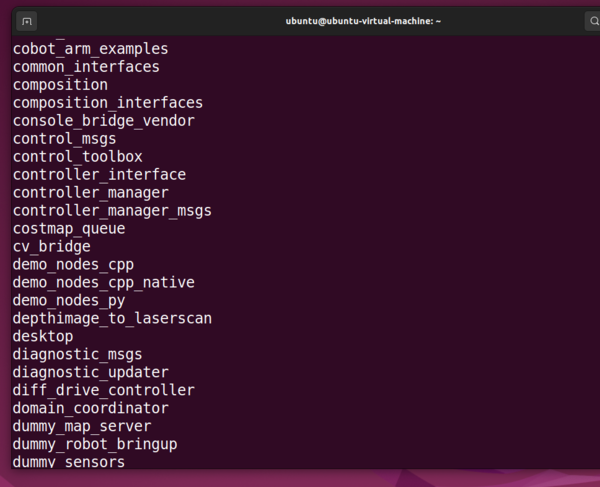
source ~/.bashrcros2 pkg listYou can see the newly created package right there at the top.
Install Useful Packages (Optional)
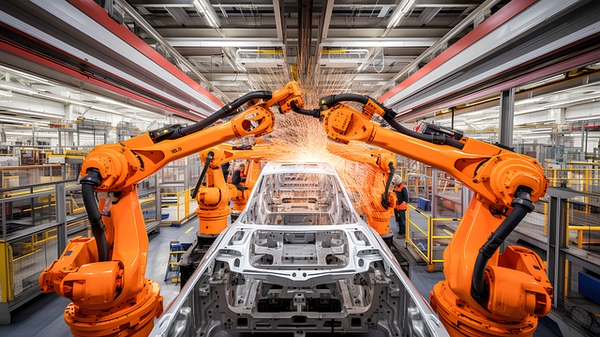
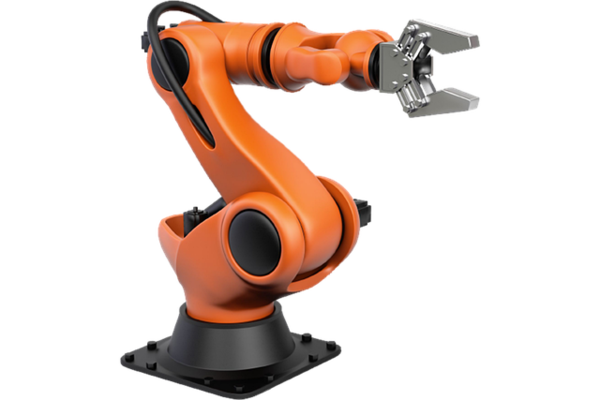
In a month or so, I will begin building a robotic arm. The package in this tutorial will serve as the foundation for the ROS 2 software.
Let’s install some useful packages that will help us along the way.
Begin by installing a tool called Terminator. Terminator will enable you to have multiple terminal panes within a single interface.
Open a terminal window, and type the following commands:
sudo apt-get update -ysudo apt-get upgrade -ysudo apt-get install terminatorTo open terminator, you can either click the 9 dots in the bottom left of your Desktop and search for “terminator”….or you can type terminator in a regular terminal window.
You can use CTRL + Shift + E or CTRL + Shift + O to split the terminal window into different panels.
Let’s install some useful ROS 2 packages. Open a terminal window, and type the following:
sudo apt-get install ros-$ROS_DISTRO-gazebo-rossudo apt-get install ros-$ROS_DISTRO-gazebo-ros2-controlsudo apt-get install ros-$ROS_DISTRO-joint-state-publisher-guisudo apt-get install ros-$ROS_DISTRO-moveitsudo apt-get install ros-$ROS_DISTRO-xacrosudo apt-get install ros-$ROS_DISTRO-ros2-controlsudo apt-get install ros-$ROS_DISTRO-ros2-controllerssudo apt-get install libserial-devsudo apt-get install python3-pippip install pyserialIf you want to use Amazon Alexa Voice Assistant down the road to control your robotic arm, install the following:
pip install ask-sdkpip install flaskpip install flask-ask-sdkConfigure Colcon
colcon is the primary command-line tool for building, testing, and installing ROS packages.
In your terminal window, type the following command:
echo "source /usr/share/colcon_argcomplete/hook/colcon-argcomplete.bash" >> ~/.bashrcThat’s it! Keep building!