
In this blog post, I will show you how to install Ubuntu 22.04, the latest version of the popular Linux distribution, as a virtual machine on a Windows PC using VMware Workstation Player.
Prerequisites
You have a Windows PC.
Download and Install Ubuntu on VirtualBox
Follow the instructions here to install Ubuntu on VirtualBox. I often use VirtualBox instead of VMWare due to rendering issues with Gazebo, the popular simulator for ROS 2 projects.
If you use VirtualBox, use about 12GB of memory, 50GB for the storage size, and 4 CPU Processors.
Also when you first start up the virtual machine, you are going to want to make sure your user has sudo privileges. Do this by typing the following commands:
whoami
The command above gets your username.
su -
sudo adduser [username] sudo
Replace [username] with your username.
reboot
Download and Install VMware Workstation Player
First, we need to download and install VMware Workstation Player.
Go to the VMware Workstation Player page and click “DOWNLOAD NOW”. You will find the link at the bottom of the page.
VMware Workstation Player is a free virtualization software that allows you to run multiple operating systems on a single computer. This can be useful for a variety of purposes, such as testing new software, running development environments, or learning about other operating systems.
Click on the downloaded file, and follow the prompts to install VMware Workstation Player.
Download the Ubuntu 22.04 ISO File
Now you need to go to this page, and download the Ubuntu 22.04 iso file. You will see a button that says “Download 22.04” or something similar.
You can download this iso file to wherever you would like on your computer.
An ISO file, also known as an ISO image, is a single file that contains an exact copy of the Ubuntu Linux 22.04 operating system.
Create a New Virtual Machine
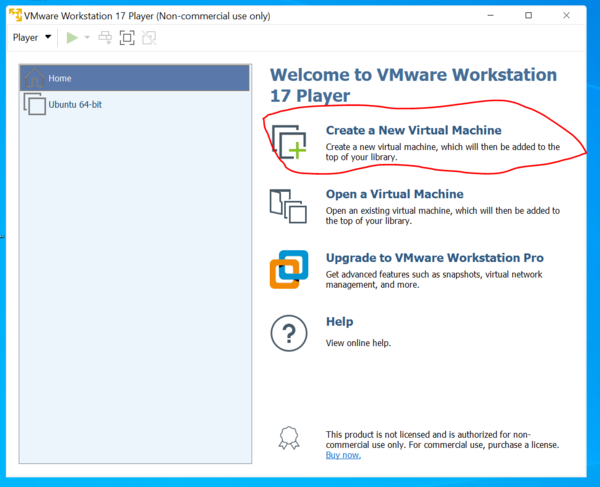
Open VMware Workstation Player and click on “Create a New Virtual Machine.”
Click the “Browse” button and locate the .iso image of Ubuntu 22.04 that you downloaded earlier.
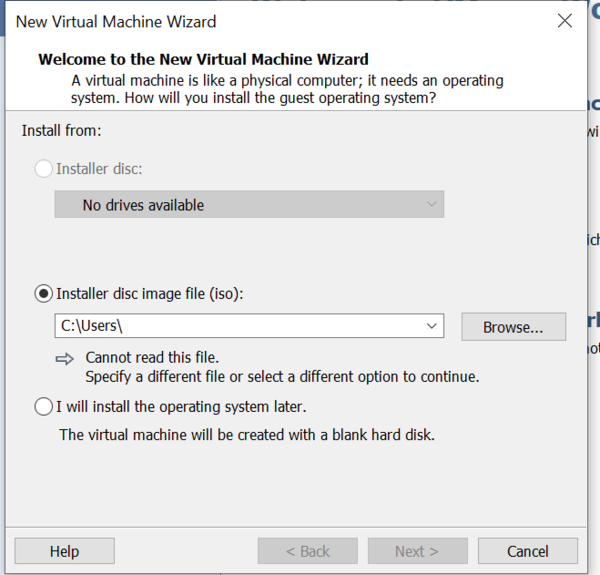
Click Next.
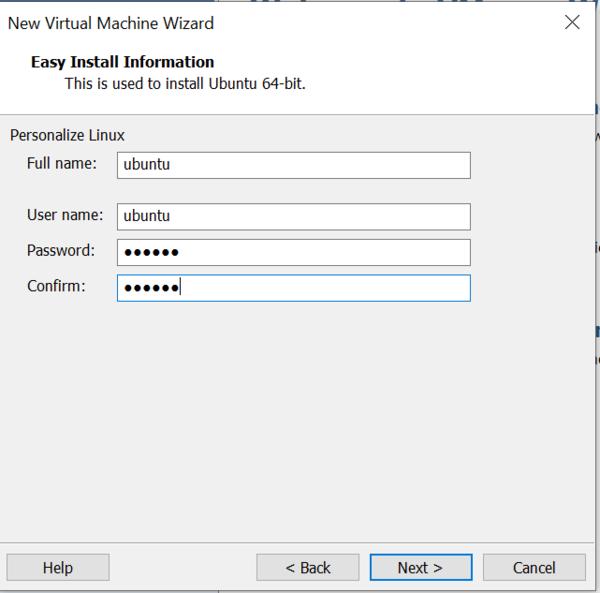
Enter the Full Name, Username, and Password, and then click Next.
Name the virtual machine and select where you would like to store it on your computer.
Click Next.
Choose a maximum disk size. I will use 50GB.

Select “Split virtual disk into multiple files”.
Click Next.
Stick with the default option of “Power on this virtual machine after creation.” Then click Finish.
Follow the on-screen instructions to install Ubuntu 22.04 on your virtual machine.
Once the installation is complete, exit your new Ubuntu 22.04 virtual machine.
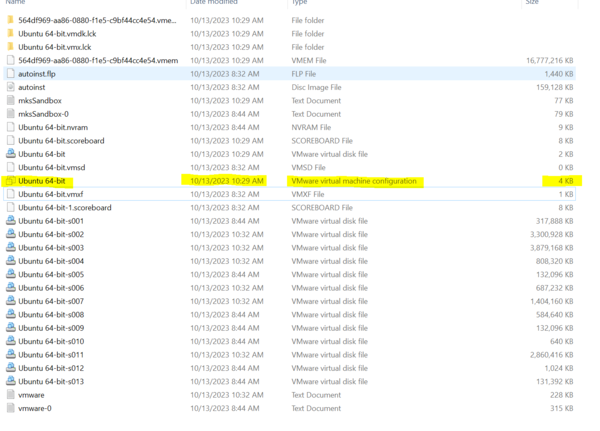
Now go to the following folder: Go into the VMWare settings on the C drive (C:\Users\*****\Documents\Virtual Machines\(whatever you have named your virtual machine), and open the configurations file in Notepad.
Change
usb.restrictions.defaultAllow = “FALSE”
To:
usb.restrictions.defaultAllow = “TRUE”
If that line isn’t there, add it at the bottom of the file.
Restart VMware Workstation Player.
On the left part of the panel, right-click on the name of the virtual machine, and click “Settings”.
On the Hardware tab, click Memory.
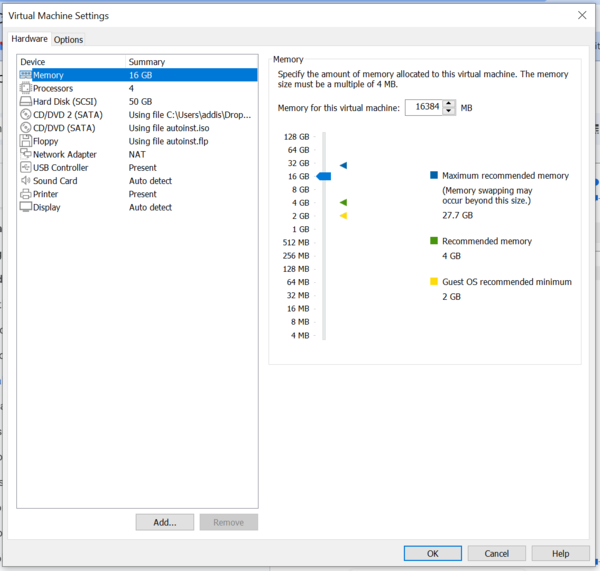
Change the settings so that you have more memory. I set mine to 16384 MB.
I also set the Processors to 4.
Click OK.
On the Hardware tab, click USB Controller.
Make sure “Show all USB input devices” is checked.
You can also put a checkmark in “Share Bluetooth devices with the virtual machine”.
Click on your Virtual Machine and click “Play virtual machine”.
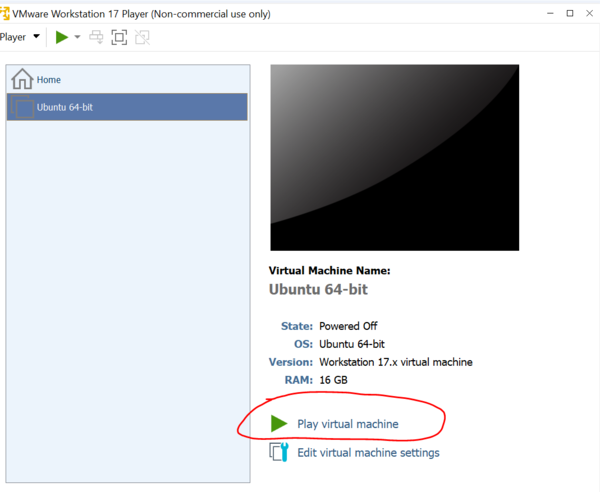

That’s it! Keep building!