How to Control the Speed and Direction of a Small DC Motor

In this post, I’ll show you how to control the speed and direction of a small 3-6V DC motor.

Requirements

Here are the requirements:

  • Change the direction a motor is spinning
  • Change the speed a motor is spinning

You Will Need
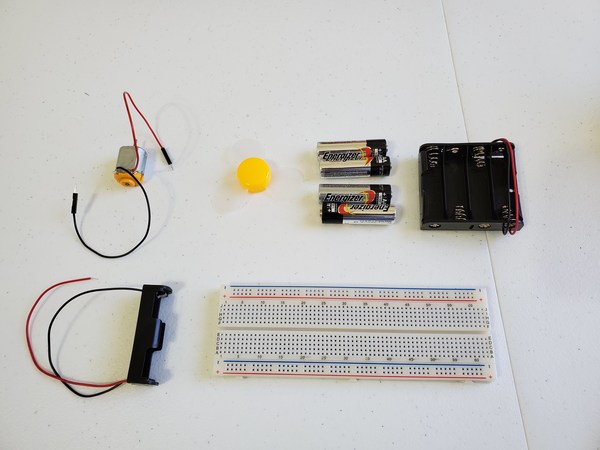
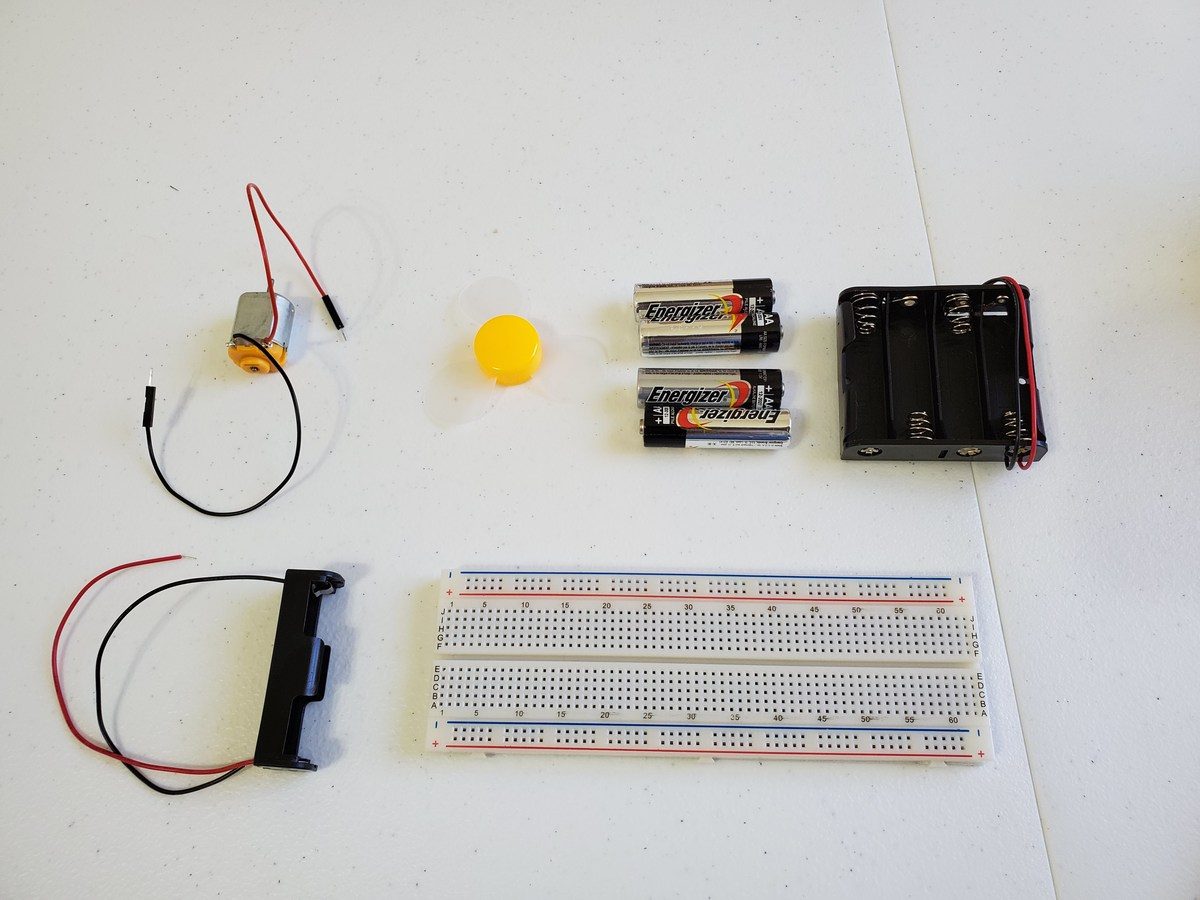
speed_direction_of_dc_motor 1

The following components are used in this project:

Directions

Making the Motor Move

In order to make a motor move, it needs a power source. Start by, putting one AA battery into the battery holder.
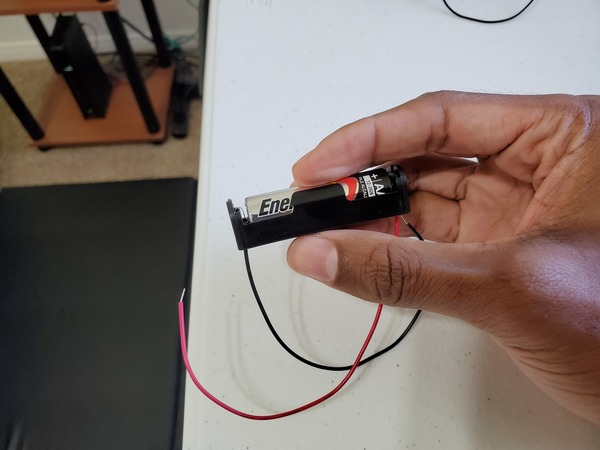
speed_direction_of_dc_motor 2

Place the black lead of the motor into the negative rail of the solderless breadboard. Then place the positive red lead into the positive rail of the solderless breadboard. Also add the propeller to the end of the motor.

Now we need to give the motor some power, so we place the red lead of the battery holder into the positive red rail of the solderless breadboard. Before you place the black lead of the battery holder into the negative rail of the solderless breadboard, pick up your motor in your hand because as soon as you place the black lead of the battery holder into the negative rail of the solderless breadboard, the propeller will begin to spin.
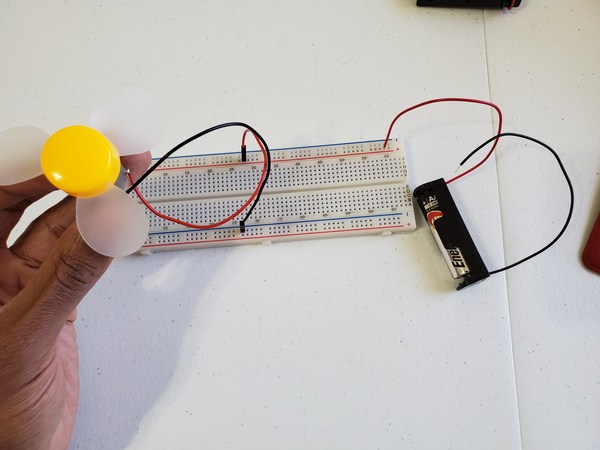
speed_direction_of_dc_motor 5

Now place the black lead of the battery holder into the negative rail of the solderless breadboard. The propeller should be spinning right now. Congrats! That is how you make a motor move.
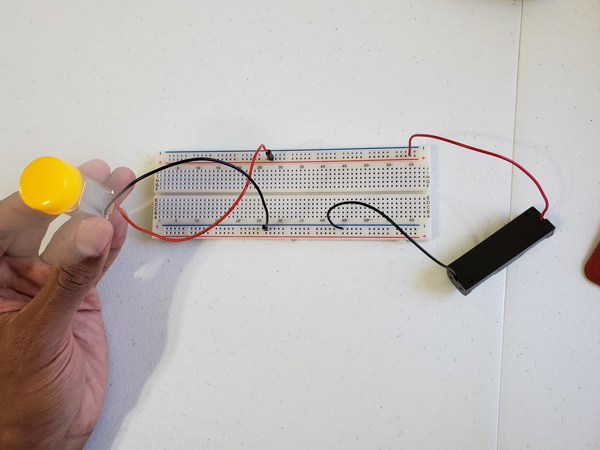
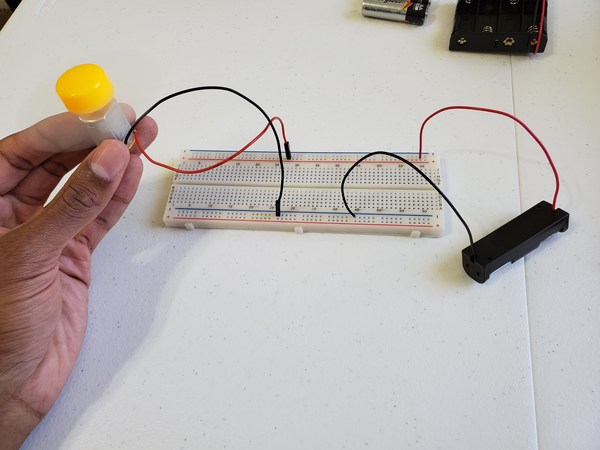
speed_direction_of_dc_motor 4
speed_direction_of_dc_motor 3

Changing the Direction of the Motor

Now let’s change the direction of the motor. To do that, just switch the positions of the leads of the battery holder. That is, place the black lead of the battery holder into the positive rail of the solderless breadboard. Place the red lead of the battery holder into the negative rail of the solderless breadboard. That’s all there is to it.
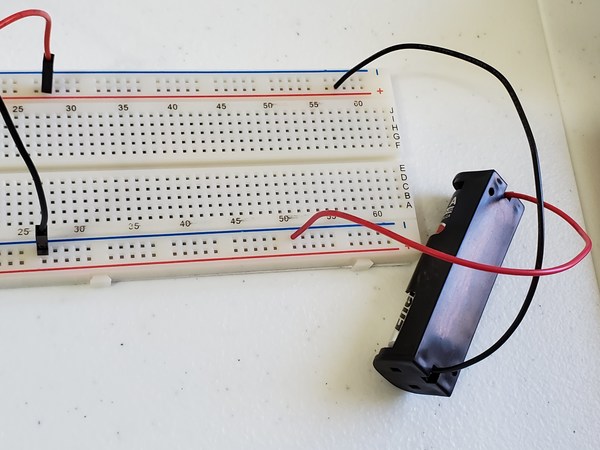
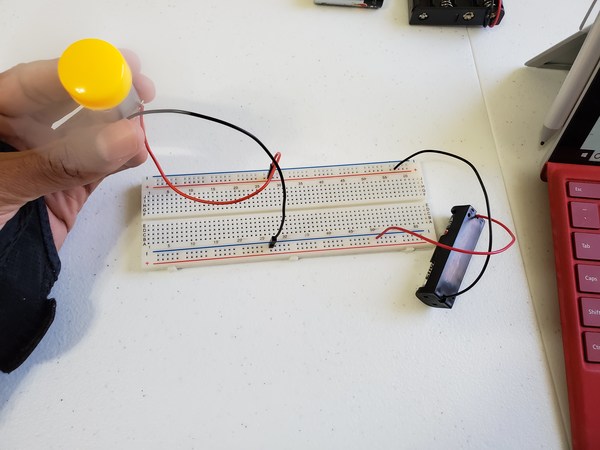
speed_direction_of_dc_motor 7

Increasing the Speed of the Motor

In order to increase the speed of the motor, we need to add more voltage. A standard AA battery is 1.5 volts. How do we make the motor spin four times as fast? We need to use four AA batteries in series instead of one. Four batteries have a voltage of 6 volts, which is four times the voltage a single AA battery.
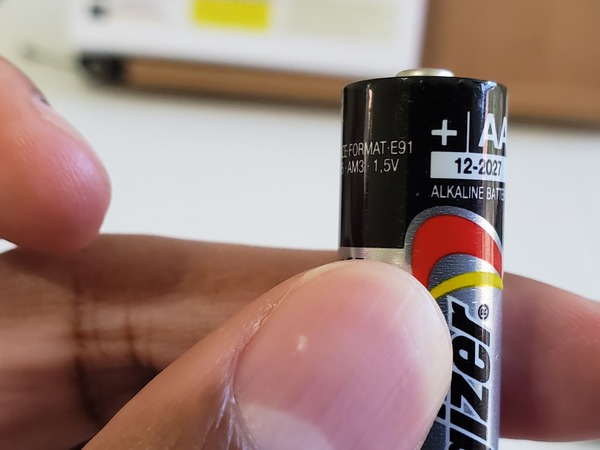
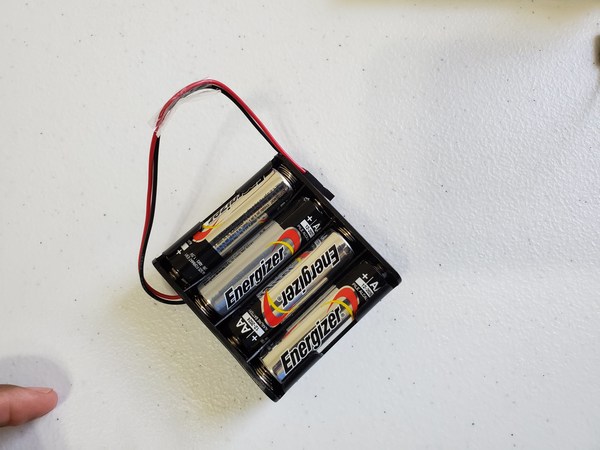
speed_direction_of_dc_motor 6
speed_direction_of_dc_motor 9

So let’s do this. Add four batteries to the 4xAA battery holder. Place the black lead of the battery holder to the negative rail of the solderless breadboard. Place the red lead of the battery holder to the positive rail of the solderless breadboard.
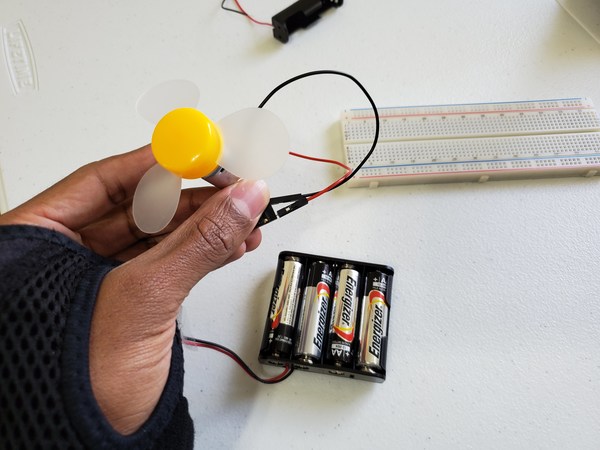
speed_direction_of_dc_motor 10

You should see the motor spinning four times as fast as it was previously. That’s it!

Benefits of Cross Compiling from a Host Computer to the Raspberry Pi

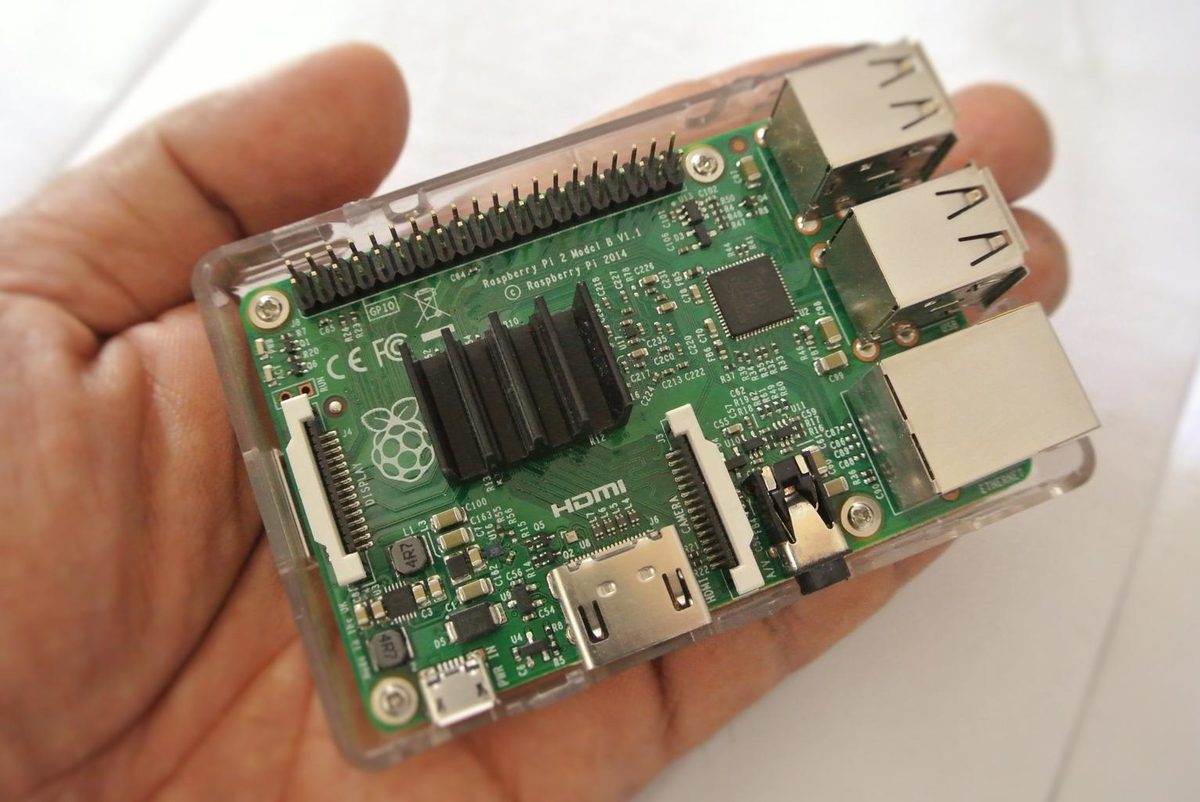
Having just developed a number of applications for the Raspberry Pi by building and executing the code directly on the Raspberry Pi, I can tell you that this will soon become impractical for larger projects.

The benefits of cross compiling from a host computer to the Raspberry Pi are numerous. Here are six benefits that come to mind:

VNC Viewer Lag

vnc_viewer

You don’t have to deal with the lag created on the VNC viewer session on your host machine. Sometimes I would type in some text on to my keyboard, and it would take five to ten seconds to appear on the Raspberry Pi. This could become annoying for large projects when I have hundreds of lines of code.

Compile Time

compile_time

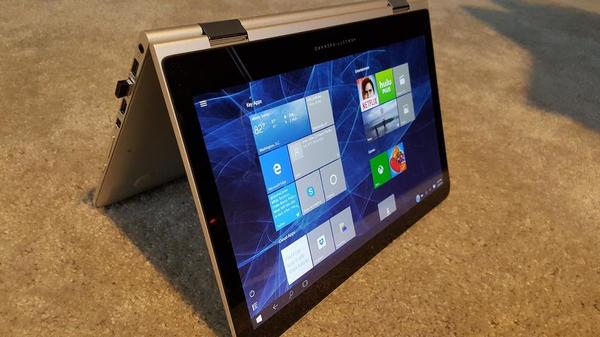
The processor in a host machine, such as my HP Omen laptop, is way more powerful than the Raspberry Pi’s processor. This leads to much faster compile times and increased responsiveness.

If you are creating a large program, you’ll need to compile that program numerous times over the course of development. Those precious seconds that you will need to spend waiting for the Raspberry Pi to finish compiling and responding add up over time, resulting in reduced productivity.

Graphical User Interface

graphical_user_interface

A host machine typically has a more advanced and user-friendly graphical user interface.

Multitasking

multitasking

A host machine, such as a Windows 10 machine, is built for heavy-duty multitasking. A Raspberry Pi is not built for such a level of multitasking. I am for example unable to search the web for code examples, check my email, and code all at the same time. Doing all of this on the Raspberry Pi presents significant challenges because of the lack of power compared to my host machine.

Debugging Capabilities

debugging_capabilities

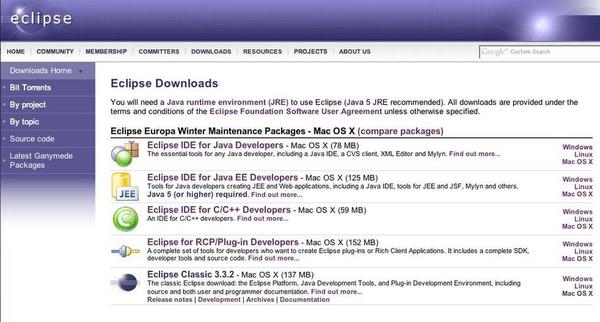
An IDE such as the Eclipse IDE, that could be downloaded on the host machine, has a number of advanced development capabilities, including remote debugging.

Screen Resolution

screen_resolution

Even though I was able to increase the font size on the Raspberry Pi, using my own laptop resulted in a much crisper image. This is very important when I am staring at a screen and looking at code for long hours during the day.

UART vs I2C vs SPI – Communication Interfaces for Raspberry Pi

The Raspberry Pi provides us with three main communication protocols. These protocols enable devices such as sensors, display modules, other computers, and scientific instruments to communicate and exchange data with the Raspberry Pi.

Here are the communication protocols in order from slowest to fastest:

  • UART = Universal Asynchronous Receiver / Transmitter
  • I2C = Inter-Integrated Circuit
  • SPI = Serial Peripheral Interface

These methods are digital, serial communication protocols.

UART vs I2C vs. SPI Comparison

Speed

UART is slow. I2C is faster but not as fast as the SPI. SPI has a data transfer rate that is roughly twice as fast.

Number of Devices

I2C is the easiest of the three protocols for chaining multiple devices. I2C supports multiple masters and slaves. It enables up to 127 devices without extreme complexity. On the other hand, SPI gets hairy beyond two devices because a select signal line is required for each device. UART only can handle two devices.

Transmission Confirmation

I2C is the only communications protocol that ensures the data that was sent to the slave device was actually received.

Number of Wires

I2C only uses two wires. UART uses two wires, but it is slow. SPI needs four wires.

Popularity

I2C is well known and widely used. I2C has a formal standard while SPI does not.

Price

I2C is cheaper to implement than the SPI communication protocol.

Noise

I2C has less noise than SPI.

Distance

I2C can send data over greater distances than SPI. SPI is really limited to short distance communication.