How to Set Up MQTT for a Robotics Project

MQTT (Message Queuing Telemetry Transport) is a lightweight, publish-subscribe network protocol that transports messages between devices. It is particularly useful in robotics projects, including those using ROS 2 (Robot Operating System 2), due to its efficiency in handling real-time data streams and its ability to work well in low-bandwidth, high-latency environments.

In a ROS 2 robotics project, MQTT can complement the existing communication framework by:

  • Enabling easy integration with IoT devices and sensors
  • Providing a standardized way to communicate with cloud services
  • Facilitating communication between robots and external systems
  • Offering a lightweight alternative for certain types of messages

This tutorial will guide you through setting up MQTT for your ROS 2 robotics project.

Setting Up the MQTT Broker (Mosquitto)

We’ll use Mosquitto, a popular open-source MQTT broker. Here’s how to set it up on an Intel NUC, Raspberry Pi or Jetson board:

Update your system:

sudo apt-get update
sudo apt-get upgrade

Install Mosquitto broker and clients:

sudo apt-get install mosquitto
sudo apt-get install mosquitto-clients

Check the status of Mosquitto:

systemctl status mosquitto

Manage Mosquitto services:

Stop:

sudo systemctl stop mosquitto or sudo service mosquitto stop

Start:

sudo systemctl start mosquitto or sudo service mosquitto start

Restart:

sudo systemctl restart mosquitto or sudo service mosquitto restart

Verify that Mosquitto is listening on the default port (1883):

netstat -an | grep 1883 

Configuring Mosquitto for Network Access

By default, Mosquitto only listens on localhost. To allow connections from other devices:

Create a new configuration file:

sudo nano /etc/mosquitto/conf.d/default_listener.conf

Add the following lines:

listener 1883
allow_anonymous true

Save the file and exit the editor.

Restart Mosquitto:

sudo systemctl restart mosquitto

Verify the new settings:

sudo netstat -tuln | grep 1883

Note: Allowing anonymous access may not be secure for all use cases. Consider setting up authentication for production environments.

Testing MQTT Communication

To test MQTT communication, open four terminals:

Replace localhost with the IP address of your MQTT broker if running on a different machine.

Terminal 1 (Subscriber for kitchen):

mosquitto_sub -h localhost -t /home/sensors/temp/kitchen

Terminal 2 (Publisher for kitchen):

mosquitto_pub -h localhost -t /home/sensors/temp/kitchen -m "Kitchen Temperature: 26°C"

Installing the Paho MQTT Python Client

To interact with MQTT from your Python scripts:

Install pip for Python 3:

sudo apt install python3-pip

Install the Paho MQTT client:

pip3 install paho-mqtt

With these steps completed, you’re now ready to integrate MQTT into your ROS 2 robotics project. You can use the Paho MQTT client in your Python scripts to publish and subscribe to topics, allowing your robot to communicate with various devices and services using the MQTT protocol.

How to Detect ArUco Markers Using OpenCV and Python

In this tutorial, I will show you how to detect an ArUco Marker in a real-time video stream (i.e. my webcam) using OpenCV (Python). I will follow this tutorial

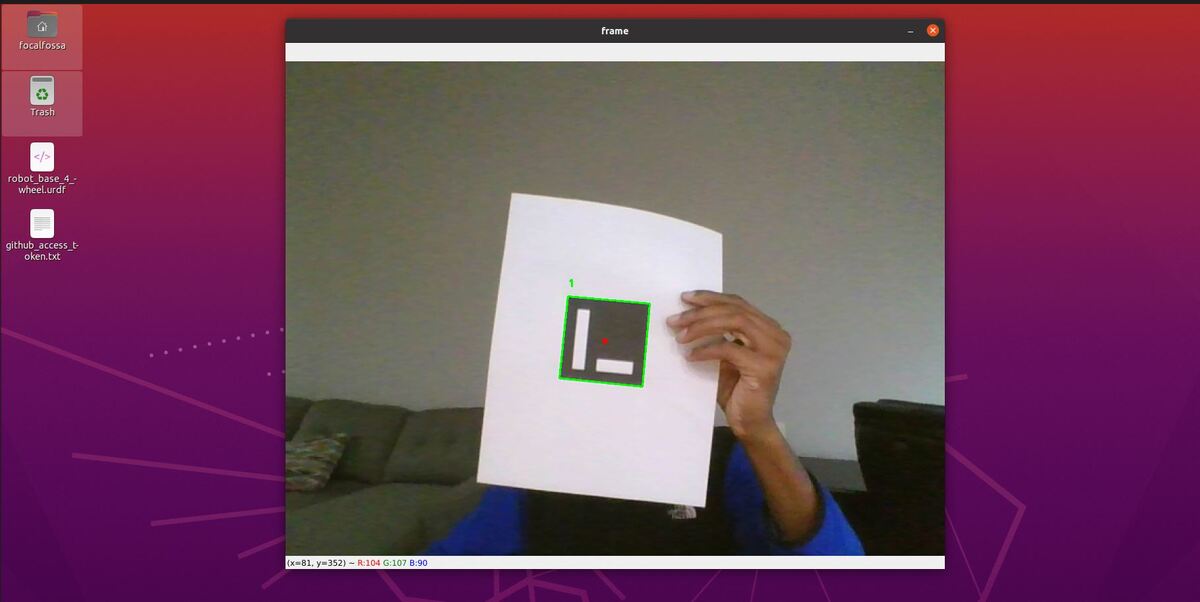
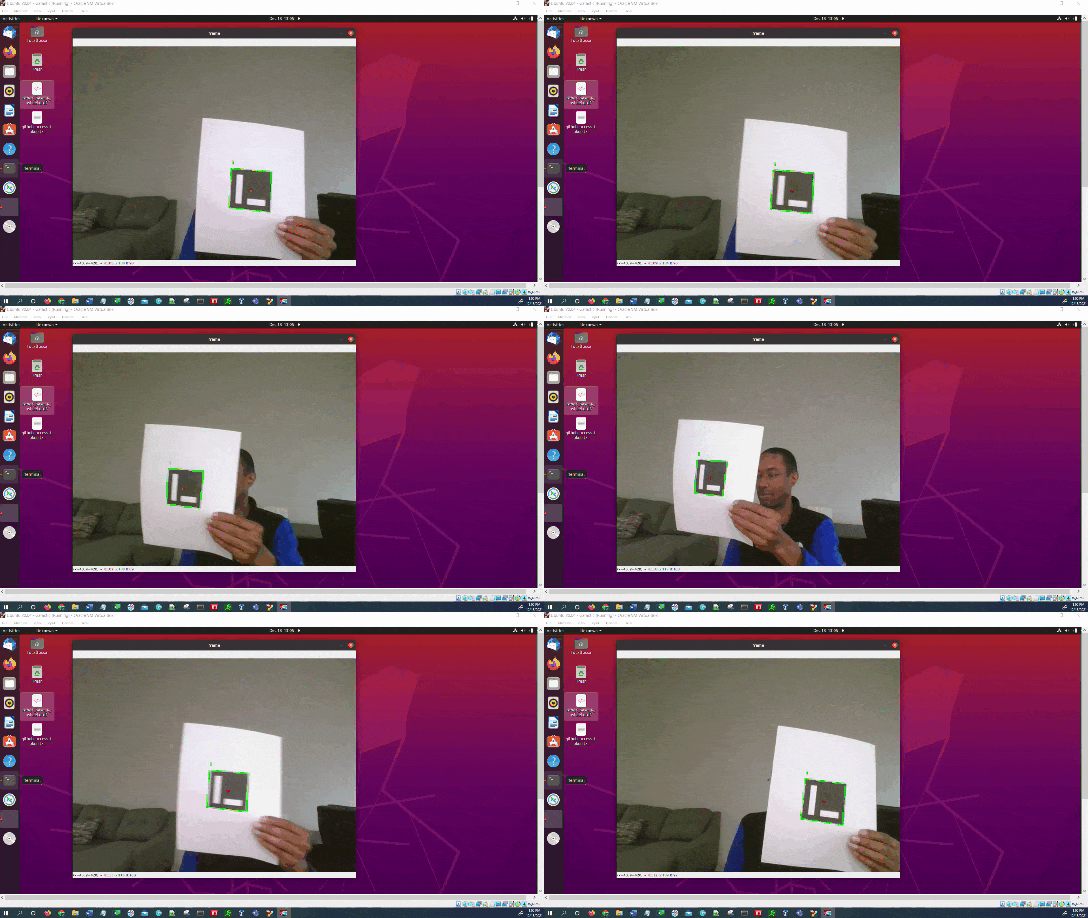
By the end of this tutorial, you will be able to generate output like this:

detect-aruco-marker

Prerequisites

Create the Code

Open your favorite code editor, and write the following code. I will name my program detect_aruco_marker.py. This program detects an ArUco marker in a real-time video stream (we’ll use the built-in webcam).

#!/usr/bin/env python
 
'''
Welcome to the ArUco Marker Detector!
 
This program:
  - Detects ArUco markers using OpenCV and Python
'''
 
from __future__ import print_function # Python 2/3 compatibility
import cv2 # Import the OpenCV library
import numpy as np # Import Numpy library

# Project: ArUco Marker Detector
# Date created: 12/18/2021
# Python version: 3.8
# Reference: https://www.pyimagesearch.com/2020/12/21/detecting-aruco-markers-with-opencv-and-python/

desired_aruco_dictionary = "DICT_ARUCO_ORIGINAL"

# The different ArUco dictionaries built into the OpenCV library. 
ARUCO_DICT = {
  "DICT_4X4_50": cv2.aruco.DICT_4X4_50,
  "DICT_4X4_100": cv2.aruco.DICT_4X4_100,
  "DICT_4X4_250": cv2.aruco.DICT_4X4_250,
  "DICT_4X4_1000": cv2.aruco.DICT_4X4_1000,
  "DICT_5X5_50": cv2.aruco.DICT_5X5_50,
  "DICT_5X5_100": cv2.aruco.DICT_5X5_100,
  "DICT_5X5_250": cv2.aruco.DICT_5X5_250,
  "DICT_5X5_1000": cv2.aruco.DICT_5X5_1000,
  "DICT_6X6_50": cv2.aruco.DICT_6X6_50,
  "DICT_6X6_100": cv2.aruco.DICT_6X6_100,
  "DICT_6X6_250": cv2.aruco.DICT_6X6_250,
  "DICT_6X6_1000": cv2.aruco.DICT_6X6_1000,
  "DICT_7X7_50": cv2.aruco.DICT_7X7_50,
  "DICT_7X7_100": cv2.aruco.DICT_7X7_100,
  "DICT_7X7_250": cv2.aruco.DICT_7X7_250,
  "DICT_7X7_1000": cv2.aruco.DICT_7X7_1000,
  "DICT_ARUCO_ORIGINAL": cv2.aruco.DICT_ARUCO_ORIGINAL
}
 
def main():
  """
  Main method of the program.
  """
  # Check that we have a valid ArUco marker
  if ARUCO_DICT.get(desired_aruco_dictionary, None) is None:
    print("[INFO] ArUCo tag of '{}' is not supported".format(
      args["type"]))
    sys.exit(0)
    
  # Load the ArUco dictionary
  print("[INFO] detecting '{}' markers...".format(
	desired_aruco_dictionary))
  this_aruco_dictionary = cv2.aruco.Dictionary_get(ARUCO_DICT[desired_aruco_dictionary])
  this_aruco_parameters = cv2.aruco.DetectorParameters_create()
  
  # Start the video stream
  cap = cv2.VideoCapture(0)
  
  while(True):
 
    # Capture frame-by-frame
    # This method returns True/False as well
    # as the video frame.
    ret, frame = cap.read()  
    
    # Detect ArUco markers in the video frame
    (corners, ids, rejected) = cv2.aruco.detectMarkers(
      frame, this_aruco_dictionary, parameters=this_aruco_parameters)
      
    # Check that at least one ArUco marker was detected
    if len(corners) > 0:
      # Flatten the ArUco IDs list
      ids = ids.flatten()
      
      # Loop over the detected ArUco corners
      for (marker_corner, marker_id) in zip(corners, ids):
      
        # Extract the marker corners
        corners = marker_corner.reshape((4, 2))
        (top_left, top_right, bottom_right, bottom_left) = corners
        
        # Convert the (x,y) coordinate pairs to integers
        top_right = (int(top_right[0]), int(top_right[1]))
        bottom_right = (int(bottom_right[0]), int(bottom_right[1]))
        bottom_left = (int(bottom_left[0]), int(bottom_left[1]))
        top_left = (int(top_left[0]), int(top_left[1]))
        
        # Draw the bounding box of the ArUco detection
        cv2.line(frame, top_left, top_right, (0, 255, 0), 2)
        cv2.line(frame, top_right, bottom_right, (0, 255, 0), 2)
        cv2.line(frame, bottom_right, bottom_left, (0, 255, 0), 2)
        cv2.line(frame, bottom_left, top_left, (0, 255, 0), 2)
        
        # Calculate and draw the center of the ArUco marker
        center_x = int((top_left[0] + bottom_right[0]) / 2.0)
        center_y = int((top_left[1] + bottom_right[1]) / 2.0)
        cv2.circle(frame, (center_x, center_y), 4, (0, 0, 255), -1)
        
        # Draw the ArUco marker ID on the video frame
        # The ID is always located at the top_left of the ArUco marker
        cv2.putText(frame, str(marker_id), 
          (top_left[0], top_left[1] - 15),
          cv2.FONT_HERSHEY_SIMPLEX,
          0.5, (0, 255, 0), 2)
 
    # Display the resulting frame
    cv2.imshow('frame',frame)
         
    # If "q" is pressed on the keyboard, 
    # exit this loop
    if cv2.waitKey(1) & 0xFF == ord('q'):
      break
 
  # Close down the video stream
  cap.release()
  cv2.destroyAllWindows()
  
if __name__ == '__main__':
  print(__doc__)
  main()

Save the file, and close it.

You need to have opencv-contrib-python installed and not opencv-python. Open a terminal window, and type:

pip uninstall opencv-python
pip3 install opencv-contrib-python==4.6.0.66

To run the program in Linux for example, type the following command:

python3 detect_aruco_marker.py
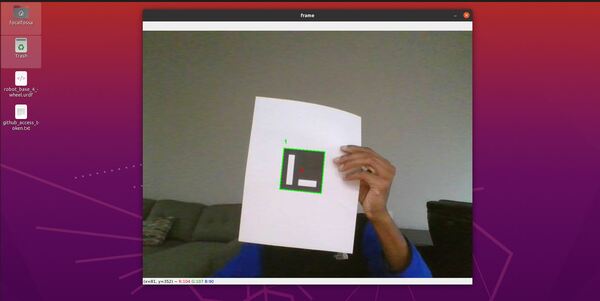
detect_aruco_marker-1

If you want to restore OpenCV to the previous version after you’re finished creating the ArUco markers, type:

pip uninstall opencv-contrib-python
pip install opencv-python

To set the changes, I recommend rebooting your computer.

That’s it. Keep building!