
In this tutorial, we will connect a camera to an NVIDIA Jetson Nano.
Prerequisites
- You have already set up your NVIDIA Jetson Nano (4GB, B01).
- You have installed OpenCV 4.5 (optional).
You Will Need
This section is the complete list of components you will need for this project (#ad).
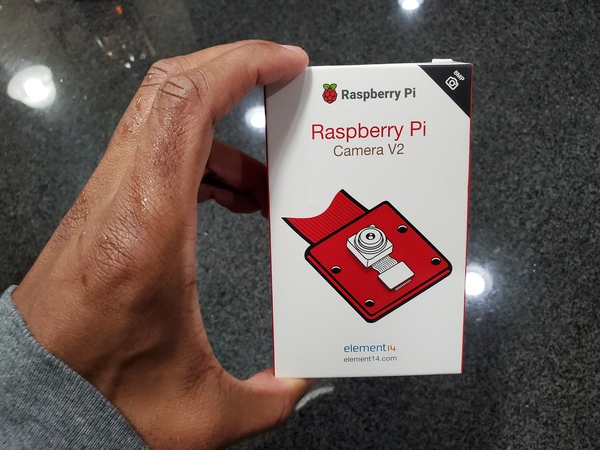
- Raspberry Pi Camera Module V2 (yep, this camera works on the Jetson Nano)
- Acrylic Case for Jetson Nano B01 With a Dedicated Cooling Fan (Optional)
Disclosure (#ad): As an Amazon Associate I earn from qualifying purchases.
Connect the Camera to the Jetson Nano
Make sure the Jetson Nano is completely off, and no power is connected to it.
Grab the camera.
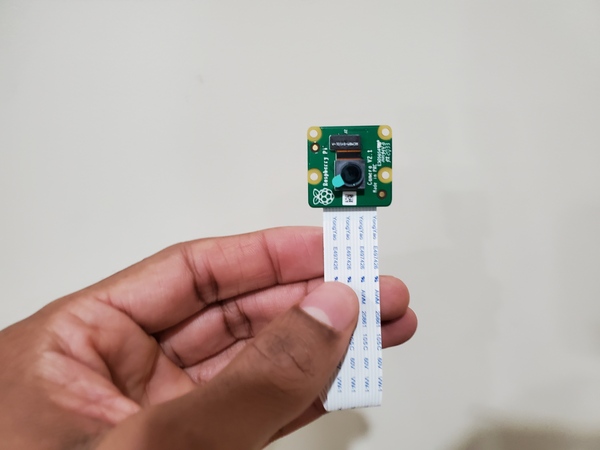
Lift the plastic tabs of the CSI connector that is closest to the barrel jack (Camera 0).
Slide the ribbon cable fully into the connector so that it is not tilted. The blue marking should face towards the outside of the board, away from the heat sink. The ribbon cable contacts need to face towards the heat sink.
Hold the ribbon cable still while carefully and gently push down on the plastic tabs to fasten the camera into place.
You should be able to pull gently on the camera without the camera popping out of the latch.
Test Your Camera
Turn on your Jetson Nano.
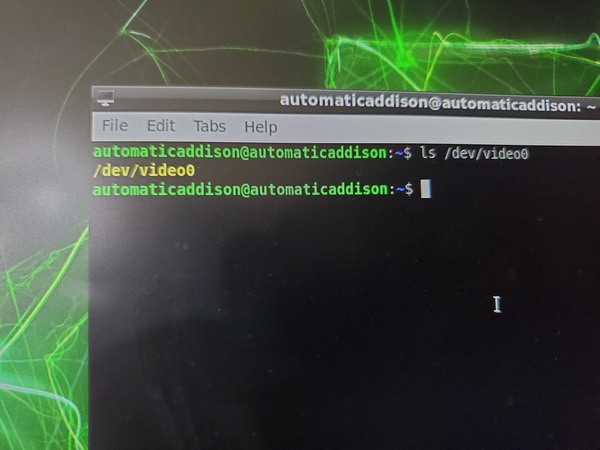
Open a new terminal window, and type:
ls /dev/video0
If you see output like this, it means your camera is connected.
Take a Photo
Now open a new terminal window, and move it to the edge of your desktop.
Type the following command. You can change the value of orientation (0-3) to get the right orientation of your camera.
nvgstcapture-1.0 --orientation=2
Press CTRL+C exit.
Test Python Setup (Optional)
Let’s see if we can run a Python script that uses the camera.
Open a new terminal window, and clone the repository created by JetsonHacksNano.
git clone https://github.com/JetsonHacksNano/CSI-Camera.gitChange to the new directory.
cd CSI-Camera
Type this command. This is all a single command:
gst-launch-1.0 nvarguscamerasrc sensor_id=0 ! 'video/x-raw(memory:NVMM),width=3280, height=2464, framerate=21/1, format=NV12' ! nvvidconv flip-method=2 ! 'video/x-raw, width=816, height=616' ! nvvidconv ! nvegltransform ! nveglglessink -ePress CTRL + C to shut it down.
Install NumPy.
sudo apt-get update
sudo apt install python3-numpy
Install libcanberra.
sudo apt install libcanberra-gtk-module
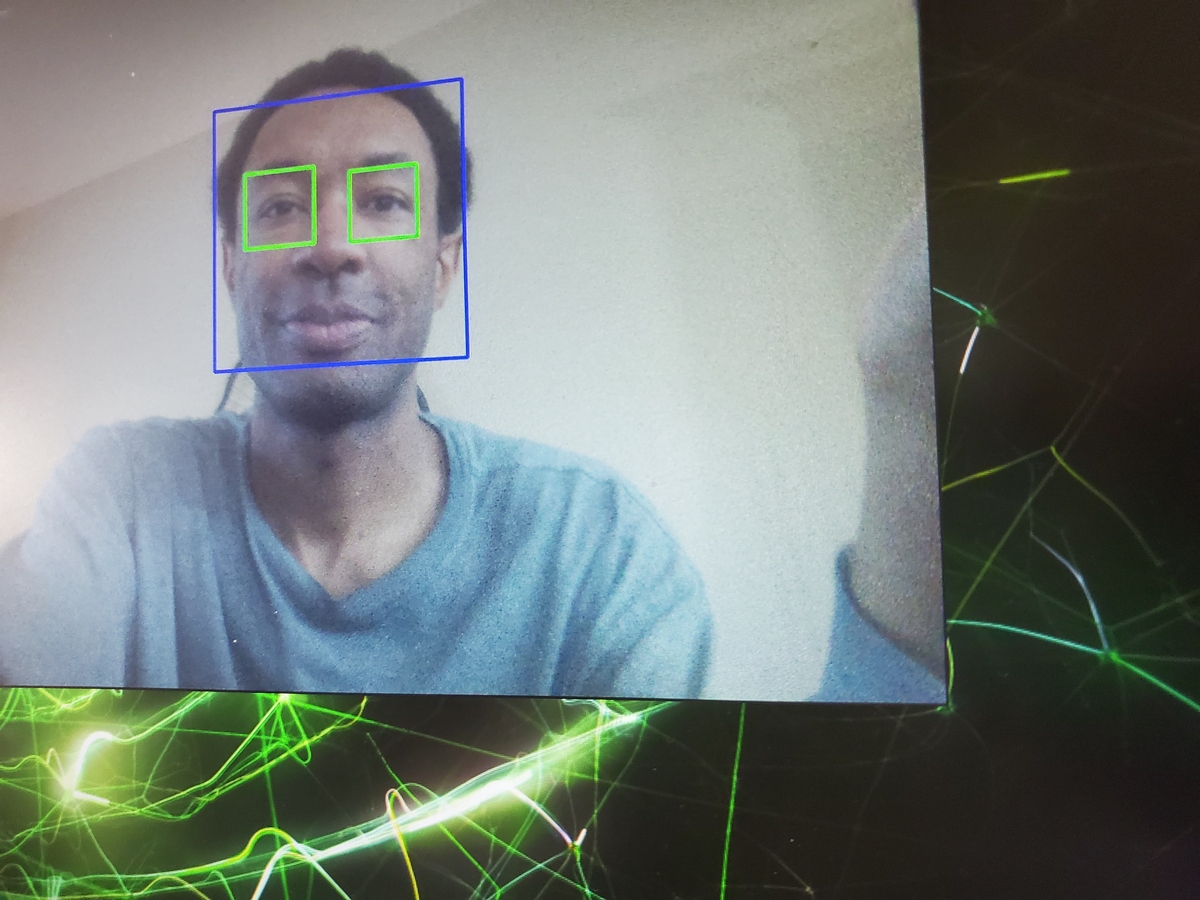
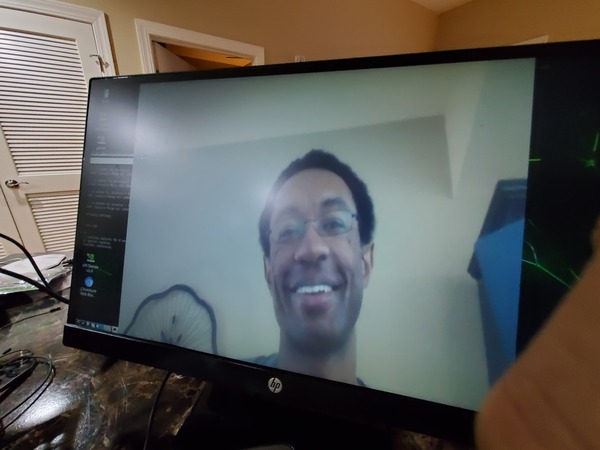
Run the face detection python script.
python3 face_detect.py
Here is my output:

If the output doesn’t turn out like you want it to, open the face_detect.py script.
gedit face_detect.py
Note: if you don’t have gedit installed, type:
sudo apt-get install gedit
Edit the flip-method parameter:
def gstreamer_pipeline(
    …
    framerate=21,
    flip_method=2,
Here are the options for the flip_method parameter:
- Default: 0, “none”
- (0): none – Identity (no rotation)
- (1): counterclockwise – Rotate counter-clockwise 90 degrees
- (2): rotate-180 – Rotate 180 degrees
- (3): clockwise – Rotate clockwise 90 degrees
- (4): horizontal-flip – Flip horizontally
- (5): upper-right-diagonal – Flip across upper right/lower left diagonal
- (6): vertical-flip – Flip vertically
- (7): upper-left-diagonal – Flip across upper left/low
Here is the full code for face_detect.py (credit: JetsonHacks)
# MIT License
# Copyright (c) 2019 JetsonHacks
# See LICENSE for OpenCV license and additional information

# https://docs.opencv.org/3.3.1/d7/d8b/tutorial_py_face_detection.html
# On the Jetson Nano, OpenCV comes preinstalled
# Data files are in /usr/sharc/OpenCV
import numpy as np
import cv2

# gstreamer_pipeline returns a GStreamer pipeline for capturing from the CSI camera
# Defaults to 1280x720 @ 30fps
# Flip the image by setting the flip_method (most common values: 0 and 2)
# display_width and display_height determine the size of the window on the screen


def gstreamer_pipeline(
    capture_width=3280,
    capture_height=2464,
    display_width=820,
    display_height=616,
    framerate=21,
    flip_method=2,
):
    return (
        "nvarguscamerasrc ! "
        "video/x-raw(memory:NVMM), "
        "width=(int)%d, height=(int)%d, "
        "format=(string)NV12, framerate=(fraction)%d/1 ! "
        "nvvidconv flip-method=%d ! "
        "video/x-raw, width=(int)%d, height=(int)%d, format=(string)BGRx ! "
        "videoconvert ! "
        "video/x-raw, format=(string)BGR ! appsink"
        % (
            capture_width,
            capture_height,
            framerate,
            flip_method,
            display_width,
            display_height,
        )
    )


def face_detect():
    face_cascade = cv2.CascadeClassifier(
        "/usr/share/opencv4/haarcascades/haarcascade_frontalface_default.xml"
    )
    eye_cascade = cv2.CascadeClassifier(
        "/usr/share/opencv4/haarcascades/haarcascade_eye.xml"
    )
    cap = cv2.VideoCapture(gstreamer_pipeline(), cv2.CAP_GSTREAMER)
    if cap.isOpened():
        cv2.namedWindow("Face Detect", cv2.WINDOW_AUTOSIZE)
        while cv2.getWindowProperty("Face Detect", 0) >= 0:
            ret, img = cap.read()
            gray = cv2.cvtColor(img, cv2.COLOR_BGR2GRAY)
            faces = face_cascade.detectMultiScale(gray, 1.3, 5)

            for (x, y, w, h) in faces:
                cv2.rectangle(img, (x, y), (x + w, y + h), (255, 0, 0), 2)
                roi_gray = gray[y : y + h, x : x + w]
                roi_color = img[y : y + h, x : x + w]
                eyes = eye_cascade.detectMultiScale(roi_gray)
                for (ex, ey, ew, eh) in eyes:
                    cv2.rectangle(
                        roi_color, (ex, ey), (ex + ew, ey + eh), (0, 255, 0), 2
                    )

            cv2.imshow("Face Detect", img)
            keyCode = cv2.waitKey(30) & 0xFF
            # Stop the program on the ESC key
            if keyCode == 27:
                break

        cap.release()
        cv2.destroyAllWindows()
    else:
        print("Unable to open camera")


if __name__ == "__main__":
    face_detect()
Press CTRL+C to stop the script.
Test C++ Setup (Optional)
Open simple_camera.cpp and edit the flip_method in the main function if necessary.
gedit simple_camera.cpp
int main()
{
…
    int framerate = 60 ;
    int flip_method = 2;
Save the file and close it.
Compile simple_camera.cpp. You can copy and paste this command.
g++ -std=c++11 -Wall -I/usr/include/opencv4 simple_camera.cpp -L/usr/lib/aarch64-linux-gnu -lopencv_core -lopencv_highgui -lopencv_videoio -o simple_camera
Run simple_camera.cpp
./simple_camera
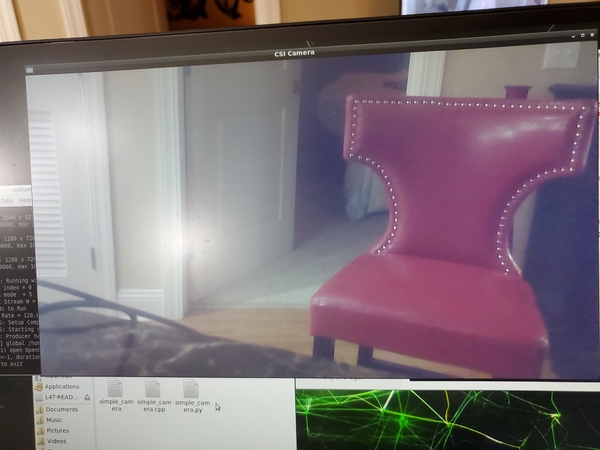
Press ESC when you’re done.
To shutdown the computer, type:
sudo shutdown -h now
Here is the full code for simple_camera.cpp:
// simple_camera.cpp
// MIT License
// Copyright (c) 2019 JetsonHacks
// See LICENSE for OpenCV license and additional information
// Using a CSI camera (such as the Raspberry Pi Version 2) connected to a
// NVIDIA Jetson Nano Developer Kit using OpenCV
// Drivers for the camera and OpenCV are included in the base image

// #include <iostream>
#include <opencv2/opencv.hpp>
// #include <opencv2/videoio.hpp>
// #include <opencv2/highgui.hpp>

std::string gstreamer_pipeline (int capture_width, int capture_height, int display_width, int display_height, int framerate, int flip_method) {
    return "nvarguscamerasrc ! video/x-raw(memory:NVMM), width=(int)" + std::to_string(capture_width) + ", height=(int)" +
           std::to_string(capture_height) + ", format=(string)NV12, framerate=(fraction)" + std::to_string(framerate) +
           "/1 ! nvvidconv flip-method=" + std::to_string(flip_method) + " ! video/x-raw, width=(int)" + std::to_string(display_width) + ", height=(int)" +
           std::to_string(display_height) + ", format=(string)BGRx ! videoconvert ! video/x-raw, format=(string)BGR ! appsink";
}

int main()
{
    int capture_width = 1280 ;
    int capture_height = 720 ;
    int display_width = 1280 ;
    int display_height = 720 ;
    int framerate = 60 ;
    int flip_method = 2 ;

    std::string pipeline = gstreamer_pipeline(capture_width,
	capture_height,
	display_width,
	display_height,
	framerate,
	flip_method);
    std::cout << "Using pipeline: \n\t" << pipeline << "\n";

    cv::VideoCapture cap(pipeline, cv::CAP_GSTREAMER);
    if(!cap.isOpened()) {
	std::cout<<"Failed to open camera."<<std::endl;
	return (-1);
    }

    cv::namedWindow("CSI Camera", cv::WINDOW_AUTOSIZE);
    cv::Mat img;

    std::cout << "Hit ESC to exit" << "\n" ;
    while(true)
    {
    	if (!cap.read(img)) {
		std::cout<<"Capture read error"<<std::endl;
		break;
	}

	cv::imshow("CSI Camera",img);
	int keycode = cv::waitKey(30) & 0xff ;
        if (keycode == 27) break ;
    }

    cap.release();
    cv::destroyAllWindows() ;
    return 0;
}
That’s it. Keep building!
References
This tutorial was especially helpful.