
In this post, we will learn the fundamentals of C++, one of the most popular languages (along with Python) for programming robots. Getting your head around these fundamentals will help you immensely when you learn ROS. The only prerequisite knowledge is that you have some basic programming experience in any language.
We will not cover the entire C++ language since it is enormous. We will go over the most important commands that you will use again and again over your robotics career. I will also provide links to some short C++ tutorials that do a great job explaining some specific aspects of the language.
Let’s get started!
Table of Contents
- How to Install the GCC/G++ Compilers
- How to Install the C/C++ Debugger
- Write Your First Program in C++
- How to Compile and Run Your Program
- How to Debug Code Written in C++
- Classes and Objects in C++
- How to Create a C++ Project
- How to Create a Linux Makefile
- How to Create a CMake File
- Learn C++ Fundamentals
- Conclusion
You Will Need
In order to complete this tutorial, you will need:
- Ubuntu installed and running properly
- Basic programming experience (you’ve written code before at a beginner level in any programming language). If you’ve never written code before, check out this Python tutorial.
Directions
How to Install the GCC/G++ Compilers
C++ is a compiled language. What that means is that when you want to run a program that you write in C++, your machine needs to have a special program that translates the C++ that you write into language that the computer understands and can execute.
The built-in compiler for C/C++ (i.e. C language and C++ language) is called GCC/G++. Let’s see if the compiler is installed on your machine.
Within Ubuntu Linux, open up a new terminal window.
Type the following command to see if you have the C compiler (named GCC):
gcc

GCC is not installed. Before installing it, let’s update the package list using this command:
sudo apt-get update
Now use this command to install a bunch of packages, including GCC, G++, and GNU Make:
sudo apt install build-essential
You might see some sort of error about things being locked if you try the following command. If you do, kill all processes that are using the APT package management tool using this command:
sudo killall apt apt-get
Remove the lock files:
sudo rm /var/lib/apt/lists/lock
sudo rm /var/cache/apt/archives/lock
sudo rm /var/lib/dpkg/lock*
Reconfigure the packages and update:
sudo dpkg --configure -a
sudo apt update
Now use this command to install numerous packages, including GCC, G++, and GNU Make:
sudo apt install build-essential
Press Y to continue.
Wait while the whole thing downloads.
Now, install the manual pages about using GNU/Linux for development (note: it might already be installed):
sudo apt-get install manpages-dev
Check to see if both GCC and G++ are installed.
whereis gcc
whereis g++

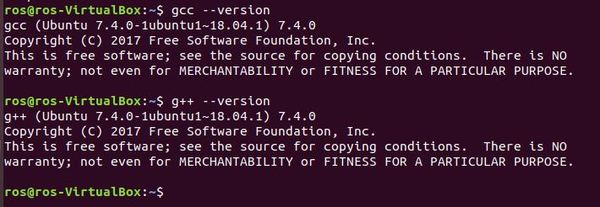
Check what version you have.
gcc --version
g++ --version
How to Install the C/C++ Debugger
In this section, we will install the C/C++ debugger. It is called GNU Debugger (GDB) and enables us to detect problems or bugs in the code that we write.
In the terminal window, type the following command:
sudo apt-get install gdb
You will be asked to type your password, and then click Enter.
Type the following command to verify that it is installed:
gdb
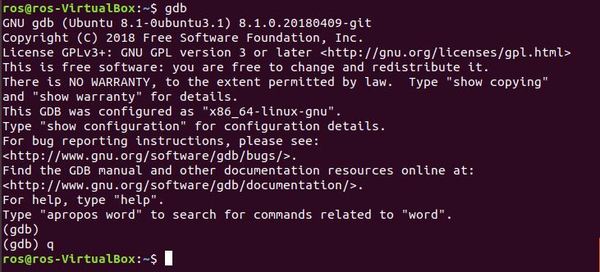
Type this command to quit.
q
Exit the terminal.
exit
Write Your First Program in C++
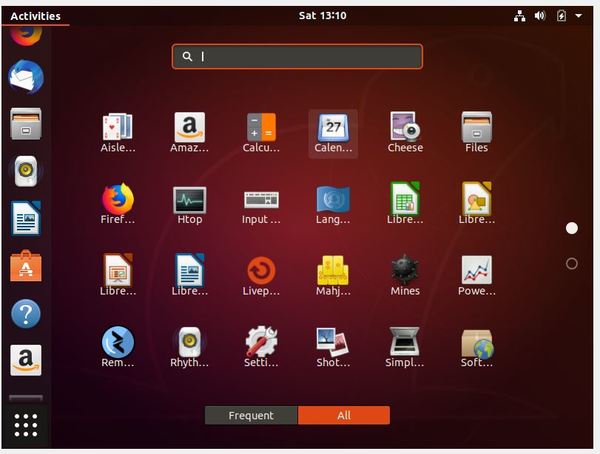
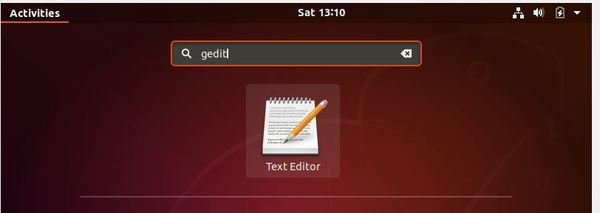
On the Ubuntu Linux desktop, click the 9 dots in the bottom left of the screen and search for the text editor named gedit. Double-click on it.
Write the following code and save it as hello_world.cpp.
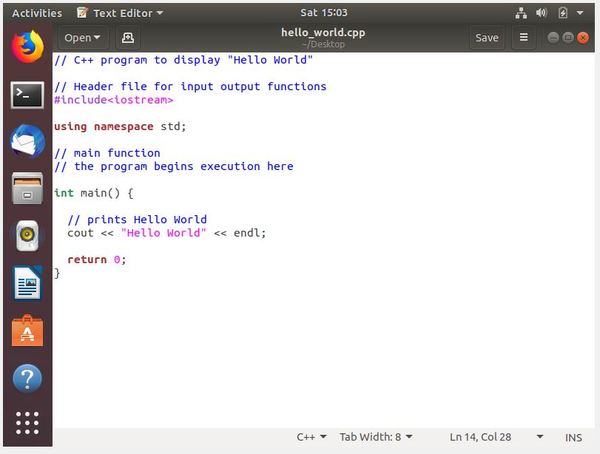
This page on GeeksforGeeks explains what each line of code does.
You can close the text editor now by clicking on the x on the upper right corner of the screen.
Click the file cabinet on the left side of the screen. You should see your hello_world.cpp file. Drag and drop it on your Desktop.

How to Compile and Run Your Program
We now need to compile the hello_world.cpp program so that your computer will be able to read it.
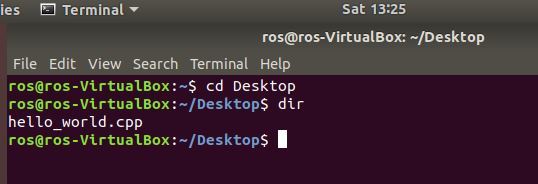
Since the file is located on the desktop, open a terminal window, and type the following command:
cd Desktop
Type the following command to see if it is there:
dir
Compile hello_world.cpp by typing the following command:
g++ hello_world.cpp
If you see an error, check your program to see if it is exactly like I wrote it.
If you don’t see an error, type the dir command to see if the a.out file is there, then run the program by typing the following command:
./a.out
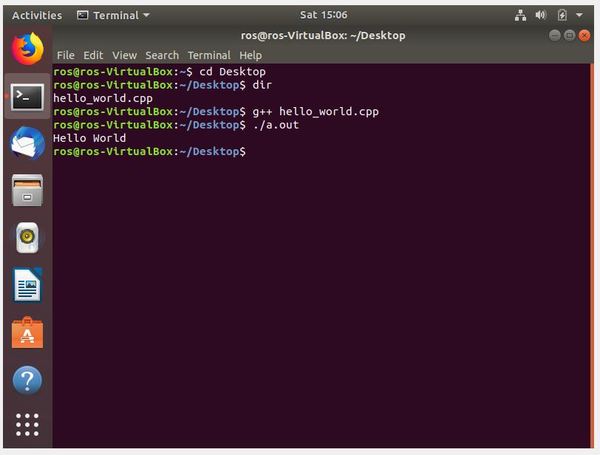
Congratulations! You have created and run your first C++ program.
In this example, the name of the executable file was a.out. If we wanted to use another name, we could do that too.
g++ hello_world.cpp -o hello
Type dir to see the new file.
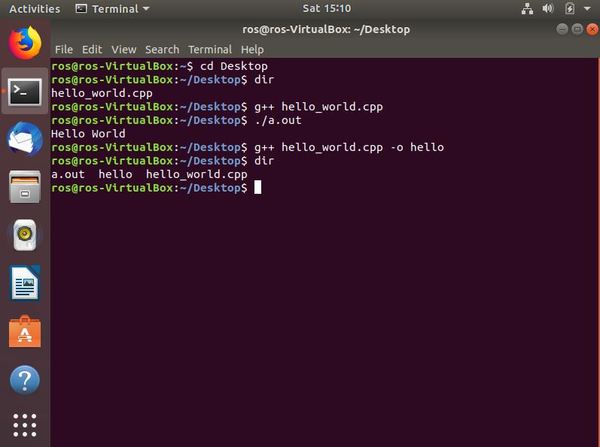
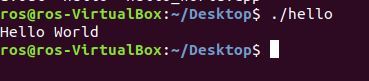
Type the following command to run it.
./hello
How to Debug Code Written in C++
In this section we’ll learn how to debug code written in C++. Debug means to remove errors from a program.
Let’s create a file called product.cpp. We will multiply two numbers together and display the product.
Search for the gedit text editor in Ubuntu Linux. Open the application.
Write the program.
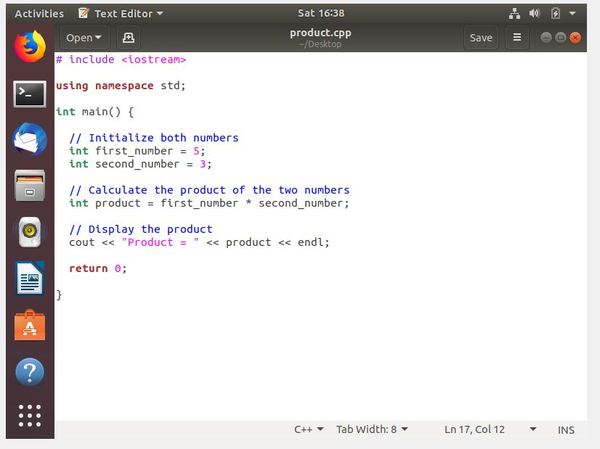
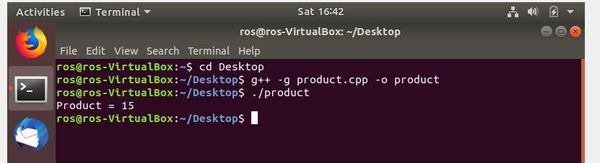
Compile the program using the following command. We have to add that -g option so that the code is built with debugging functionality.
g++ -g product.cpp -o product
Execute the code using the following command:
./product
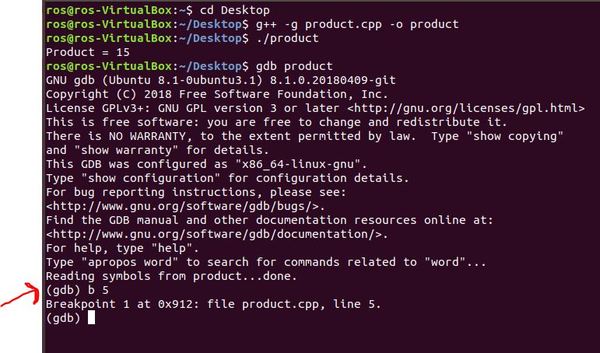
Now, debug the code using the following command:
gdb product
Create a breakpoint at line 5. A breakpoint tells the debugger to run the code but stop at line 5.
b 5
Now, run the program and stop at the breakpoint.
r
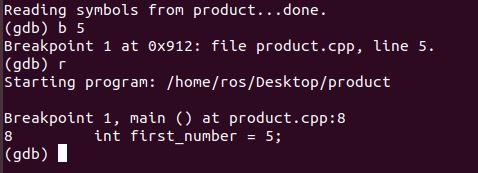
Execute the next line of code.
n
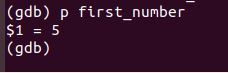
Print the value of the first_number variable.
p first_number
Run the rest of the program.
r
Type:
n

Classes and Objects in C++
The main difference between C and C++ is that C++ enables the programmer to define what are known as classes. A class has its own data and functions (i.e. behavior, methods, etc..). A class often represents something that we might find in the real world.
For example, consider the Car class. There are many different types of cars one can buy, but all cars have certain things in common. The data for the car class might include the following:
- Number of wheels
- Make
- Model
- Year
- Current speed
Functions for the car class might include the following:
- Speed up
- Slow down
Classes are blueprints (i.e. templates) for what are called objects. Each time we want to create a new car in a program, for example, instead of defining that car’s data and methods from scratch, we can use the Car class as a template to define the new car’s data (number of wheels, make, model, year, etc.), and we can use the car’s functions to change its data (e.g. speed up and slow down will change the current speed).
Geeks for Geeks has a good, brief tutorial on creating classes and objects in C++. I recommend you go through it now.
After going to that tutorial above, I recommend you go through the “Basics of C++” tutorial at Geeks (just the Basics section, not the rest of the stuff on there) for Geeks to make sure you have practice with the tasks in C++ that you will do again and again. Go slowly so you understand what you are doing and why you are doing it. No need to hurry.
Now quickly skim the following tutorials. Just read the first couple of paragraphs on each page. No need to do a deep dive into any of these tutorials. I just want you to have a high-level understanding of what you can do in C++. You can come back to these tutorials when you need them during an actual project:
- Class access modifiers
- Inheritance
- File Handling
- Namespaces
- Exception Handling
- C++ Standard Template Library
How to Create a C++ Project
In many large C++ projects, you will have to compile multiple programs, each containing hundreds or even thousands of lines of code. In addition to being compiled, the programs might need to be linked together. In this section, I will show you how to do this using a tool known as a Linux makefile.
Let’s develop a program again that multiplies two numbers together. This time, we will create a class called Product. The product class has only one method (or function) called calculate. The calculate method takes as input two numbers, and it outputs the product of those two numbers.
Best practice when creating classes in C++ is to split the class into two files: one file to declare the Product class (i.e. tell the compiler that a class exists called product) and one file to implement the Product class (i.e. to implement the Product class’s data and methods). We then need a third file that creates an object of the Product class and performs the multiplication. This last file is called main.cpp:
- Product.h: This is a header file for the Product class. We declare the Product class here (both data and methods) rather than in the Product.cpp file.
- Header files help make your projects more organized and speed up compile time.
- Product.cpp: We already declared the data and methods of the product class in the Product.h file, but we now need to implement them. Product.cpp is the program where we implement the data and methods of the Product class.
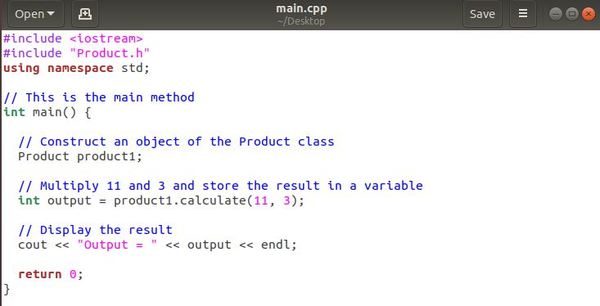
- main.cpp: This is the main code of the project that is going to get built into an executable file that your machine understands. Here is where we create an object of the Product class and perform the multiplication.
In case you are confused at the difference between declaring something and implementing something, take a look at the example below of my Product.h file:
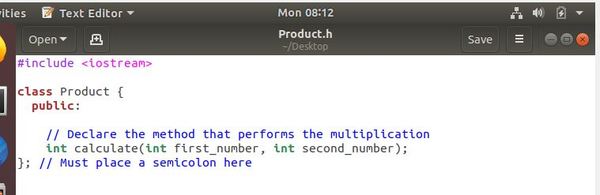
Above we have only declared the Product class. We have not yet implemented it. Let’s do that now in the Product.cpp file:
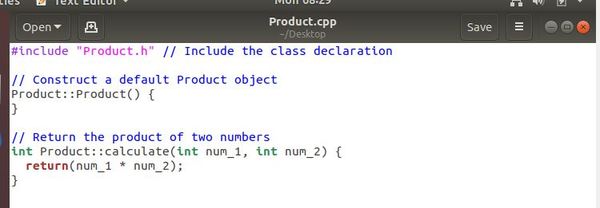
Now that we have implemented the Product class, we need to create one more file, the main.cpp file. This file is where we perform the actual multiplication of two numbers. Make sure your code looks exactly like what I have below.
Now that we have our class declaration, class implementation, and main program, we are ready to compile the code and execute it. We can do all that in two lines in the Linux terminal. Move to the directory where your files are located. Mine are located on my desktop, so I open up a Linux terminal window and type:
cd Desktop
Type the dir command to get a list of the files in your desktop.
And then compile the code using the following command:
g++ Product.cpp main.cpp -o main
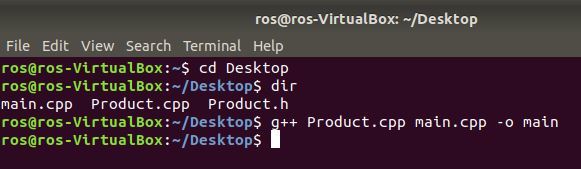
Type dir

Notice that you have an executable file called main. This is the main program that includes all that code you developed above in a nice neat package that is ready to be executed. Let’s execute it now by typing:
./main

If you got “Output = 33”, congratulations! If you did not get that answer or go an error, go back to the code and make sure it is written exactly as I have written above.
Now remove that executable file:
rm main
rm above means “remove.”
How to Create a Linux Makefile
In the example above, each time we make changes to any of the three source files, we have to create a new executable file by typing the “g++ Product.cpp main.cpp -o main” command. Now imagine if we had a project that had 100 source files. Having to type out the command to compile 100 source files each time we made a tiny change to just one of the source files would get annoying really fast!
Fortunately, Linux has some solutions for this. One of the solutions is called a Linux Makefile. A makefile is a text file (or small program) that contains the commands that you would ordinarily need to type out manually to link, compile, and build the executable for all your source code. A makefile is run in Linux using the make command. When you run the make command on a makefile, all your source code files are linked, compiled, and built into an executable file (like we did in the previous section).
Let’s suppose that you have 100 source files, and you have made a tiny change to one of those source files. One really cool thing about running the make command is that it knows which files have changed since the last time you built the executable. make will only rebuild files that changed since the previous version. So rather than rebuilding all 100 files each time you need to link, compile, and build your project, make will ensure that only one file is rebuilt, and everything else remains unchanged. You can imagine how much time make will save you.
The official manual for creating Makefiles is here at GNU.org in case you ever need a detailed reference to refer to. I’ll show you below how to create and use a makefile for the source code we developed in the last section.
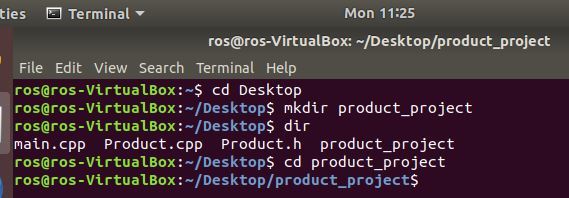
Open up a new terminal window. Move to your desktop, and create a new directory called product_project using the mkdir (i.e. make directory) command.
Move to that directory using the cd product_project command.
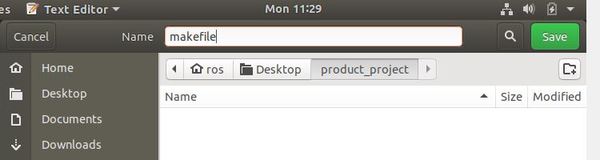
Type gedit to open up the text editor.
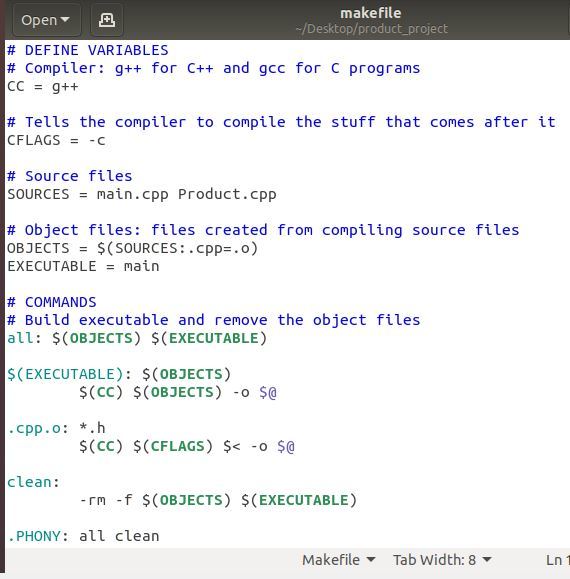
Create the following makefile exactly as I have written below. Save it as makefile. The syntax is complicated, but don’t worry about trying to memorize this. Just refer back to this tutorial when you need to create a makefile in the future. You can also consult the makefile manual.
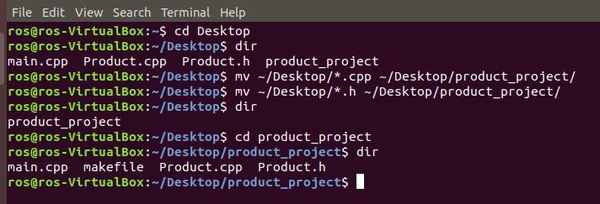
After you have saved the makefile, open a new terminal window, move to the Desktop, and move your three programs (Product.cpp, Product.h and main.cpp) to this product_project directory using the mv (i.e. move) command. We need to move all cpp and h files.
mv ~/Desktop/*.cpp ~/Desktop/product_project/
mv ~/Desktop/*.h ~/Desktop/product_project/
Now we need to execute the makefile.
make
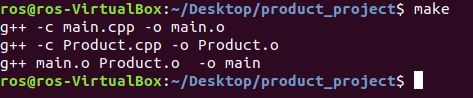
You will now have three new files in your directory: executable file named main and two object files named main.o and Product.o.
Now that the program is built, we can run it.
./main

How to Create a CMake File
An alternative to using a Linux makefile to build your C++ project is to use a software tool known as CMake. CMake is one of the most popular tools for building C++ projects because it is relatively user-friendly (compared to the Linux makefile process I described in the previous section). Here is a link to the CMake documentation.
Let’s see how to build a C++ project using CMake.
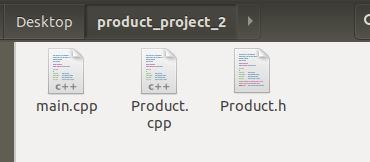
First, go to the desktop and create a product_project_2 folder. Move (or copy and paste) your three source code files (Product.h, Product.cpp, and main.cpp) to that new folder.
Install CMake.
sudo apt-get install cmake
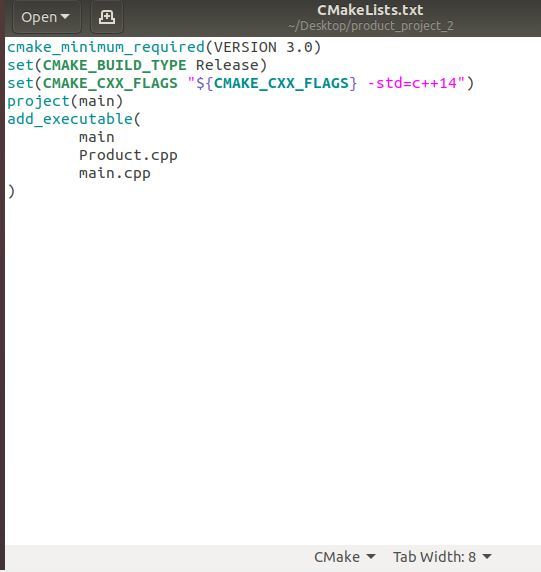
Make sure you are in the product_project_2 folder. Then create the following text file and save it as CMakeLists.txt. This file builds the executable file called main from main.cpp and Product.cpp.
Close the text editor to return to the terminal window.
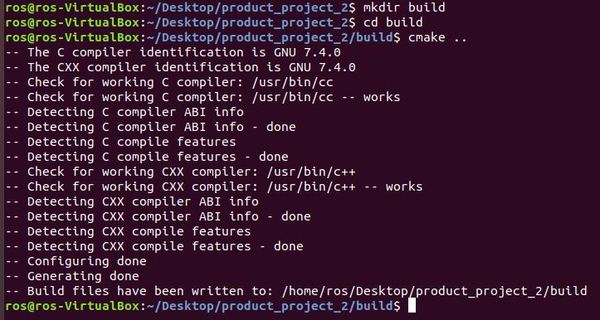
Create a new folder.
mkdir build
Move to the build folder.
Type the following command:
cmake ..
Now you need to build the project. Type:
make
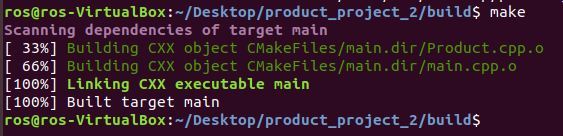
Run the code:
./main
If everything worked properly, you should see Output = 33.

Learn C++ Fundamentals
At this stage, I recommend you go through short tutorials that cover the basics of C++. Here are the concepts you should work through:
- Structure of a C++ Program
- Variables
- Constants
- Arithmetic
- Operators
- If Statement
- Switch Statement
- Arrays
- Vectors
- For Loop
- While Loop
- Do While Loop
- User Input
- Characters
- Strings
- Functions
- File Input/Output
- Exception Handling
- Pointers and Smart Pointers
- References
- Class and Objects
- Inheritance
- Virtual Methods
- Polymorphism
Conclusion
Congratulations! We have covered a lot of ground. You have come a long way from the beginning of this tutorial and now have a solid foundation in C++, one of the most popular languages for building robots.
Keep building!