
In this tutorial, you will install Ubuntu and Virtual Box on your personal computer. Whether you have a computer using Windows or a Mac, by the end of this tutorial, you will have Ubuntu all setup and ready to go.
What is Ubuntu?
Ubuntu is an operating system for your computer, just like Windows or macOS, but it is based on Linux – a free, open-source system that serves as the foundation for many computer programs.
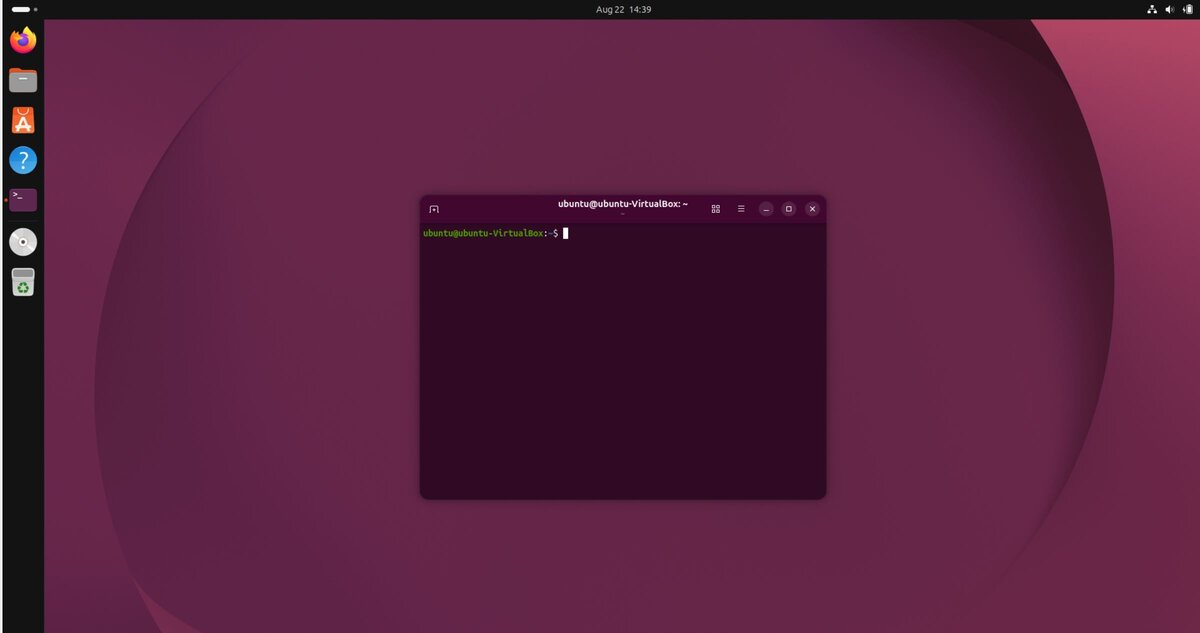
Ubuntu provides a user-friendly desktop environment see in the lead image for this blog post.
Why use Ubuntu to program robots when we could use Windows or macOS?
Three reasons:
- It is free to use.
- It is open source, which means the code is publicly available for you to modify and distribute without paying thousands of dollars in license fees.
- It is fully supported by ROS 2, the most popular framework in the world for writing robotics software.
What is VirtualBox?
VirtualBox is a program that lets you run a different operating system inside your current one. It is like having a computer within your computer.
VirtualBox creates a safe, isolated space where you can experiment with other operating system environments without changing anything on your main Mac or Windows-based computer.
What About a Real-World Robotics Project?
On a real-world robotics project, you will use a small computer instead of your desktop PC. Examples include the Intel NUC, Raspberry Pi, or NVIDIA Jetson boards.
These small computers serve as your robot’s “brain,” taking care of all the decisions on what actions the robot should take based on data from sensors like cameras, LIDAR, wheel encoders, and GPS.
We’ll be harnessing the power of Ubuntu on a desktop computer, creating a robust virtual environment for our robotics journey. This setup is not just a convenient starting point for beginners—it is actually the ideal platform for any robotics project, regardless of experience level.
Why Simulation Matters in Professional Robotics
It is worth mentioning that even in professional robotics jobs, a significant amount of work is done in simulation environments similar to what we’re setting up. There are three reasons for this: Speed, Spend, and Safety. I call it the three S’s:
- Speed: You can rapidly prototype new ideas in a simulated environment before committing to physical builds.
- Spend: Developing and testing in a virtual environment is much cheaper than building and testing physical prototypes for every iteration.
- Safety: You can test potentially dangerous scenarios without damaging expensive hardware or running into people:
- An example would be testing a cliff sensor for a mobile robot that is designed to keep the robot from falling down stairs.
- You wouldn’t want to test that logic on a real robot without doing it in simulation first!
By starting with this virtual Ubuntu setup, you’re not only learning the basics but also preparing yourself for practices used in real-world robotics development. This approach bridges the gap between beginner-friendly learning and professional-grade tools and methodologies.
Download the Ubuntu Image
Now let’s download Ubuntu.
First, go to the Ubuntu Releases page (https://releases.ubuntu.com/) on the Ubuntu website to find the latest version of Ubuntu that has long term support (LTS).
As of the date of this writing, the latest version is Ubuntu 26.04 LTS (Resolute Raccoon).
Click on “Ubuntu 26.04 LTS (Resolute Raccoon)”.
Click on the 64-bit PC (AMD64) desktop image.
This .iso file is large. It will take a while to download. Just go do something else and come back to it when it is finished.
When the download finishes, you can either keep the file in the default download location, which for me is my Desktop. Or, you can move the file to another directory on your computer.
Now, go to the next step.
Install VirtualBox
Let’s install VirtualBox.
Go to the VirtualBox downloads page. Here is the link.
Select the version that is compatible with your computer. I will click “Windows hosts” since I am using a Windows-based computer.
Click on the executable file that you just downloaded.
Follow the prompts to install it on your machine.
Accept all the defaults by clicking either Next, Yes, Install, or Finish through all the prompts.
You can find detailed installation instructions for all operating systems (Windows, Mac OS, and Linux) in the instruction manual if you encounter problems.
When you are finished downloading and installing VirtualBox, you can delete the original executable file that you used to install the program. You don’t need it anymore.
Create a Virtual Machine
Now that VirtualBox is installed, we need to create a new virtual machine using the Ubuntu image we downloaded earlier.
Open Virtual Box.
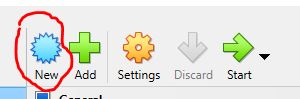
Click the New button in the toolbar.
Name and Operating System
First, let’s complete the “Name and Operating System” section.
On the “Name” line, type in a descriptive name for your operating system. I will call mine “Ubuntu26.04”.
On the “Folder” line, you can keep the default Folder path. This folder is where your virtual machines will be stored.
On the “ISO Image” line, select the path to the Ubuntu .iso file you downloaded earlier.
On the “Type” line, select Linux.
On the “Subtype” line, select Ubuntu.
On the “Version” line, select Ubuntu (64-bit).
Select “Skip Unattended Installation”. By selecting this option, we will manually go through the entire installation process of the operating system.
Click Next.
Hardware
Click on the arrow next to “Hardware” to expand the menu options.
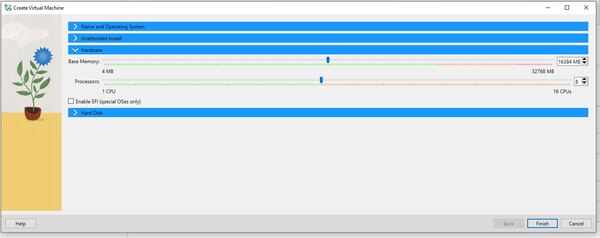
On the “Base Memory” line, move the slider to 16384 MB (megabytes). This memory size will be enough for us to run our robotics simulator, Gazebo, which requires a lot of memory.
On the “Processors” line, select 8 CPUs. If your computer supports it, you can set a higher number. I like to make sure my slider stays within the safe, green color to avoid problems.
Click Next.
Click on the slider bar under “Create a Virtual Hard Disk Now” to set 75.00 GB for the storage space. ROS 2 Lyrical, Gazebo Jetty, and a full development workspace take up a lot of room, so give yourself the extra space now. Resizing a virtual hard disk later is a headache you do not want.
Click Next.
Click “Finish”.
Highlight Ubuntu26.04, and click Settings.
Click Display.
Change Video Memory to 128 MB (megabytes).
Click OK.
Install Ubuntu
Highlight Ubuntu26.04, and click Start on the top menu.
A startup window will appear.
Select “Try or Install Ubuntu” by Pressing Enter.
Wait for a few minutes for the desktop to come up. Ignore any weird warnings on your screen.
Choose your language. I will select “English”.
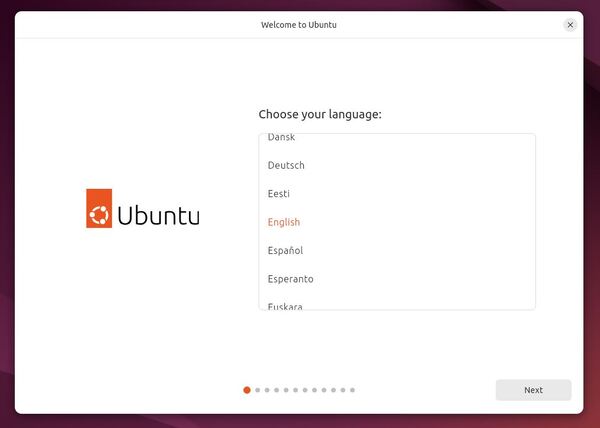
Click Next.
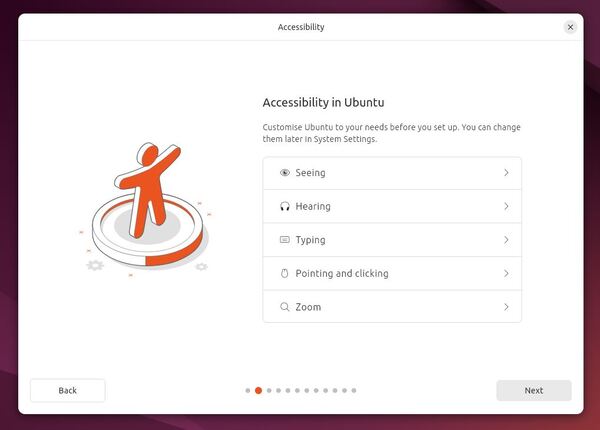
On the “Accessibility in Ubuntu” panel, click Next.
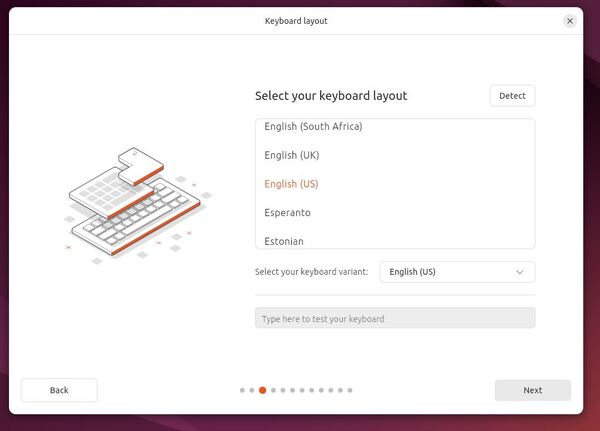
On the “Keyboard layout” panel, select your desired keyboard layout, and click Next.
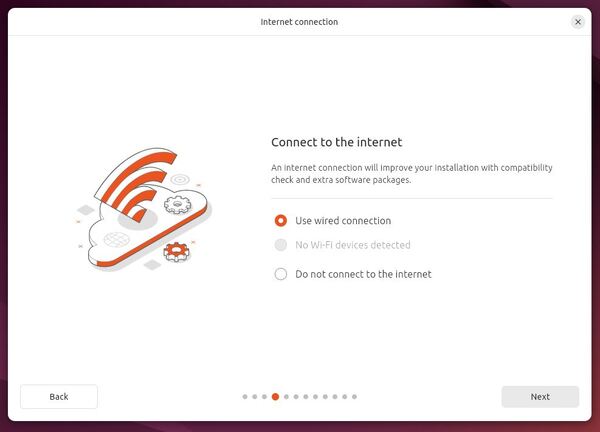
On the “Connect to the internet” panel, select “Use wired connection”, and click Next.
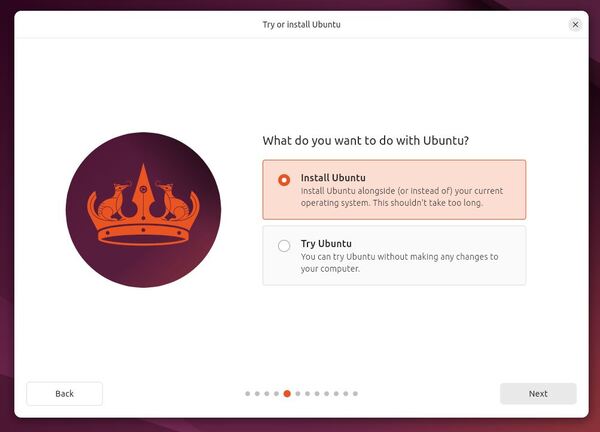
On the “What do you want to do with Ubuntu?” panel, select “Install Ubuntu”, and then click Next.
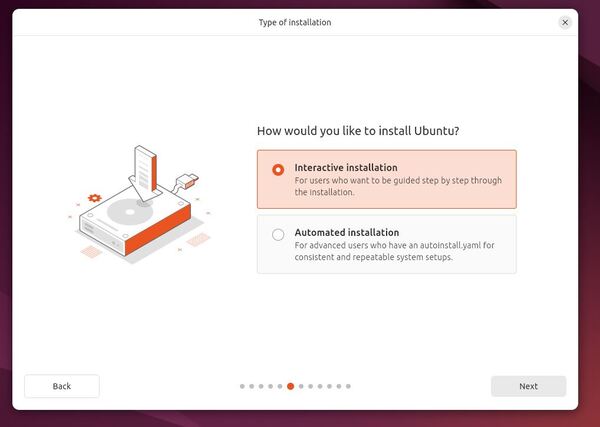
On the “How would you like to install Ubuntu?” panel, select “Interactive installation”, and then click Next.
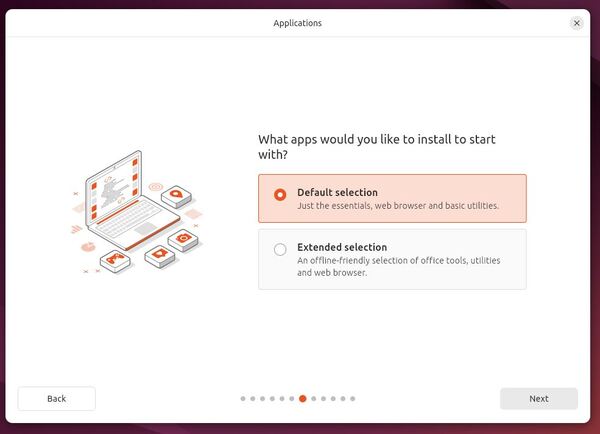
On the “What apps would you like to install to start with?” panel, select the “Default selection”, and then click Next.
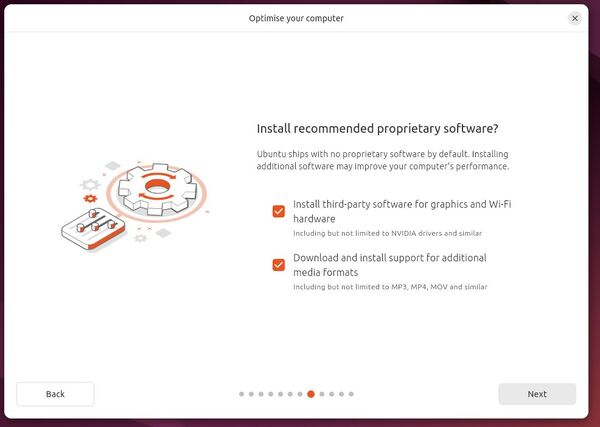
On the “Install recommended proprietary software?” panel, select both checkboxes, and then click Next.
On the “How do you want to install Ubuntu?” panel, select “Erase disk and install Ubuntu”.
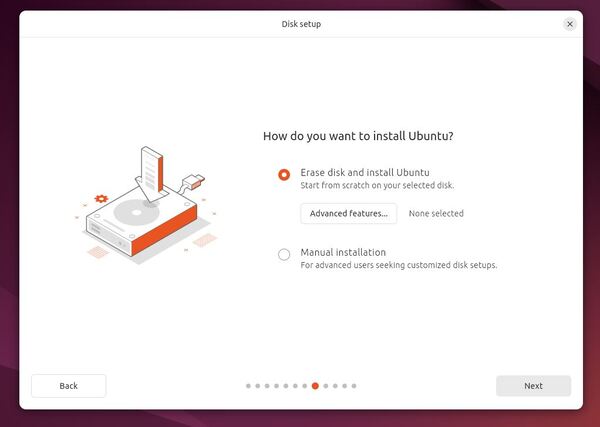
Click Next.
On the Encryption and file system page, select “No encryption”.
Click Next.
On the “Create your account” panel, fill in your information with your desired name (e.g. “ubuntu”). Also fill in your password.
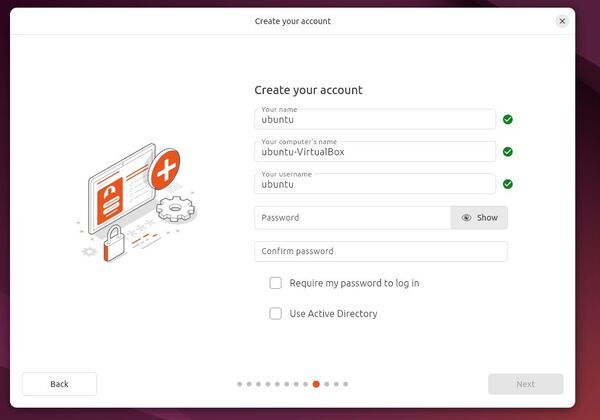
Deselect “Require my password to log in”.
Click Next.
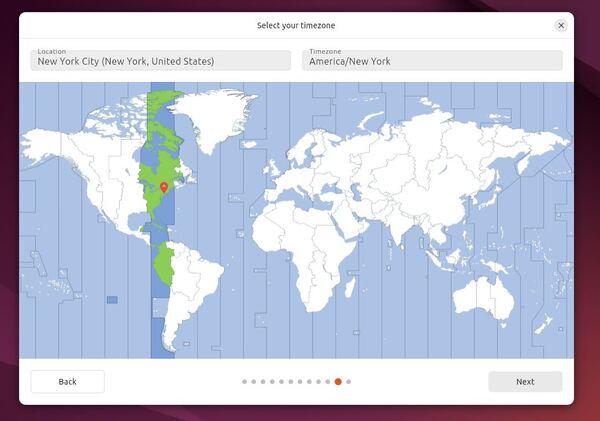
Select your time zone, and then click Next.
On the “Review your choices” panel, click Install.
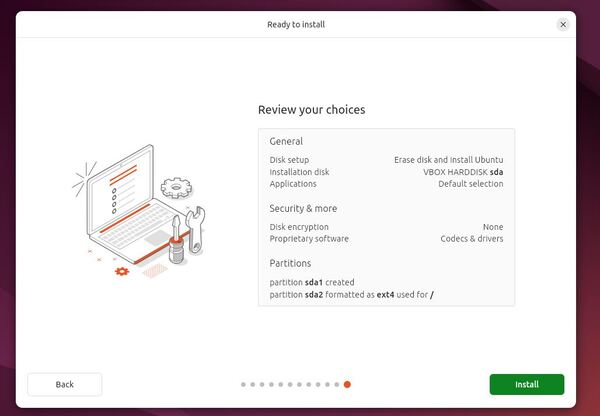
Sit back and relax while Ubuntu installs.
Click “Restart now” when the installation finishes.
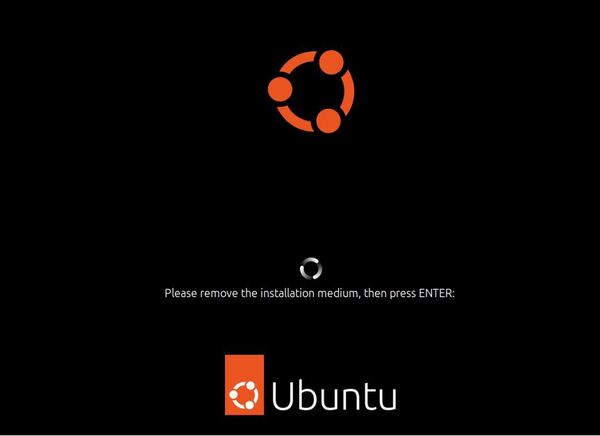
When you see a message that says “Please remove the installation medium, then press Enter”, press Enter on your keyboard.
Configure Ubuntu
You will now see a welcome screen.
Click Next.
On Location Services, click Next.
Click Next, on the “Help Improve Ubuntu” panel.
Click Next, on the “Choose how Ubuntu looks” panel.
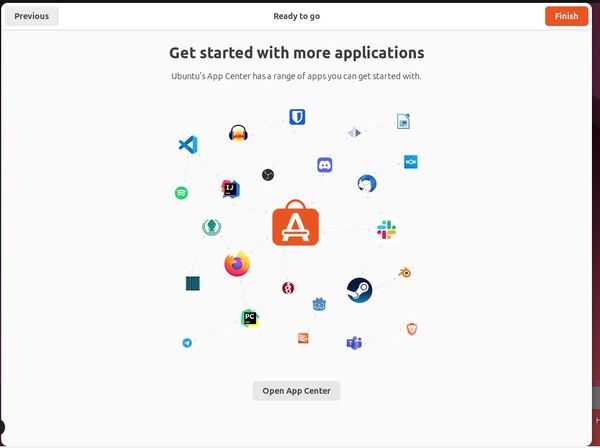
On the “Get started with more applications” panel, click Finish.
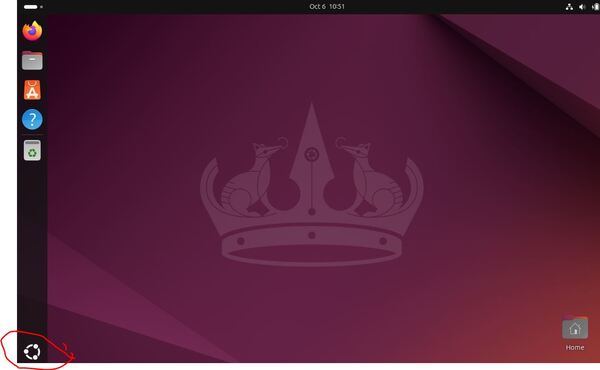
On the bottom left side of the screen, click the ring icon.
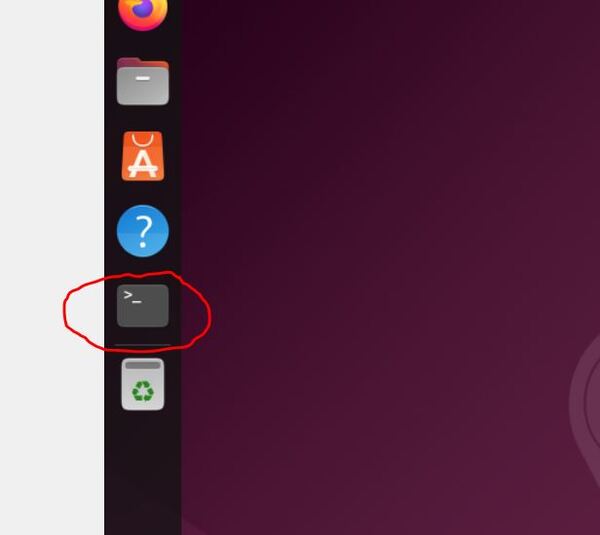
Right-click the terminal icon, and click “Pin to Dock”.
Click the ring icon again to return to the Desktop.
Now let’s make sure your user has sudo privileges. Sudo privileges allow a user to execute commands with superuser (administrative) rights, enabling them to perform tasks that require higher levels of access on the system.
Click the terminal icon on the left side of the screen.
Type the following command inside the terminal window, and press Enter.
whoamiThis is your username. It should say “ubuntu”.
Now type:
sudo adduser <username> sudoReplace <username> with your username.
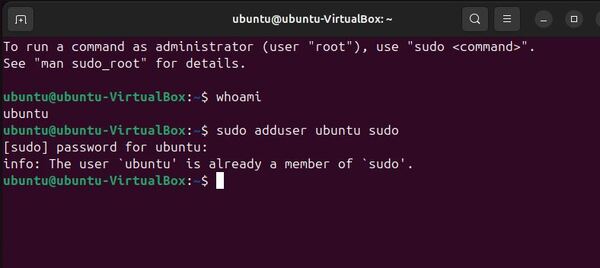
Now shutdown the virtual machine by typing the following command and pressing Enter on the keyboard.
sudo shutdown -h nowInstall VirtualBox Guest Additions
Now we need to install VirtualBox Guest Additions.
VirtualBox Guest Additions are a set of applications that improve the performance and usability of virtual machines.
Highlight Ubuntu26.04, and click Start on the top menu to launch the Desktop environment.
Open a terminal window, and type the following commands to upgrade the operating system software packages:
sudo apt-get update -yWhen prompted for the password, type in your password and press Enter.
sudo apt-get upgrade -yClear out all the logs in the terminal by typing the following command, and pressing Enter:
clearWhen you get back to the Desktop, open a terminal window, and type the following command.
sudo apt install build-essential dkms linux-headers-$(uname -r) -yNext, go to the menu bar at the top of the Virtual Machine.
Click “Devices”.
Click “Insert Guest Additions CD image” to mount the Guest Additions ISO file inside your virtual machine.
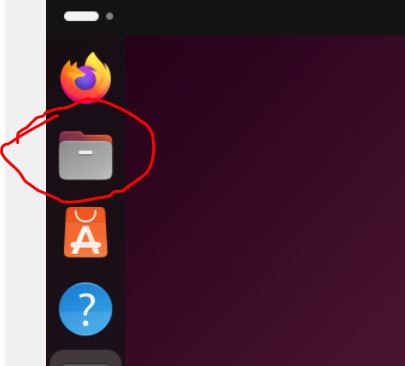
Click the Files icon on the left side of the screen.
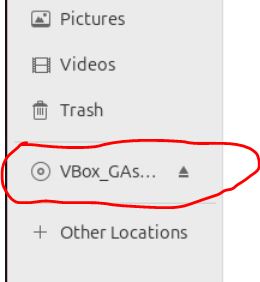
Click VBox_GAs on the left panel.
Click Run Software at the top.
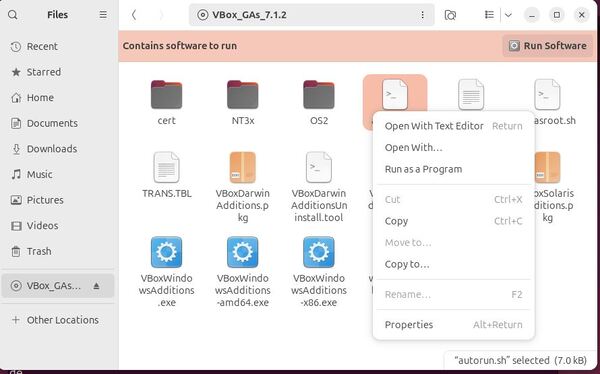

Click Run.
When that is done, type:
rebootChange the Screen Resolution
Go the the top and click View.
Go to Virtual Screen 1.
Select Scale to 125% to enlargen the window.
You can also click the Settings button in the left side. It is the gear icon.
Click Displays.
Change Resolution to 1920 x 1080, and click Apply.
Congratulations, you have finished installing and setting up Ubuntu.
I will see you in the next tutorial!