
Libraries in C++ are collections of code that someone else wrote. They prevent you from having to reinvent the wheel when you need to implement some desired functionality. You can think of libraries as a plugin or add-on that gives you more functionality.
For example, I wanted to write a program that is able to multiply two matrices together. Instead of writing the code from scratch, I searched the web for a linear algebra library in C++ that contained functionality for multiplying matrices. I found the library named “Eigen.” I added the library to my project in the CodeLite IDE, and I was ready to go.
Without further ado, here is the step-by-step process for adding an external C++ library to your project using the CodeLite IDE and Visual Studio IDE.
Note that this process will be different if you are using another IDE for C++, but the two basic steps are the same for all IDEs:
- Add the path for the header files
- Add the path for the actual code (i.e. the library)
How to Add an External C++ Library to Your Project Using the CodeLite IDE
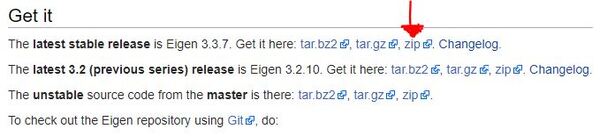
Step 1: Go to the website of the library.
For example, for the linear algebra library, Eigen, you go to this page: Eigen Main Page
Step 2: Download the zip file that contains all the code.
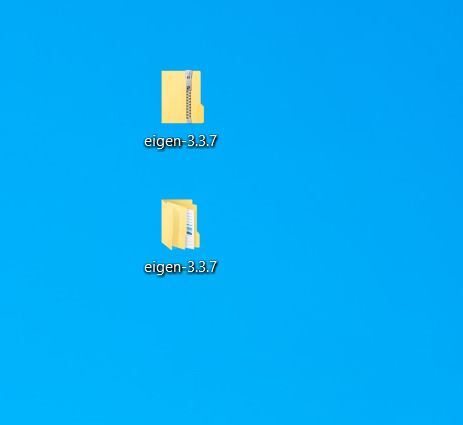
Step 3: Unzip the zip file to your computer.
Step 4: Open CodeLite (i.e. your IDE)
Step 5: Open a new Project
Step 6: Right click on project name and click on Settings
Step 7: Click the Compiler tab and add the Include Paths:
e.g. the folder that contains the folder named ‘Eigen’…C:\XYZ\eigen-eigen-21301928\
This is where the compiler can find the .h (i.e. header) files
Step 8: Click Linker and add the Libraries Search Path
e.g. C:\XYZ\eigen-eigen-21301928\
The path above needs to be the location where the linker can find the libraries (usually suffixed with .a, .dll, .lib, .so)
- Static Libraries are – XYZ.lib for Windows, UNIX/Linux/Max – libXYZ.a
- Dynamic Libraries are – XYZ.dll for Windows, Unix/Linux/Mac – libXYZ.so
Step 9: Go to main.cc (i.e. your source code file…could also be main.cpp) and add the preprocessor directives at the top of the source file. You can use this code to test that everything is setup properly.
#include <iostream>
#include <Eigen/Dense>

using Eigen::MatrixXd;

int main()
{
  MatrixXd m(2,2);
  m(0,0) = 3;
  m(1,0) = 2.5;
  m(0,1) = -1;
  m(1,1) = m(1,0) + m(0,1);
  std::cout << m << std::endl;
}
Step 10: That’s it. You are ready to rock and roll!
How to Add an External C++ Library to Your Project Using the Visual Studio IDE
Step 1: Go to the website of the library.
For example, for the linear algebra library, Eigen, you go to this page: Eigen Main Page
Step 2: Download the zip file that contains all the code.
Step 3: Unzip the zip file to your computer.
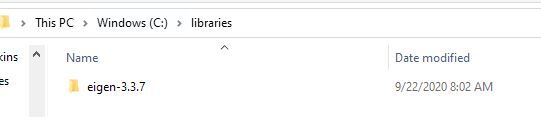
Step 4: Move the folder to some directory on your computer.
I’ll move it to the C:\libraries directory. At this stage, Eigen is along the following path for me:
C:\libraries\eigen-3.3.7\eigen-3.3.7\Eigen
Step 5: Open Visual Studio.
Step 6: Create a new C++ project.
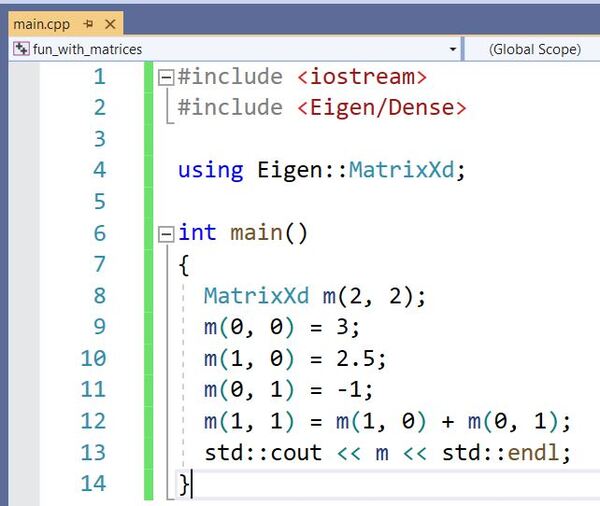
Step 7: Write the following code into a new Source file.
I’ll name this file main.cpp.
#include <iostream>
#include <Eigen/Dense>
using Eigen::MatrixXd;
int main()
{
MatrixXd m(2,2);
m(0,0) = 3;
m(1,0) = 2.5;
m(0,1) = -1;
m(1,1) = m(1,0) + m(0,1);
std::cout << m << std::endl;
}
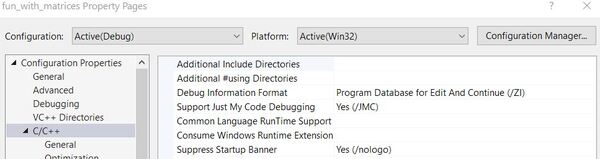
Step 8: Click on the Project tab at the top and go to Additional Include Directories.
Project -> Properties -> C/C++ -> General (you can find it by expanding the little triangle next to C/C++) -> Additional Include Directories
Step 9: Click the blank next to “Additional Include Directories”.
A small triangle dropdown should appear.
Step 10: Click <…Edit>.
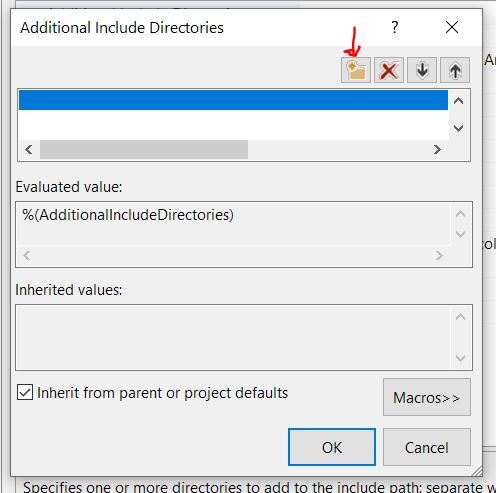
Step 11: Click the Add New Line icon.
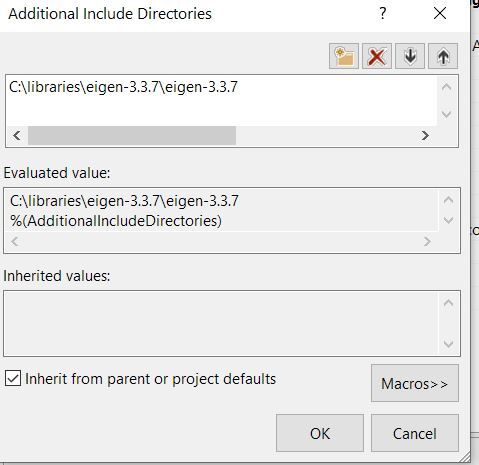
Step 12: Add the path to the folder containing Eigen
If you click the blank, an icon with three periods “…” should appear. Click that icon and add the path to the folder that contains Eigen.
In my case, the path is:
C:\libraries\eigen-3.3.7\eigen-3.3.7\
because the actual Eigen library is this folder:
C:\libraries\eigen-3.3.7\eigen-3.3.7\Eigen
Step 13: Click OK.
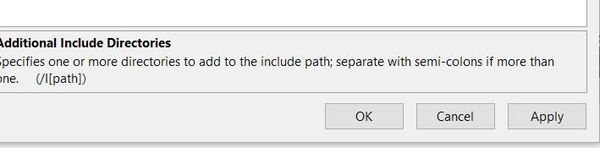
Step 14: Click Apply and then OK.
Step 15: Go to main.cpp (or whatever the name of the source code you wrote earlier is).
Step 16: Compile and Run the Code.
To compile the code, go to Build -> Build Solution.
Then to run the code, go to Debug -> Start Without Debugging.
Here is the output you should see:
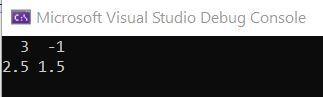
That’s it! You’re all good to go.