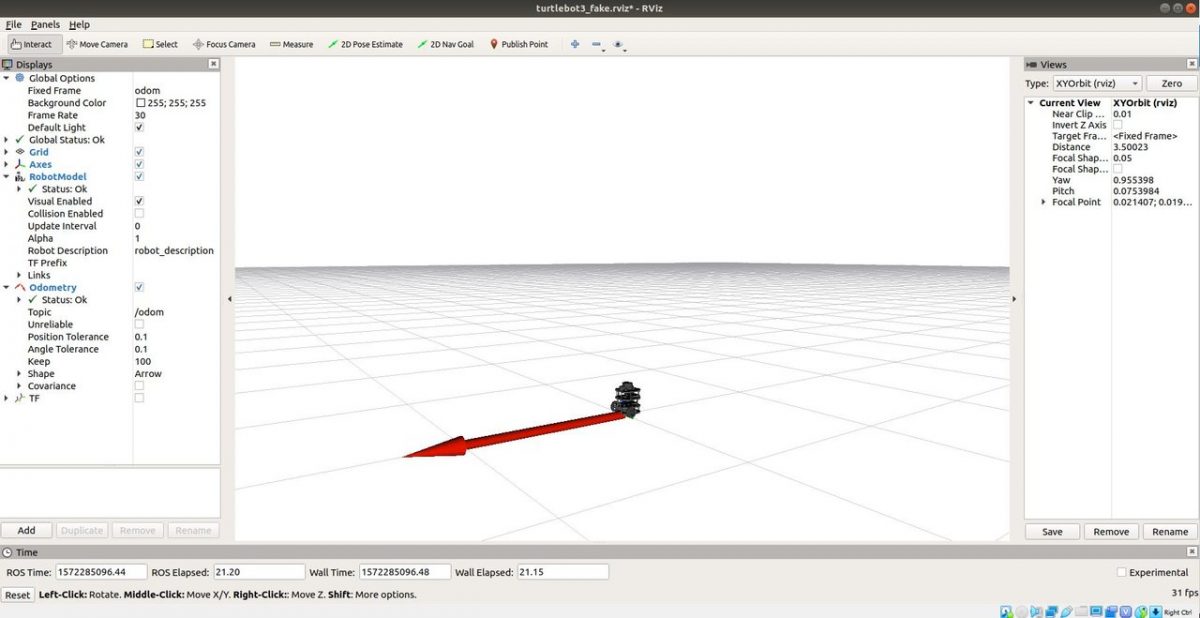
In this tutorial, we will launch a virtual robot called TurtleBot3. TurtleBot3 is a low-cost, personal robot kit with open-source software. You can read more about TurtleBot here at the ROS website.
The official instructions for launching the TurtleBot3 simulation are at this link, but we’ll walk through everything below.
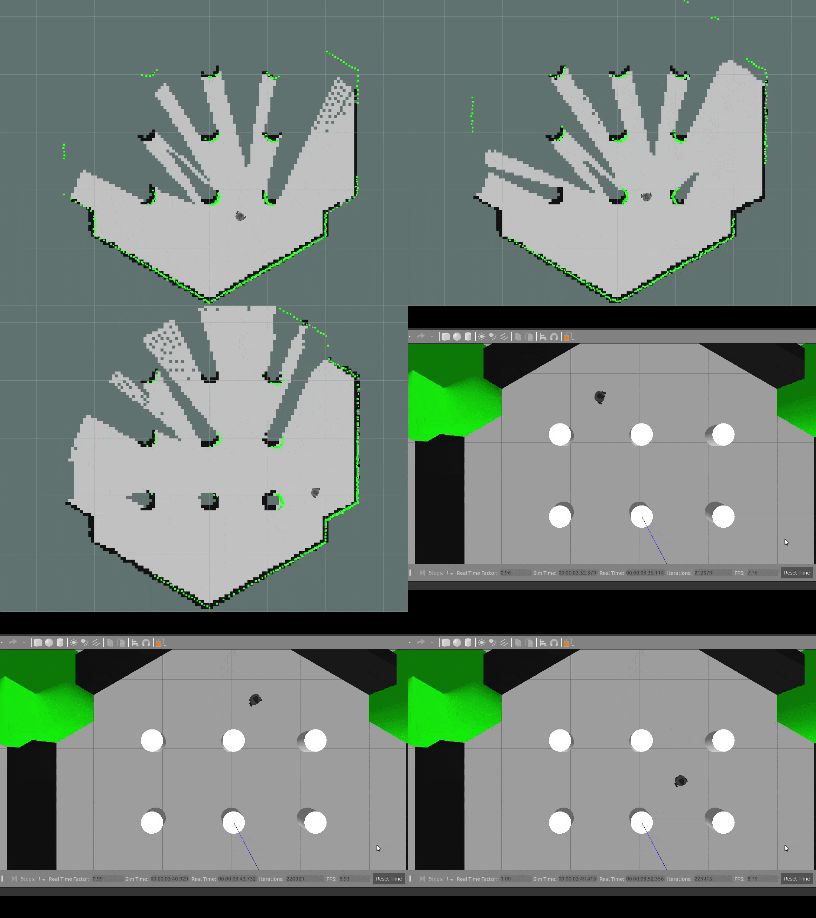
Below is a demo of what you will create in this tutorial. You will get experience with SLAM (Simultaneous localization and mapping) and autonomous navigation.
TurtleBot3 is designed to run using just ROS and Ubuntu. It is a popular robot for research and educational purposes.
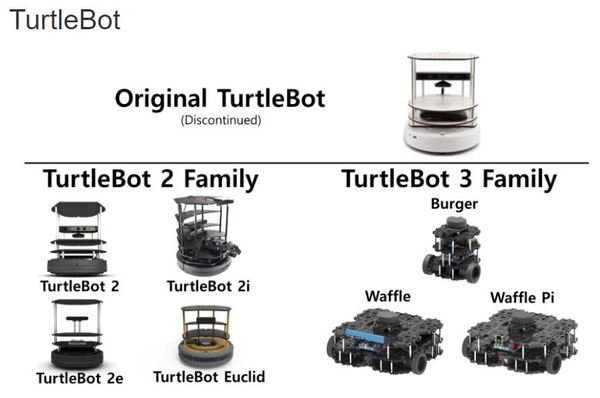
Table of Contents
- Simulate TurtleBot3 Using RViz
- Simulate TurtleBot3 Using Gazebo
- How to Change the Simulation Environment for TurtleBot3
- Autonomous Navigation and Obstacle Avoidance With TurtleBot3
- Simulating SLAM With TurtleBot3
Directions
I’m assuming you have ROS installed and are using Linux. If you don’t have ROS installed, install ROS now.
Let’s install the TurtleBot3 simulator now.
Open a terminal window and install the dependent packages. Enter the following commands, one right after the other:
cd ~/catkin_ws/src/
git clone https://github.com/ROBOTIS-GIT/turtlebot3_msgs.git
git clone https://github.com/ROBOTIS-GIT/turtlebot3.git
cd ~/catkin_ws && catkin_make
TurtleBot3 has three models, Burger, Waffle, and Waffle Pi, so you have to set which model you want to use before you launch TurtleBot3. Type this command to open the bashrc file to add this setting:
gedit ~/.bashrc
Add this line at the bottom of the file:
export TURTLEBOT3_MODEL=burger
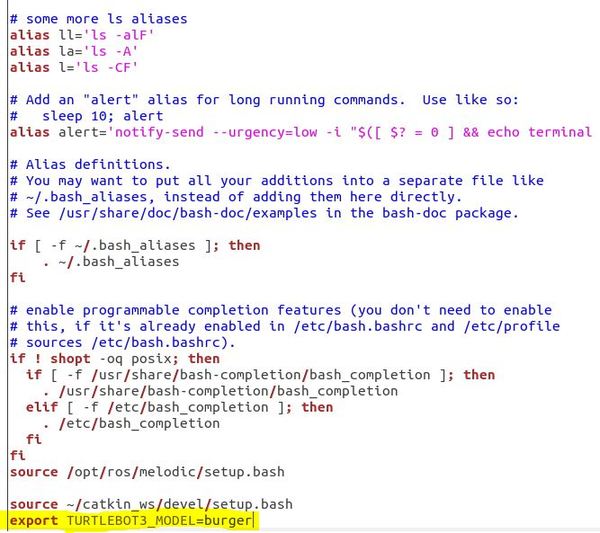
Save the file and close it.
Now reload .bashrc so that you do not have to log out and log back in.
source ~/.bashrc
Now, we need to download the TurtleBot3 simulation files.
cd ~/catkin_ws/src/
git clone https://github.com/ROBOTIS-GIT/turtlebot3_simulations.git

cd ~/catkin_ws && catkin_make

Simulate TurtleBot3 Using RViz
Now that we have the TurtleBot3 simulator installed, let’s launch the virtual robot using RViz. Type this command in your terminal window:
roslaunch turtlebot3_fake turtlebot3_fake.launch
If you want to move TurtleBot3 around the screen, open a new terminal window, and type the following command (everything on one line in the terminal):
roslaunch turtlebot3_teleop turtlebot3_teleop_key.launchroslaunch is the command in ROS that enables us to launch a program. The syntax is as follows:
roslaunch <name_of_package> <name_of_launch_file>The first parameter is the name of the package. The second parameter is the name of the launch file that is inside the package.
What is a Package?
ROS packages are the way software is organized in ROS. They are the smallest thing you can build in ROS.
A package is a directory that contains all of the files, programs, libraries, and datasets needed to provide some useful functionality. ROS packages promote software reuse. Every program that you write in ROS will need to be inside a package.
The goal of a ROS package is to be large enough to be useful but not so large and complicated that nobody wants to reuse it for their own project.
ROS packages are organized as follows:
- launch folder: Contains launch files
- src folder: Contains the source code (C++, Python)
- CMakeLists.txt: List of cmake rules for compilation
- package.xml: Package information and dependencies
To go straight to a ROS package from a terminal window, the syntax is as follows:
roscd <name_of_package>For example, to go to the turtlebot3_teleop package, type in a new terminal window:
roscd turtlebot3_teleopIf you type the following command, you can see what is inside there:
ls
What is a Launch File?
From within the turtlebot3_teleop package, move inside the launch file.
cd launchLet’s take a look inside it.
gedit turtlebot3_teleop_key.launch
All launch files start off with the <launch> tag and end with the </launch> tag. Inside these tags, you have the <node> tag that contains the following parameters:
- pkg=”package_name”: This is the name of the package that has the code we want ROS to execute.
- type=”python_file_name.py”: This is the name of the program we’d like to execute.
- name=”node_name”: This is the name of the ROS node we want to launch our program.
- output=”type_of_output”: Where you will print the output of the program.
Continuing On…
OK, now that we know what packages are, let’s continue on.
Click the terminal window and use the keys below to control the movement of your TurtleBot (e.g. press W key to move forward, X key to move backward and S to stop).
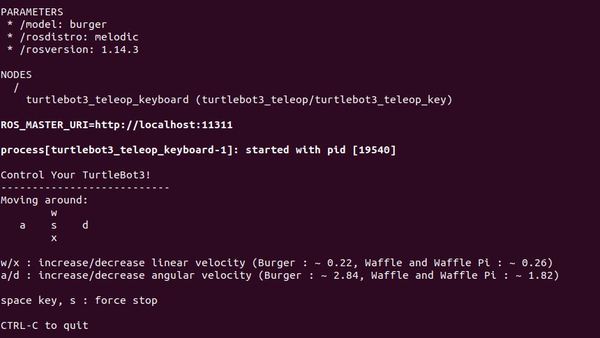
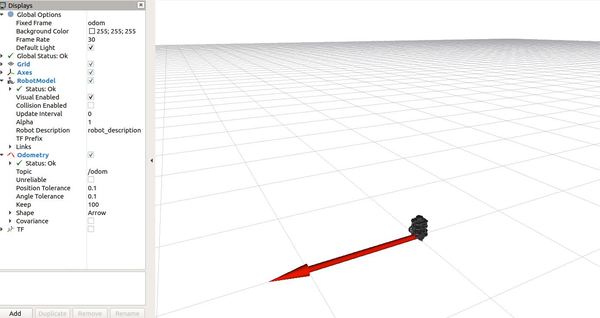
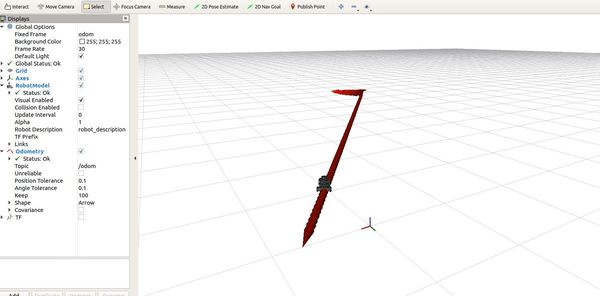
And remember, use the keyboard to move the robot around.

Press CTRL+C in all terminal windows.
Simulate TurtleBot3 Using Gazebo
Now let’s use Gazebo to do the TurtleBot3 simulation.
First, let’s launch TurtleBot3 in an empty environment. Type this command (everything goes on one line):
roslaunch turtlebot3_gazebo turtlebot3_empty_world.launch
Wait for Gazebo to load. It could take a while. Here is what your screen should look like:
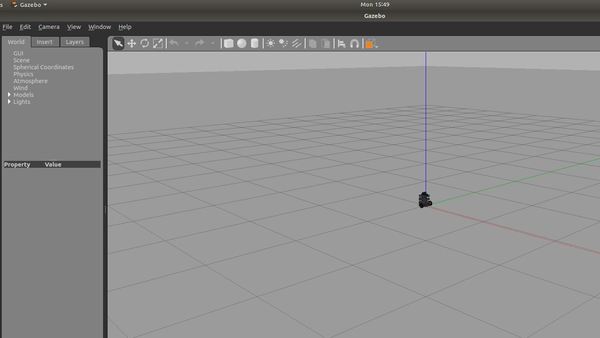
Press CTRL+C and close out all windows.
How to Change the Simulation Environment for TurtleBot3
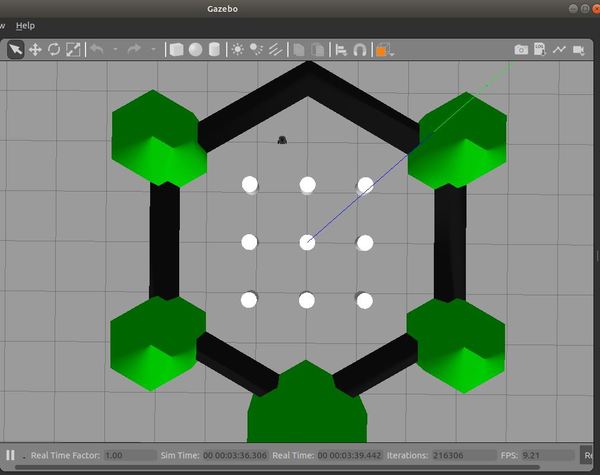
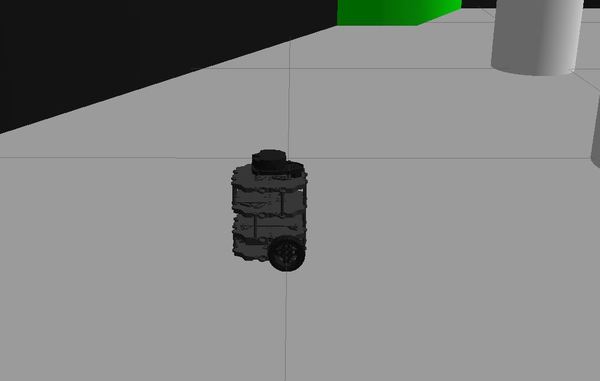
Let’s look at our TurtleBot3 in a different environment. This environment is often used for testing SLAM and navigation algorithms. Simultaneous localization and mapping (SLAM) concerns the problem of a robot building or updating a map of an unknown environment while simultaneously keeping track its location in that environment.
In a new terminal window type:
roslaunch turtlebot3_gazebo turtlebot3_world.launch
Press CTRL+C and close out all windows.
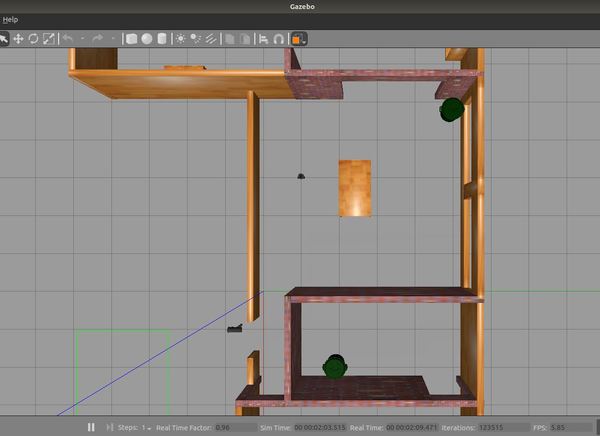
We can also simulate TurtleBot3 inside a house. Type this command and wait a few minutes for the environment to load.
roslaunch turtlebot3_gazebo turtlebot3_house.launch
To move the TurtleBot with your keyboard, use this command in another terminal tab:
roslaunch turtlebot3_teleop turtlebot3_teleop_key.launch
Press CTRL+C and close out all windows.
Autonomous Navigation and Obstacle Avoidance With TurtleBot3
Now let’s implement obstacle avoidance for the TurtleBot3 robot. The goal is to have TurtleBot3 autonomously navigate around a room and avoid colliding into objects.
Open a new terminal and type:
roslaunch turtlebot3_gazebo turtlebot3_world.launch
In another terminal window type:
roslaunch turtlebot3_gazebo turtlebot3_simulation.launch
You should see TurtleBot3 autonomously moving about the world and avoiding obstacles along the way.
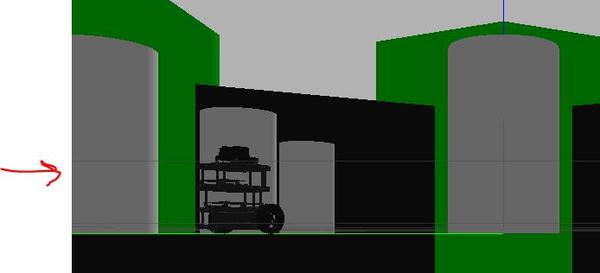
We can open RViz to visualize the LaserScan topic while TurtleBot3 is moving about in the world. In a new terminal tab type:
roslaunch turtlebot3_gazebo turtlebot3_gazebo_rviz.launch
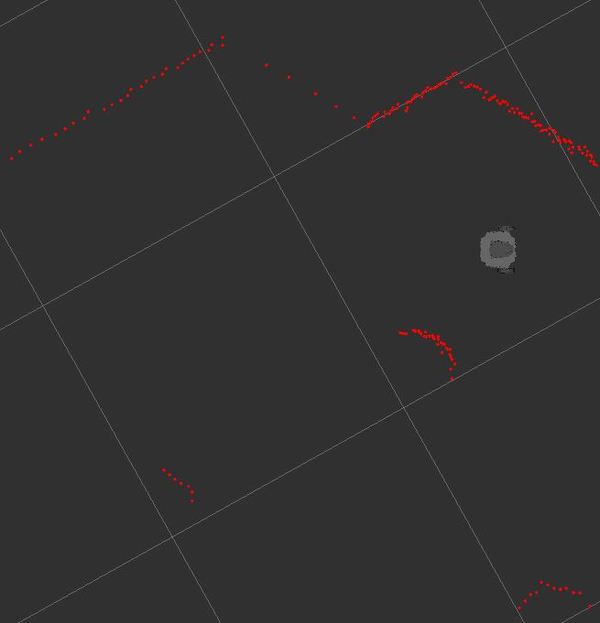
Press CTRL+C and close out all windows.
Simulating SLAM With TurtleBot3
Let’s take a look at how we can simulate SLAM with TurtleBot3. As a refresher, Simultaneous localization and mapping (SLAM) concerns the problem of a robot building or updating a map of an unknown environment while simultaneously keeping track its location in that environment.
Install the SLAM module in a new terminal window.
sudo apt install ros-melodic-slam-gmapping
Start Gazebo in a new terminal window.
roslaunch turtlebot3_gazebo turtlebot3_world.launch
Start SLAM in a new terminal tab.
roslaunch turtlebot3_slam turtlebot3_slam.launch slam_methods:=gmapping
Start autonomous navigation in a new terminal tab:
roslaunch turtlebot3_gazebo turtlebot3_simulation.launch
Watch the robot create a map of the environment as it autonomously moves from place to place!
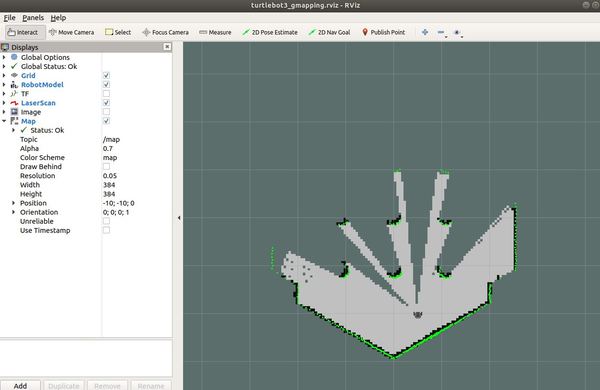
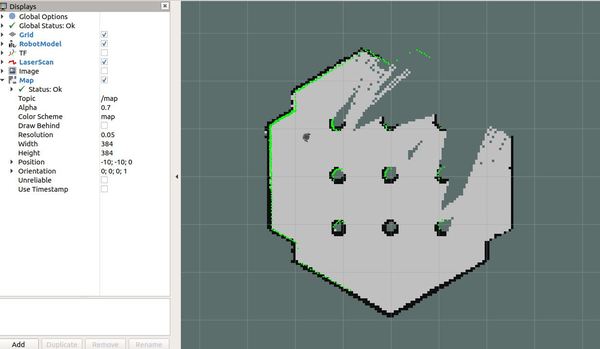
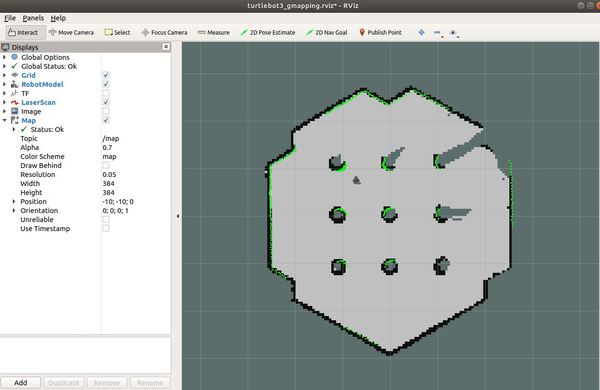
And that is all there is to it.
When you’ve had enough, press CTRL+C and close out all windows.
That’s it for TurtleBot3. In case you want to try other commands and learn more, check out the official TurtleBot3 tutorials.
If you’re tired of working with ROS using a simulated robot, check out this tutorial on how to build a real, physical autonomous, obstacle-avoiding wheeled robot from scratch using ROS.
Keep building!

