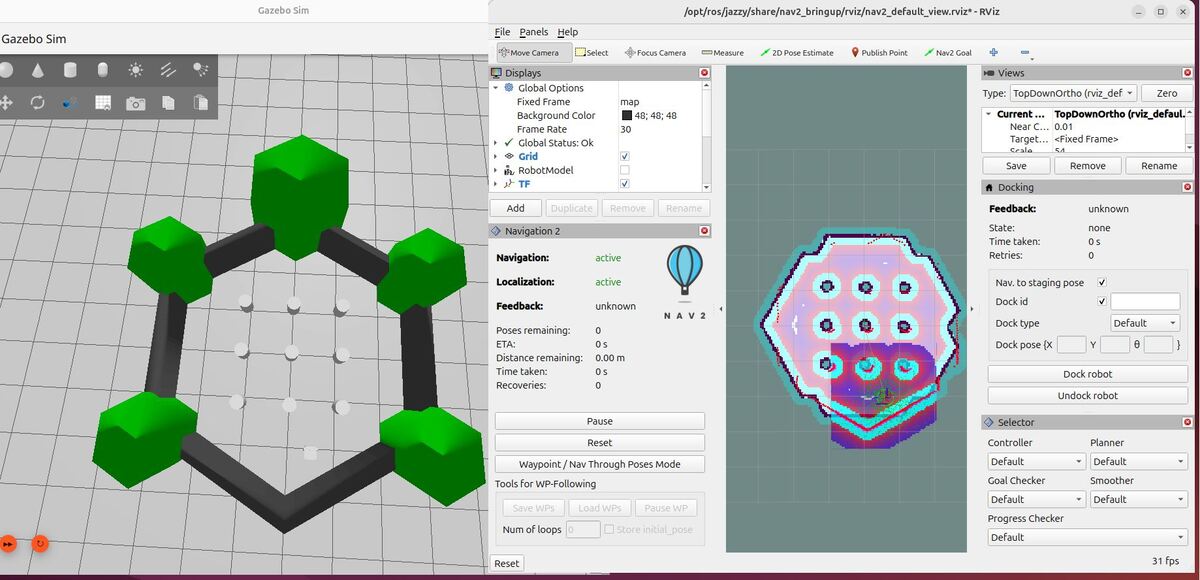
In this tutorial, I will walk you through the process of installing the ROS 2 Navigation (Nav2) stack. By the end of this tutorial, you will have Nav2 fully installed on your system, and you will be able to run this demo:
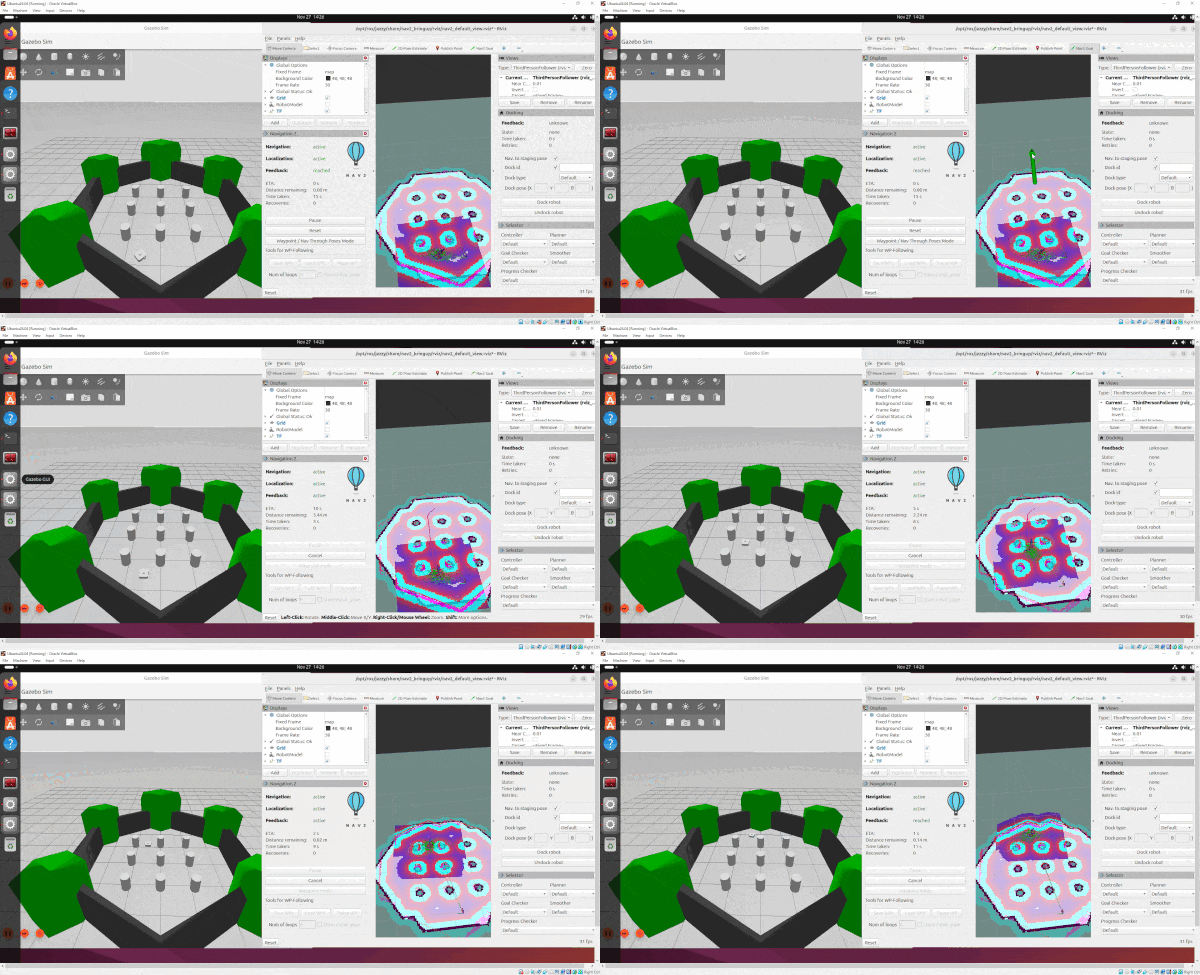
We will use concepts both from the official Nav2 website as well as the official tutorials.
If you prefer to learn by video, you can follow this video below:
What is ROS 2 Navigation (Nav2)?
ROS 2 Navigation, or Nav2 for short, is a set of ROS 2 packages that provide a complete solution for autonomous robot navigation. It includes modules for localization, mapping, path planning, and control, allowing robots to navigate through their environment safely and efficiently. Nav2 is built on top of the ROS 2 framework, leveraging its modularity, scalability, and robustness.
Real-World Applications
Nav2 has numerous real-world applications across various industries. Some examples include:
- Warehouse automation: Autonomous mobile robots (AMRs) equipped with Nav2 can navigate warehouses, pick up and deliver goods, and optimize inventory management.
- Healthcare and hospitality: Robots powered by Nav2 can assist in hospitals, hotels, and restaurants, navigating through dynamic environments and interacting with humans.
- Agricultural robotics: Nav2 enables autonomous tractors and harvesters to navigate fields, monitor crops, and perform precision farming tasks.
Types of Robots That Can Use ROS 2 Navigation
Nav2 is versatile and can be used with a wide range of robot platforms, including:
- Differential drive robots: Robots with two independently driven wheels, such as the TurtleBot and the iRobot Create.
- Holonomic robots: Robots that can move in any direction without changing their orientation, like the Yahboom ROSMASTER X3.
- Ackermann steering robots: Robots with car-like steering, such as autonomous vehicles and some agricultural robots.
Prerequisites
- You have completed this tutorial: How to Simulate a Mobile Robot in Gazebo – ROS 2 Jazzy.
All my code for this project is located here on GitHub.
Create Packages
Navigate to your workspace, and create the following packages. You can replace the maintainer-name and maintainer email with your own information.
cd ~/ros2_ws/src/yahboom_rosmaster/ros2 pkg create --build-type ament_cmake \
--license BSD-3-Clause \
--maintainer-name ubuntu \
--maintainer-email automaticaddison@todo.com \
yahboom_rosmaster_localizationros2 pkg create --build-type ament_cmake \
--license BSD-3-Clause \
--maintainer-name ubuntu \
--maintainer-email automaticaddison@todo.com \
yahboom_rosmaster_navigationUpdate the package.xml files for all packages, including the metapackage. Be sure to add a good description line for each.
You can also update the metapackage with the new packages you just created.
cd yahboom_rosmastergedit package.xml
<?xml version="1.0"?>
<?xml-model href="http://download.ros.org/schema/package_format3.xsd" schematypens="http://www.w3.org/2001/XMLSchema"?>
<package format="3">
  <name>yahboom_rosmaster</name>
  <version>0.0.0</version>
  <description>ROSMASTER series robots by Yahboom (metapackage).</description>
  <maintainer email="automaticaddison@todo.todo">ubuntu</maintainer>
  <license>BSD-3-Clause</license>

  <buildtool_depend>ament_cmake</buildtool_depend>

  <exec_depend>yahboom_rosmaster_bringup</exec_depend>
  <exec_depend>yahboom_rosmaster_description</exec_depend>
  <exec_depend>yahboom_rosmaster_gazebo</exec_depend>
  <exec_depend>yahboom_rosmaster_localization</exec_depend>
  <exec_depend>yahboom_rosmaster_navigation</exec_depend>
  <exec_depend>yahboom_rosmaster_system_tests</exec_depend>

  <test_depend>ament_lint_auto</test_depend>
  <test_depend>ament_lint_common</test_depend>

  <export>
    <build_type>ament_cmake</build_type>
  </export>
</package>
Edit package.xml
Now let’s make sure some key packages are installed.
Open a terminal window, and go to your package.xml folder inside the yahboom_rosmaster_navigation package.
cd ~/ros2_ws/src/yahboom_rosmaster/yahboom_rosmaster_navigationOpen the package.xml file.
Make sure it has these blocks:
…
 <description>Navigation package for ROSMASTER series robots by Yahboom</description>
…

  <depend>navigation2</depend>
  <depend>nav2_bringup</depend>
  <depend>nav2_simple_commander</depend>
  <depend>slam_toolbox</depend>
…
Open a terminal window, and go to your package.xml folder inside the yahboom_rosmaster_localization package.
cd ~/ros2_ws/src/yahboom_rosmaster/yahboom_rosmaster_localizationOpen the package.xml file.
Make sure it has these blocks:
…
 <description>Localization package for ROSMASTER series robots by Yahboom</description>
…

  <depend>robot_localization</depend>

…
Edit CMakeLists.txt
Now open the CMakeLists.txt file of the yahboom_rosmaster_navigation package, and add this block:
find_package(navigation2 REQUIRED)
find_package(nav2_bringup REQUIRED)
find_package(slam_toolbox REQUIRED)
Now open the CMakeLists.txt file of the yahboom_rosmaster_localization package, and add this block:
find_package(robot_localization REQUIRED)
Build the Workspace
Now let’s build our workspace.
cd ~/ros2_ws/rosdep install --from-paths src --ignore-src -r -yInstall any required dependencies. You should then see:
#All required rosdeps installed successfully
If you encounter errors installing the navigation and localization packages, type this:
echo "deb [arch=$(dpkg --print-architecture) signed-by=/usr/share/keyrings/ros-archive-keyring.gpg] http://packages.ros.org/ros2/ubuntu $(. /etc/os-release && echo $UBUNTU_CODENAME) main" | sudo tee /etc/apt/sources.list.d/ros2.list > /dev/nullsudo apt-get update -ysudo apt-get upgrade -yThen try building again:
cd ~/ros2_ws/rosdep install --from-paths src --ignore-src -r -ycolcon build && source ~/.bashrcLet’s add a shortcut alias to make building our workspace quicker:
echo "alias build='cd ~/ros2_ws/ && colcon build && source ~/.bashrc'" >> ~/.bashrcNow going forward, any time you want to build you workspace, just type:
buildTest Your Installation
To test your installation, type the following command in the terminal window:
ros2 launch nav2_bringup tb3_simulation_launch.py headless:=FalseTo move the robot around, first set the initial pose in RViz based on where you think the robot is located and the direction you think the robot is pointed.
Click the 2D Pose Estimate button.
Click and hold where you think the robot is and then drag your mouse in the direction the robot is oriented.
Now click the Nav2 Goal button.
Click and hold where you want to send the robot. And drag in the direction of your desired goal orientation.
The robot will move to the goal.
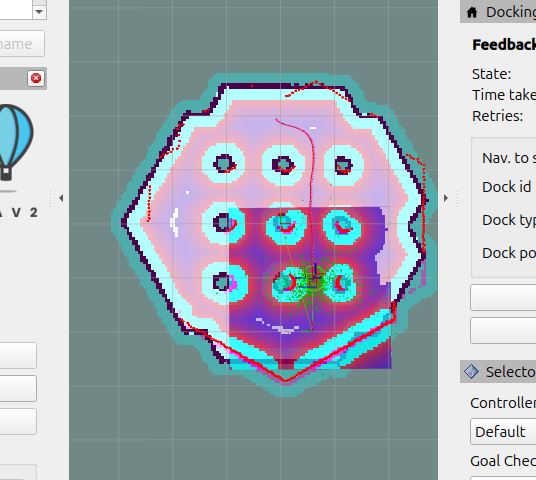
Press CTRL + C to close everything.
To test mapping, open a terminal window, and type the following command:
ros2 launch nav2_bringup tb4_simulation_launch.py slam:=True headless:=FalseClick and hold where you want to send the robot. And drag in the direction of your desired goal orientation.
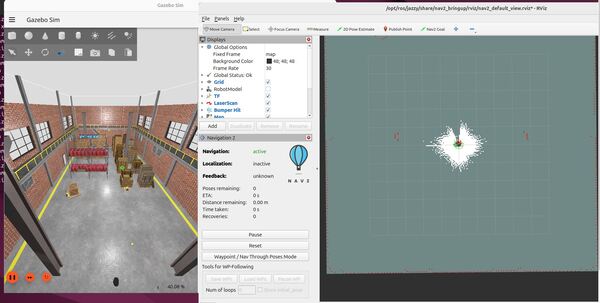
The robot will move to the goal and map in the process.
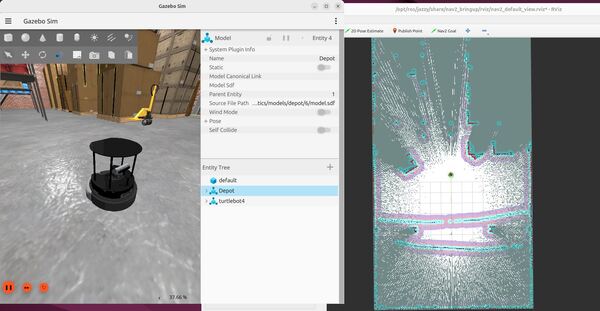
Press CTRL + C when you’re done.
That’s it. Keep building!

