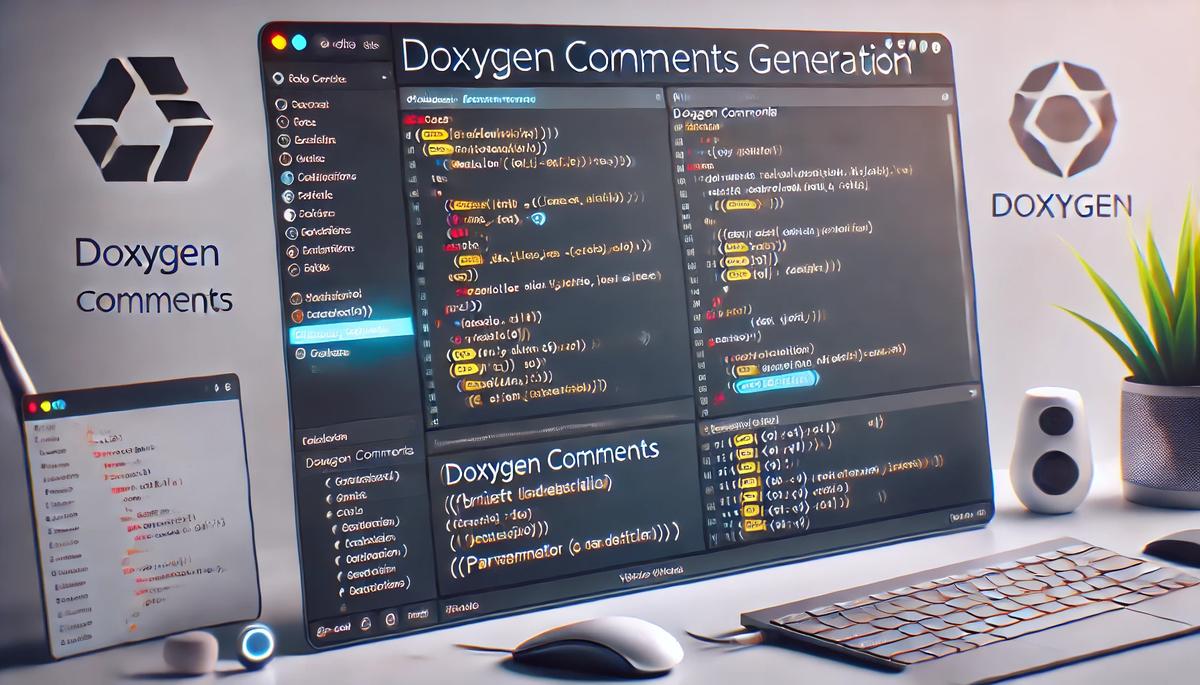
In this tutorial, we will learn how to generate Doxygen comments in C++ code using Visual Studio Code. Doxygen comments are essential for creating clear, professional documentation for your robotics code.
Prerequisites
- You have completed this tutorial: How to Implement Object-Oriented Programming Basics in C++.
- I am assuming you are using Visual Studio Code, but you can use any code editor.
Directions
Open a terminal window, and type this:
cd ~/Documents/cpp_tutorialcode .Click the Extensions icon in the sidebar.
Search for “Doxygen Documentation Generator“.
Install the extension by Christoph Schlosser.

Create a new file, and save it as robot_controller_doxygen.cpp. This will be our working file for this tutorial.
Type the following code into the editor:
#include <string>

class RobotController {
    private:
        double maxSpeed;
        std::string robotName;

    public:
        RobotController(std::string name, double speed);
        void moveForward(double distance);
};
To generate Doxygen comments, place your cursor above the class or function you want to document and type /** followed by Enter. The extension will automatically generate a comment template. Fill it in like this:
#include <string>

/**
 * @brief Controller class for robot movement
 * @details Handles basic movement operations and speed control for the robot
 */
class RobotController {
    private:
        double maxSpeed;
        std::string robotName;

    public:
        /**
         * @brief Construct a new Robot Controller object
         * @param name The name identifier for the robot
         * @param speed The maximum speed in meters per second
         */
        RobotController(std::string name, double speed);

        /**
         * @brief Moves the robot forward by the specified distance
         * @param distance The distance to move in meters
         * @return void
         */
        void moveForward(double distance);
};
Understanding the Code
Doxygen comments use special tags that begin with @ or \:
- @brief provides a short description
- @details gives a more detailed explanation
- @param documents a parameter
- @return describes the return value
The extension automatically generates the appropriate tags based on the code it’s documenting. You just need to fill in the descriptions.
Thanks, and I’ll see you in the next tutorial.
Keep building!

