When working with robotics and ROS 2 simulations in Gazebo, controlling the camera view is essential for better visualization and interaction with your models. In this tutorial, I’ll show you how to programmatically change the camera view using Gazebo’s service calls.
Prerequisites
- All my code for this project (including the cafe.world file) is located here on GitHub.
Introduction
By default, Gazebo launches with a standard camera perspective that might not be ideal for your specific needs. Whether you’re debugging robot behavior, creating documentation, or preparing demonstrations, being able to adjust the camera position and orientation can significantly improve your workflow.
Step-by-Step Guide
1. Launch the World
First, let’s launch a sample world using the Gazebo cafe environment.
Open a terminal window, and move to your file which contains the world you want to launch.
cd ros2_ws/src/yahboom_rosmaster/yahboom_rosmaster_gazebo/worlds/
Tell Gazebo where the models in the world are located:
export GZ_SIM_RESOURCE_PATH=/home/ubuntu/ros2_ws/src/yahboom_rosmaster/yahboom_rosmaster_gazebo/models
Launch the cafe world (this can also be launched via a ROS 2 launch file).
gz sim cafe.world
2. Before Changing the View
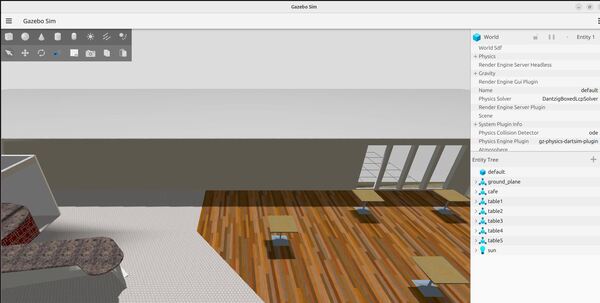
When the world first loads, you’ll see the default camera position. This view typically shows the environment from a diagonal perspective, which might not be optimal for your specific needs.

3. After Changing the View
To modify the camera position and orientation, we’ll use the /gui/move_to/pose service. Here’s the command:
gz service -s /gui/move_to/pose --reqtype gz.msgs.GUICamera --reptype gz.msgs.Boolean --timeout 2000 --req "pose: {position: {x: 0.0, y: -2.0, z: 2.0} orientation: {x: -0.2706, y: 0.2706, z: 0.6533, w: 0.6533}}"Let’s break down the command:
- /gui/move_to/pose: The service for camera movement
- position: Sets the camera’s location in 3D space (x, y, z)
- orientation: Defines the camera’s rotation using quaternions (x, y, z, w)
- timeout: Allows 2000ms for the service call to complete

Understanding the Parameters
The position values (x: 0.0, y: -2.0, z: 2.0) place the camera:
- Centered on the x-axis
- 2 meters back on the y-axis
- 2 meters up on the z-axis
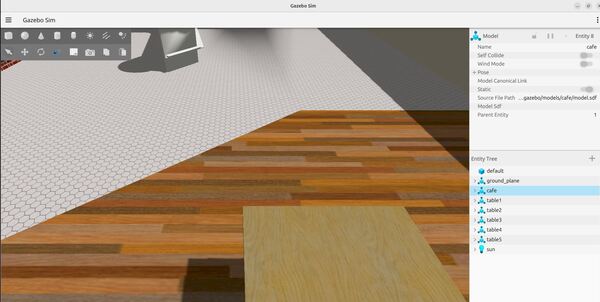
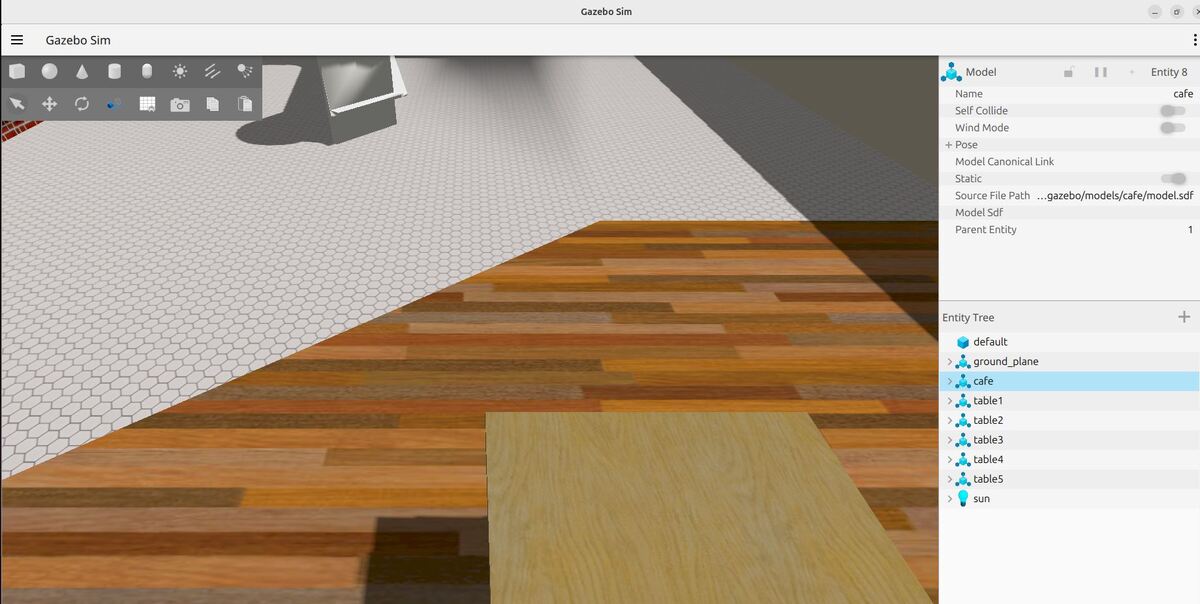
The orientation quaternion values create a viewing angle that looks slightly downward and rotated, providing a clear view of the scene.
Tips for Custom Views
- Adjust the x, y, z position values to move the camera location
- Modify the orientation quaternions to change the viewing angle
- Experiment with different values to find the perfect view for your needs
- Save commonly used views in a script for quick access
To get the current camera view pose, you use this command:
gz topic -e -t /gui/camera/poseConclusion
Being able to programmatically control Gazebo’s camera view is a powerful feature for robotics development and simulation. This command gives you precise control over the visualization, making it easier to observe and interact with your simulated environment.
Remember that you can adjust the position and orientation values to achieve different perspectives based on your specific needs. The example values provided here serve as a good starting point for further customization.

